


- Lasts up to 3 weeks
- Quick and easy application
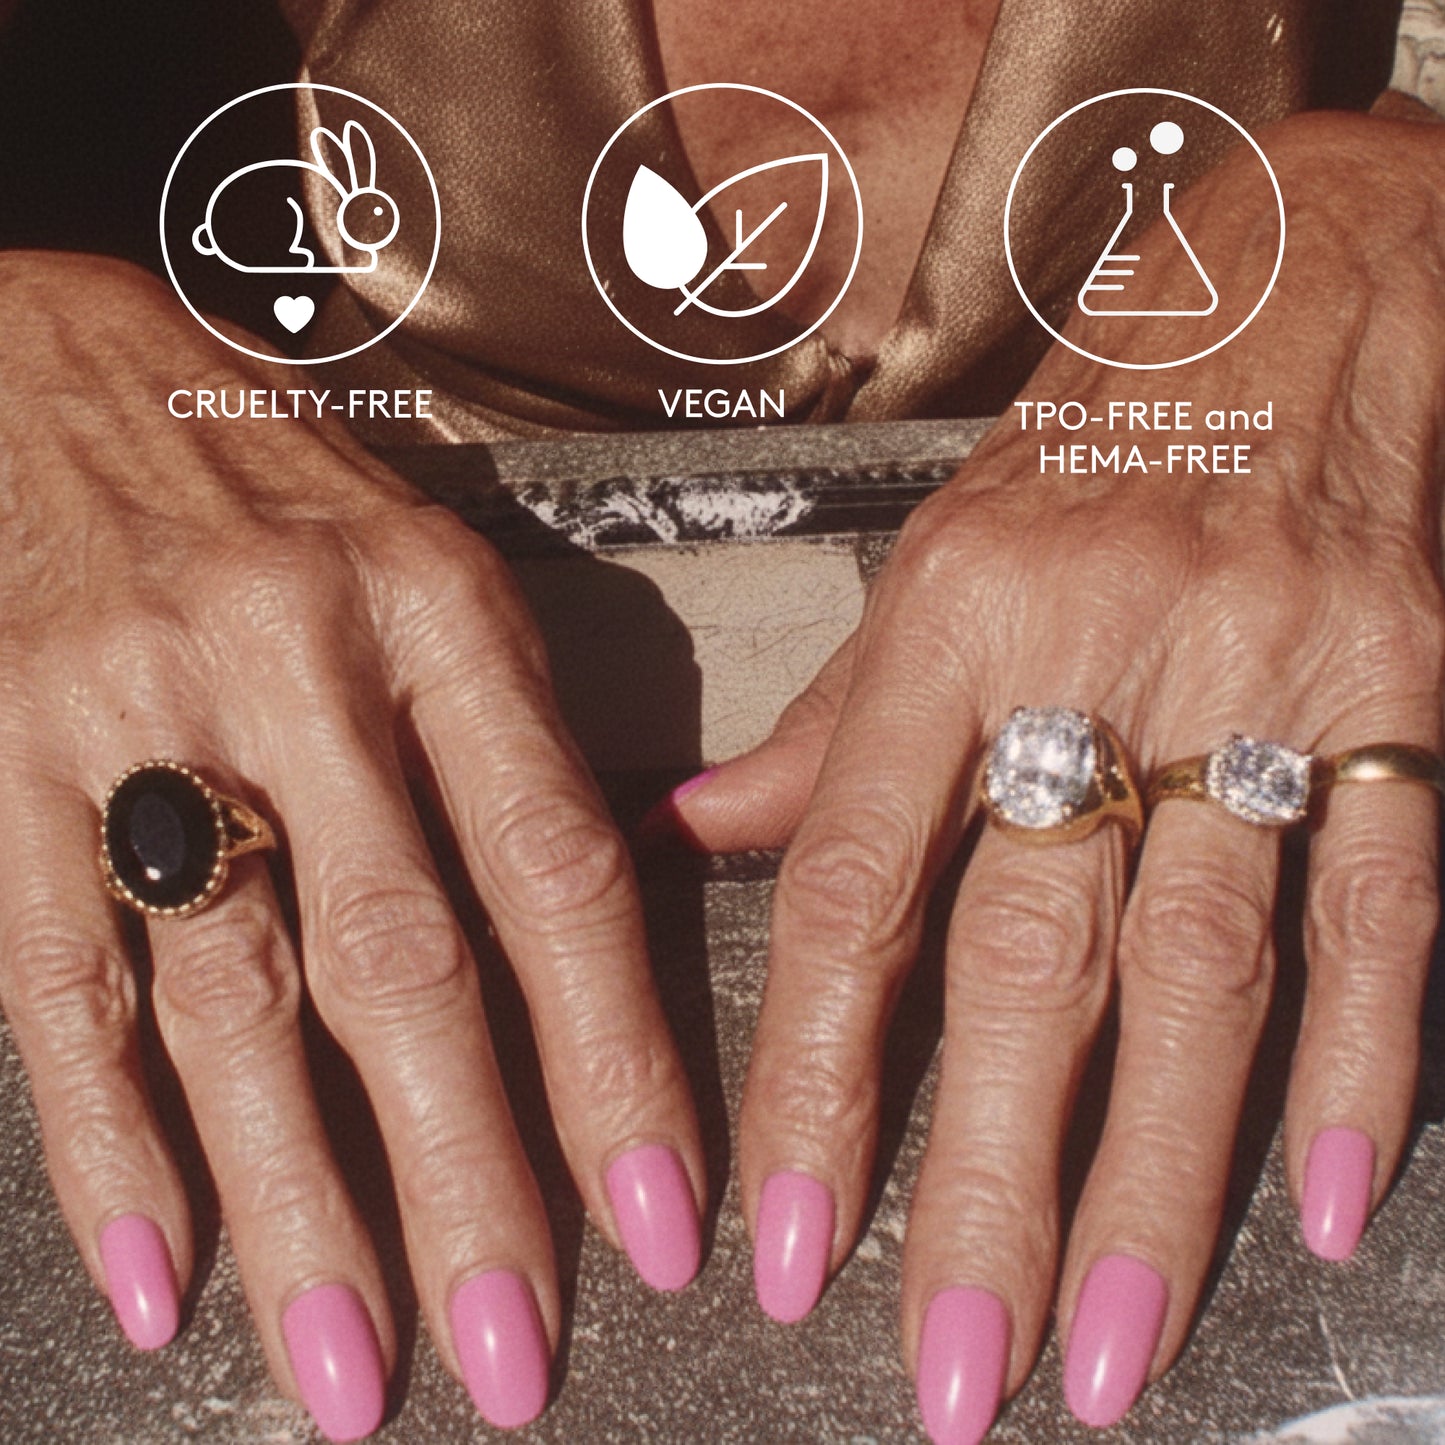
- HEMA, TPO & Cruelty free
-
Free delivery over £35
Description
Description
- Chip-free for up to 3 weeks
- Cures in 60 seconds
- HEMA & Cruelty free
For manis that don’t stop at one colour. The Arts & Craft Gel Bundle is made for creativity, combining nail art tools with three playful Gel Polish shades that invite mixing, detailing and design. Whether you’re dotting, lining or experimenting, this bundle is your go-to for expressive, hands-on gel manis.
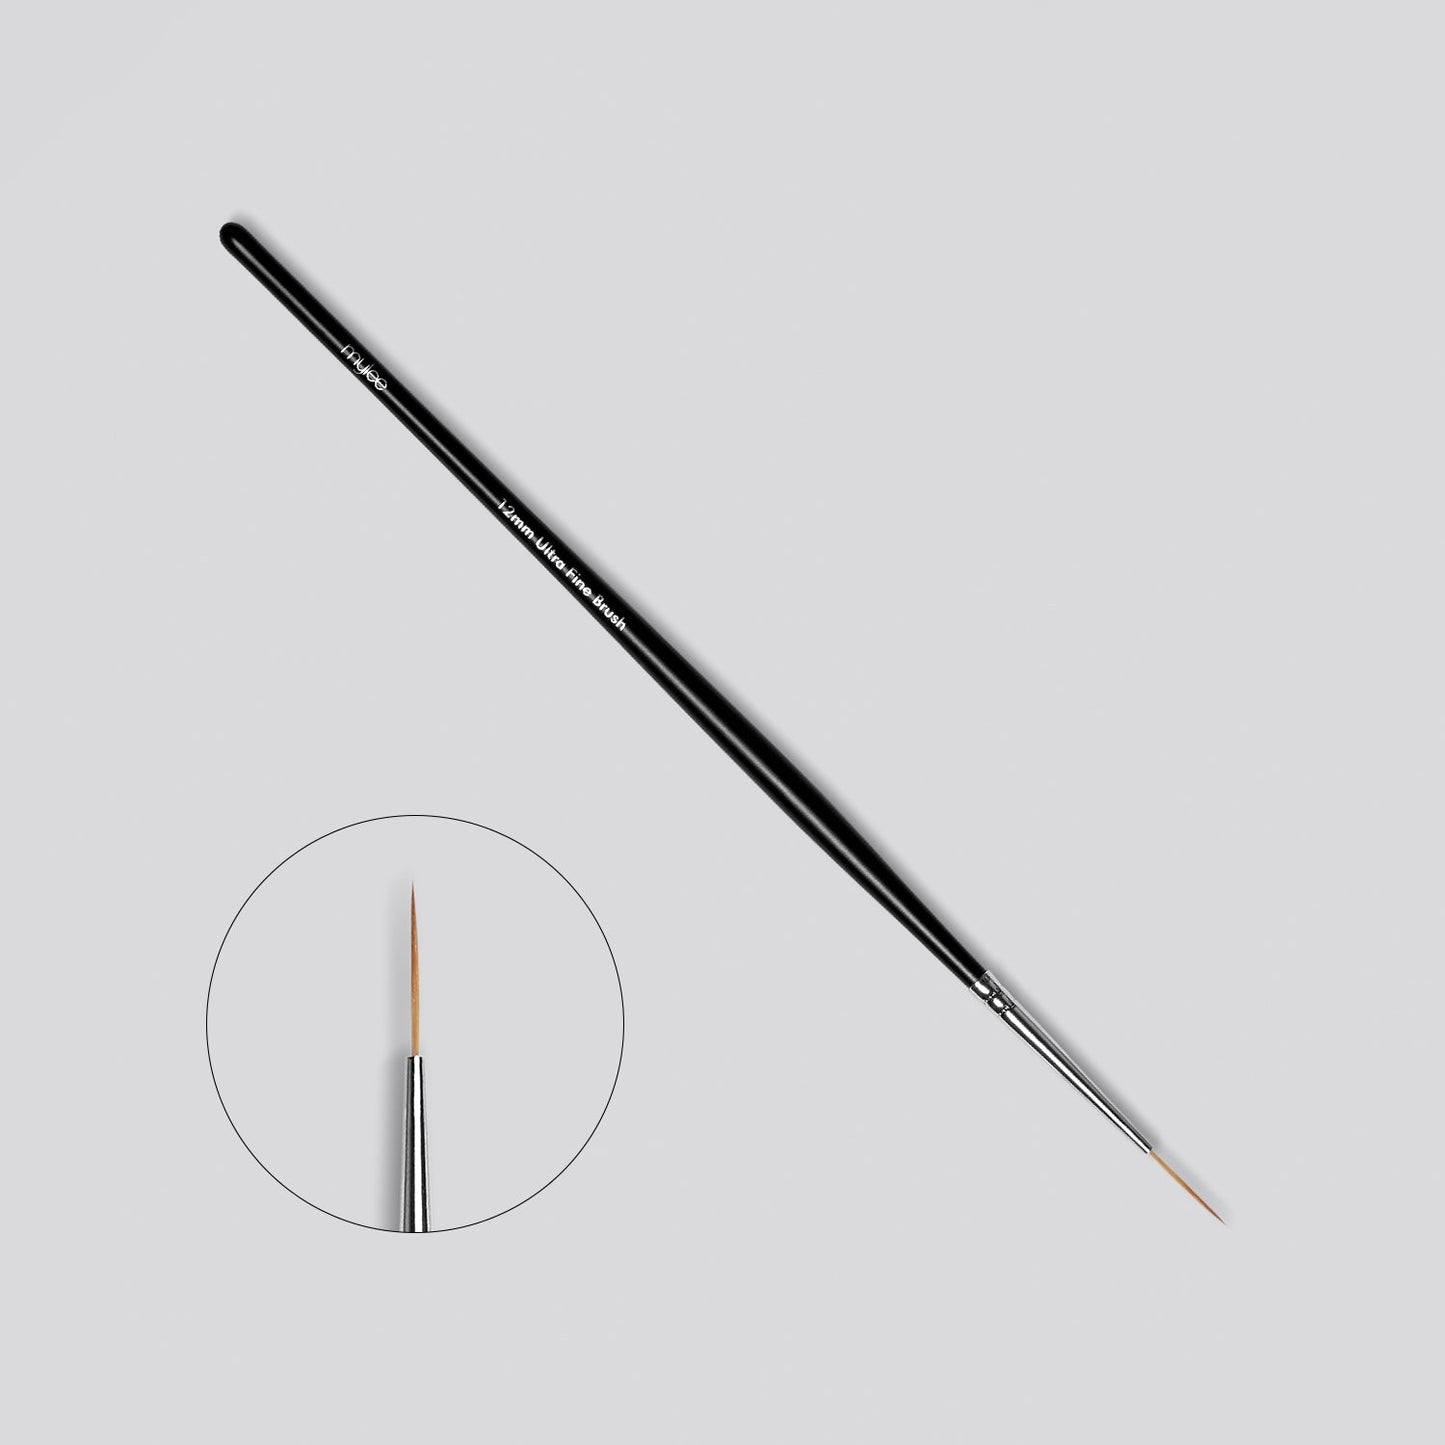
Kit includes: Top and No Wipe Base Coat, Half Moon Nail Files, Dotting Tool, Ultra Fine 12mm brush, Dragon Fruit Gel Polish 8ml, Pastel Chic Gel Polish 8ml and Break The Ice Gel Polish.
Please note: Due to quality variances between different monitors, the colour that appears on your screen may differ from the physical product.
Caution: Keep away from eyes, may cause serious eye irritation. May cause skin irritation or allergic skin reaction. Keep away from children. Mylee Gel Polish is 100% safe and compliant with all UK and EU safety regulations.
Product Code: MYL-BUNDLE-GL26
How to use
How to use
STEP 1: PREP
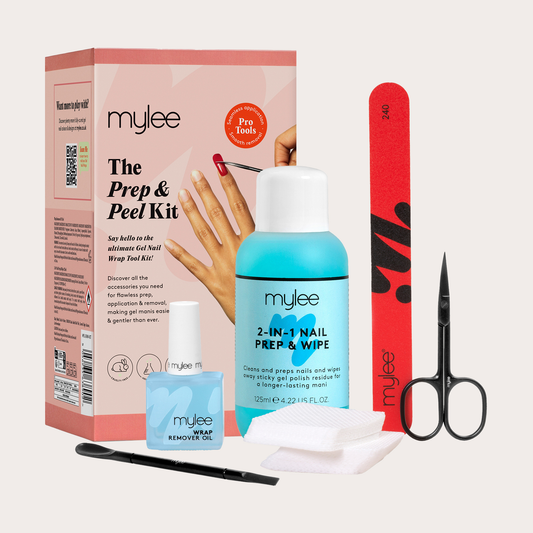
Use a Mylee Wooden Cuticle Stick to gently push back your cuticles and buff the shine off your nail plates with a Mylee 240-grit nail file. Cleanse each nail using a Mylee Lint-Free Wipe* soaked in Mylee Prep & Wipe* to remove any oils – this helps the wraps adhere better and last longer. If you don’t have these products, washing your hands is a good alternative. If your nails are naturally oily, apply Mylee Nail Dehydrator* as an extra step after cleansing.
STEP 2: STICK & WRAP
Choose your favourite design and select the right width wrap for each nail – if you're between sizes, go slightly smaller. Peel the wrap from the sheet, touching only the end that won’t go on the nail. Apply the wrap as close to the cuticle as possible without touching the skin. Press the wrap firmly from the centre outwards to avoid air bubbles. Use your thumb to press down and seal the edges.
STEP 3: TRIM & FILE
Trim any excess as close to your nail length as possible using Mylee Curved Edged Scissors* to prevent the wrap being trapped and peeling off (the nail edges and the wraps must be aligned). Once you have cut off all the excesses, press the wrap down again to fully seal it in place. Lightly file underneath the free edge, if necessary, in one direction only, from top to bottom, using a Mylee 180-grit nail file. Avoid applying any oils or getting your hands wet for at least 2 hours after application to ensure maximum adhesion. Then you're set for up to 14 days!
STEP 4: REMOVE
Quick, damage-free removal in just 1 minute. Apply Mylee Wrap Remover Oil around the edges of the wrap. Gently lift one side with a Mylee Wooden Cuticle Stick and slowly slide it underneath, adding more oil as needed. Once removed, wipe your nails and wash your hands.
*Product sold separately.
Tips & Tricks
Tips & Tricks
Want your mani to go the distance? From prep to polish to removal, these tips will help you get the best results every time.
Prep makes perfect
- Before you apply your Base Coat, lightly buff the surface of each nail using a buffing block. This creates a slightly rough texture that helps the gel adhere properly - no lifting, chipping or peeling here.
Push it real good
- Gently push back cuticles using a wooden or metal cuticle stick or pusher. This gives you a clean edge for application and helps polish last longer. You can also use a cuticle remover to get rid of any dead skin if needed.
Keep it clean
- Use Prep & Shine Wipes to cleanse your nails before you apply gel and to wipe off any tacky residue after your Top Coat cures. They're the multitasking MVP of your gel kit.
Layer it up
- For bold, even colour, apply 2 to 3 thin coats of Gel Polish, curing each layer under your LED lamp for 60 seconds. The same applies to Base and Top Coat. Always cure each coat separately to avoid soft spots, smudging or peeling.
Mind the cure time
- Curing is crucial. Most gel products - including Gel Polish, Base Coat, Top Coat, Builder Gel and Magic Extender Gel - should be cured under an LED lamp for 60 seconds per layer. For more pigmented shades or thicker layers, 90 seconds might be needed.
Seal the deal
- One coat of Top Coat is usually enough, but if you want extra shine and protection, go for two thin layers. Just be sure not to apply too thickly, and cure each coat properly to prevent bubbling or uneven texture.
Sticky? Not for long
- If your nails feel sticky after curing, don’t worry - it’s normal. That tacky layer just needs to be wiped away with an alcohol-based product like our Prep & Wipe. It’ll leave your nails smooth, glossy and ready to go.
Base Coat = staying power
- Your Base Coat acts like an anchor, holding your Gel Polish in place and helping it last. The Top Coat is your shield, locking in shine and colour while protecting your mani from everyday wear.
Protect your polish
- If you're doing manual work, washing up or putting pressure on your hands (think weights at the gym), your mani might take a hit. Wearing latex gloves when you can will help protect your mani and keep your nails looking fresh.
Moisture is key - just not before polish
- Once your gel manicure is done, apply Cuticle Oil daily to keep your nails hydrated and strong. But don’t use hand cream or oil before application - it can create a barrier that stops your polish from sticking properly. Wash and dry your hands before you start, and you’re good to go.
Ingredients
Ingredients


Easy 4 Step Application Guide
Simply follow these 4 steps for the perfect mani
-
 1
1PREP
Great nails start with great preparation. File, buff, and degrease your nails, then cleanse thoroughly with a Prep & Wipe to get them ready.
-
 2
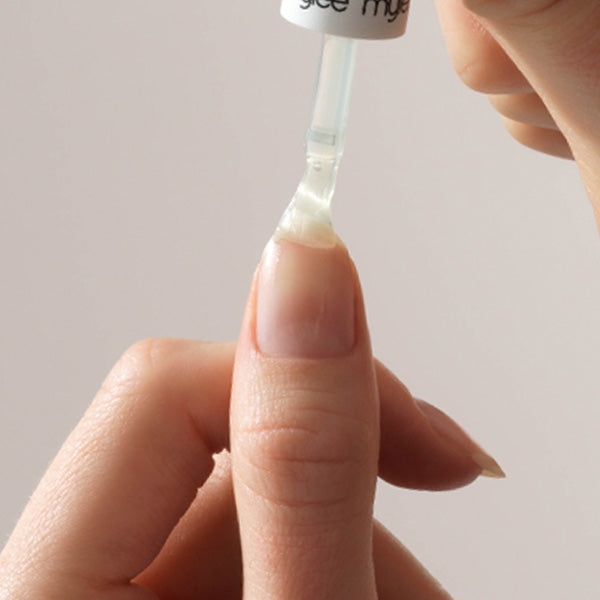
2BASE
Apply a thin layer of Base Coat to your nails and cure for 60 seconds using the Pro LED Lamp to lock it in.
-
 3
3COLOUR
Brush on your favourite Gel Polish shade and cure after each layer. Build up the colour to your desired look - one coat at a time.
-
 4
4FINISH
Seal the deal with a Top Coat and cure for 60 seconds. Wash your hands, apply Cuticle Oil, moisturise, and enjoy salon-quality nails for up to 3 weeks!


-
 Bestseller
 -
 Bestseller
 -
 Bestseller
 -
 Bestseller
 -
 Bestseller New
 -
 Bestseller New
 -
 Bestseller


As Seen On You
Tag @mylee On Socials For Your Chance To Be Featured