


- Lasts up to 3 weeks
- Quick and easy application
- HEMA, TPO & Cruelty free
-
Free delivery over £35
Description
Description
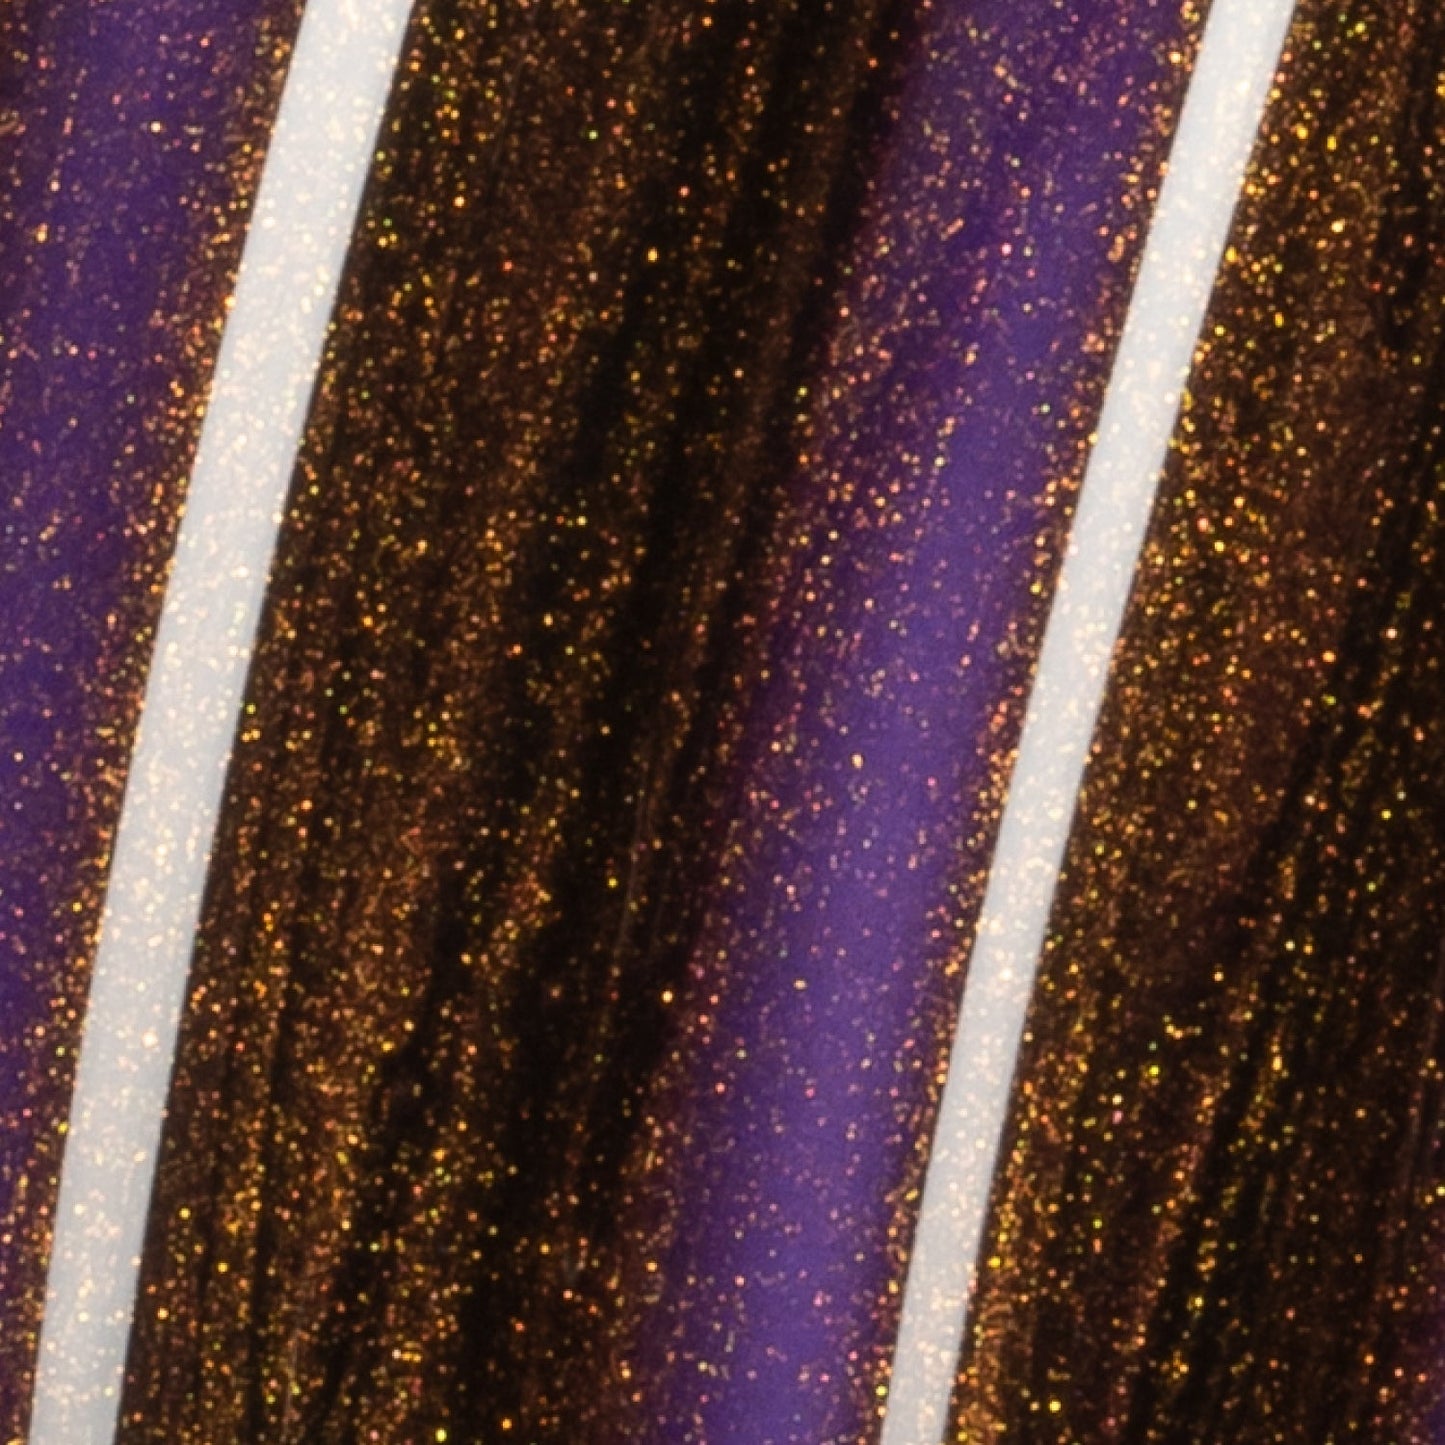
This purple magnetic nail polish is perfect for all you Leos out there. It’s feline and fiery — just like your star sign — and looks simply fantastic worn on its own or with magnetic effects.
You’ll love the rich purple base and the coppery shimmer with magnetic effects. These stunning aspects combine in this purple magnetic nail polish, ready for you to create your own unique designs.
- Magnetic nail polish
- Purple base
- Copper shimmer
- Create unique effects
To use, prep your nails, apply MyGel Base Coat and cure. Apply 2 or 3 coats of Leo Cat Eye Gel Polish to build up opacity. Before curing the last coat, hover your magnet over your polish for a few seconds to create your desired effects. Cure then apply a coat of MyGel Top Coat for the final step.
This product works perfectly with Mylee Magnet Duo for Cat Eye Polish and Mylee No Wipe Top Coat Gel Polish 15ml.
Ingredients: Di-HEMA Trimethylhexyl Dicarbamate, HEMA, Hydroxycyclohexyl Phenyl Ketone, Bis-Trimethylbenzoyl Phenylphosphine Oxide. MAY CONTAIN (+/-) CI 77891 [Titanium Dioxide], CI 77491 [Diiron Trioxide], CI 77510 [Prussian Blue], CI 77510 [Pigment Blue 27], CI 77510 [Ferric Ferrocyanide], CI 77289 [Pigment Green 18], CI 77492 [Iron Oxide].
Caution: For Professional Use only. Read directions for use carefully. Keep out of reach of children. For external use only. Apply only to nails. AVOID SKIN CONTACT. Do not use if skin around nails is damaged or inflamed. Can cause an allergic reaction. In case of irritation, cease application.
For professional use only
Product Code: MG0191
How to use
How to use
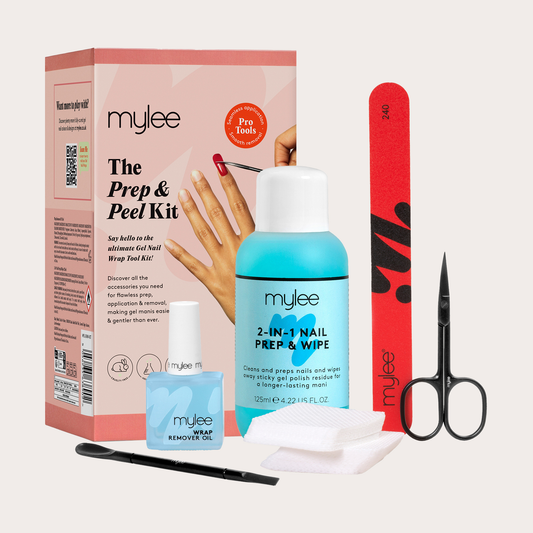
STEP 1. PREP
File nails to shape and use a Mylee Buffing Block* to gently remove shine from the nail plate. Wipe your nails with a dash of Mylee 2-in-1 Nail Prep & Wipe* on a Lint Free Wipe* to remove any oils.
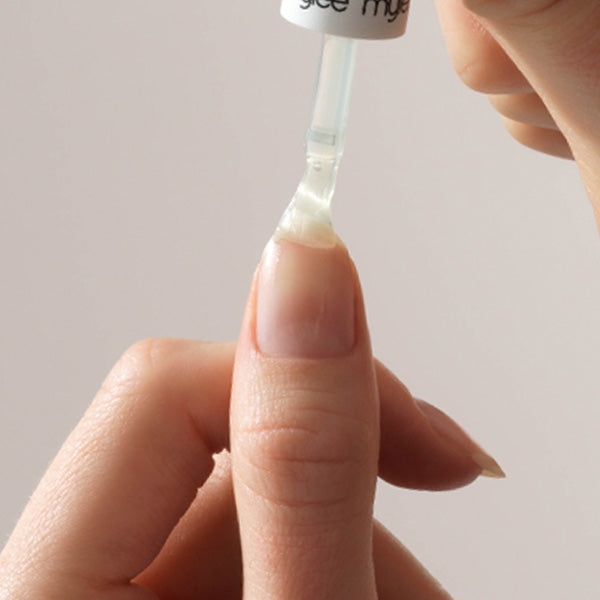
STEP 2. BASE
Apply a thin layer of your chosen Mylee Base Coat* and cure for 60 seconds using a Mylee LED Lamp*.
STEP 3. COLOUR
Brush on your favourite Mylee Gel Polish shade and cure for 60 seconds. Build up the opacity in thin coats, curing each layer for a smooth, even finish. Don’t forget to cap the free edge by running some polish along the tip of your nail.
STEP 4. FINISH
Seal the deal with a Mylee Top Coat* and cure for 60 seconds. If using the regular Mylee Top Coat, remove the tacky layer with 2-in-1 Nail Prep & Wipe on a Lint Free Wipe. Alternatively skip this step and use a Mylee No-Wipe Top Coat! Wash your hands, apply Mylee Nail & Cuticle Oil*, moisturise, and enjoy your salon-quality mani for up to 3 weeks!
*Product sold separately.
Ingredients
Ingredients
Storage
Storage
Tips & Tricks
Tips & Tricks
Want your mani to go the distance? From prep to polish to removal, these tips will help you get the best results every time.
Prep makes perfect
- Before you apply your Base Coat, lightly buff the surface of each nail using a buffing block. This creates a slightly rough texture that helps the gel adhere properly - no lifting, chipping or peeling here.
Push it real good
- Gently push back cuticles using a wooden or metal cuticle stick or pusher. This gives you a clean edge for application and helps polish last longer. You can also use a cuticle remover to get rid of any dead skin if needed.
Keep it clean
- Use Prep & Shine Wipes to cleanse your nails before you apply gel and to wipe off any tacky residue after your Top Coat cures. They're the multitasking MVP of your gel kit.
Layer it up
- For bold, even colour, apply 2 to 3 thin coats of Gel Polish, curing each layer under your LED lamp for 60 seconds. The same applies to Base and Top Coat. Always cure each coat separately to avoid soft spots, smudging or peeling.
Mind the cure time
- Curing is crucial. Most gel products - including Gel Polish, Base Coat, Top Coat, Builder Gel and Magic Extender Gel - should be cured under an LED lamp for 60 seconds per layer. For more pigmented shades or thicker layers, 90 seconds might be needed.
Seal the deal
- One coat of Top Coat is usually enough, but if you want extra shine and protection, go for two thin layers. Just be sure not to apply too thickly, and cure each coat properly to prevent bubbling or uneven texture.
Sticky? Not for long
- If your nails feel sticky after curing, don’t worry - it’s normal. That tacky layer just needs to be wiped away with an alcohol-based product like our Prep & Wipe. It’ll leave your nails smooth, glossy and ready to go.
Base Coat = staying power
- Your Base Coat acts like an anchor, holding your Gel Polish in place and helping it last. The Top Coat is your shield, locking in shine and colour while protecting your mani from everyday wear.
Protect your polish
- If you're doing manual work, washing up or putting pressure on your hands (think weights at the gym), your mani might take a hit. Wearing latex gloves when you can will help protect your mani and keep your nails looking fresh.
Moisture is key - just not before polish
- Once your gel manicure is done, apply Cuticle Oil daily to keep your nails hydrated and strong. But don’t use hand cream or oil before application - it can create a barrier that stops your polish from sticking properly. Wash and dry your hands before you start, and you’re good to go.


From base to top coat. Master your mani!

From base to top coat. Master your mani!
- Hema & TPO free
- Vegan
- Cruelty free
Easy 4 Step Application Guide
Simply follow these 4 steps for the perfect mani
-
 1
1PREP
Great nails start with great preparation. File, buff, and degrease your nails, then cleanse thoroughly with a Prep & Wipe to get them ready.
-
 2
2BASE
Apply a thin layer of Base Coat to your nails and cure for 60 seconds using the Pro LED Lamp to lock it in.
-
 3
3COLOUR
Brush on your favourite Gel Polish shade and cure after each layer. Build up the colour to your desired look - one coat at a time.
-
 4
4FINISH
Seal the deal with a Top Coat and cure for 60 seconds. Wash your hands, apply Cuticle Oil, moisturise, and enjoy salon-quality nails for up to 3 weeks!


Bestsellers
-
 Bestseller
 -
 TikTok Trending Bestseller
 -
 Bestseller


As Seen On You
Tag @mylee On Socials For Your Chance To Be Featured