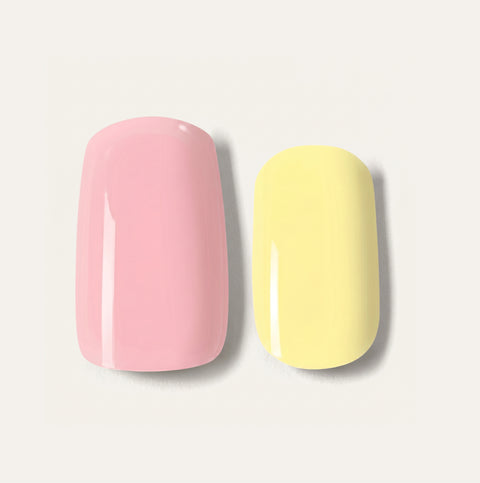


Add more colours to save:
Your first set is on us!
First time with Gel Nail Wraps? We know trying something new can take a little practice. That's why when you buy one set, we'll give you another one free to try.
Step 1: Add 2 Gel Nail Wraps to your bag.
Step 2: Enter the code FIRSTSET at checkout and get 1 pack free.
Step 3: Loved it? Great! If not, return the second unopened pack within 90 days for a full refund.
For the best results, take a look at our 4-step guide to applying and nailing it before you get started. Gel Nail Wraps only.
1 redemption per customer. T&Cs apply & Returns Policy.
Terms and conditions apply.
Free delivery over £35


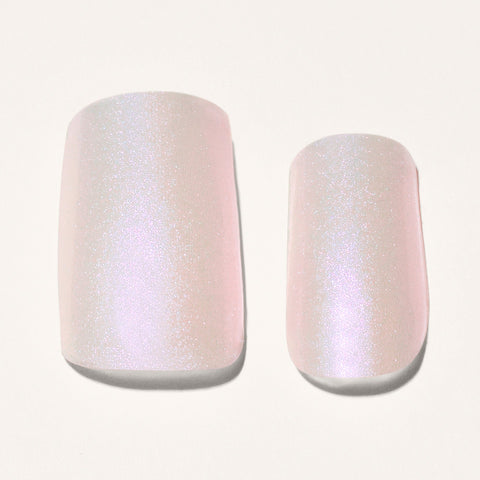
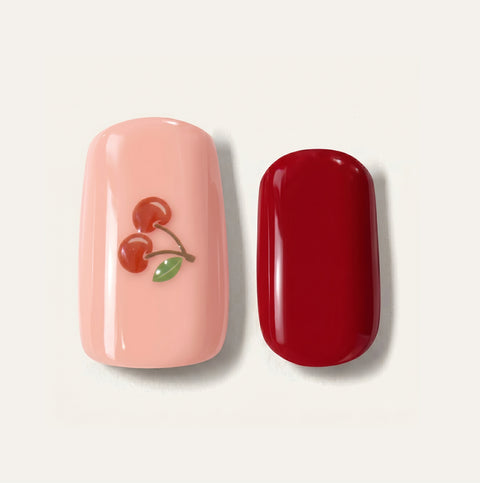
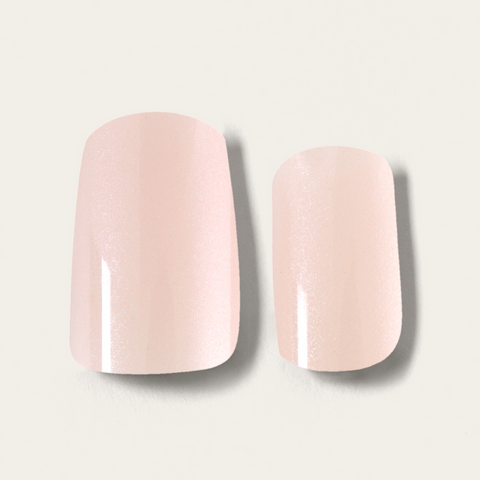
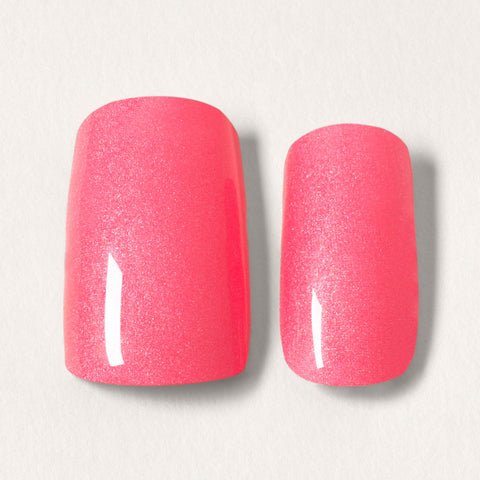
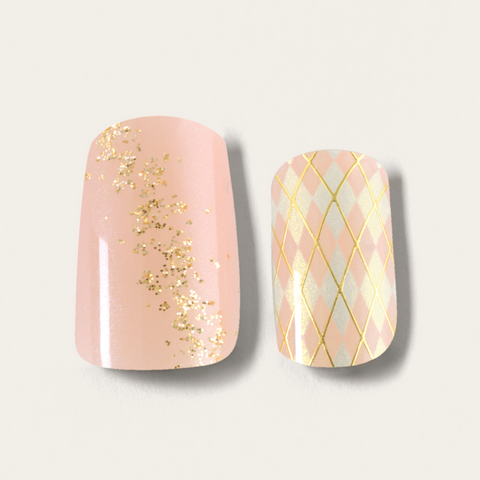
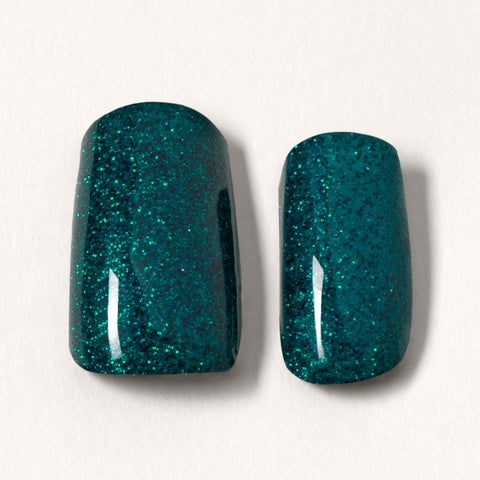
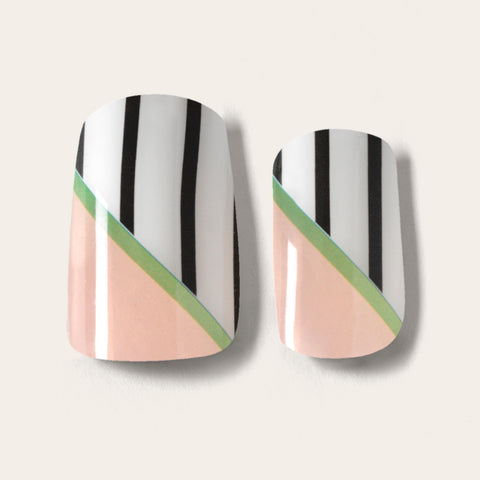
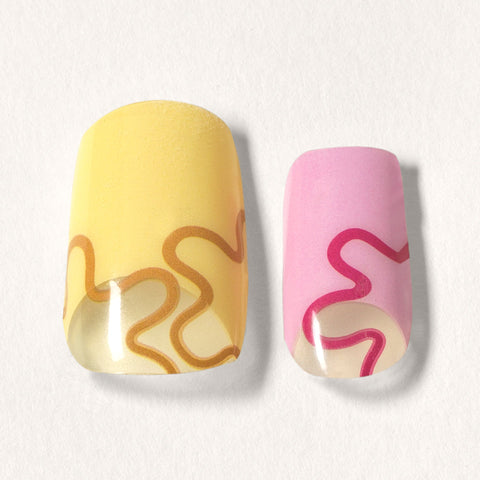
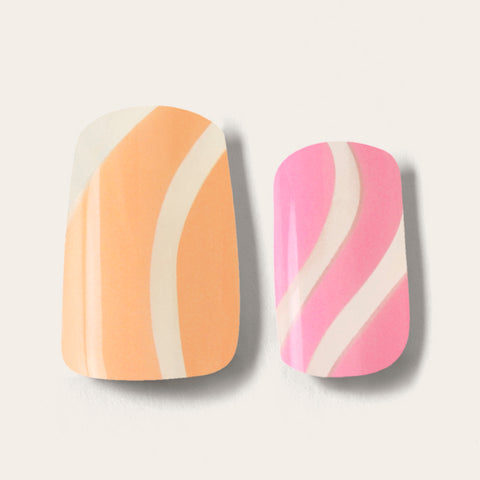
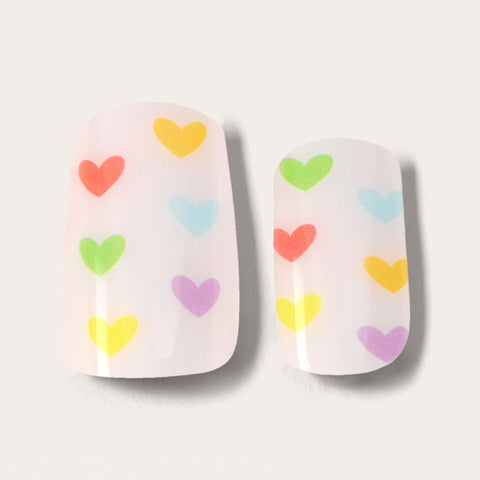
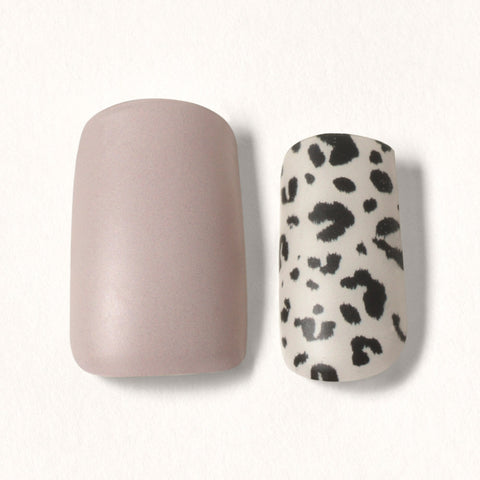
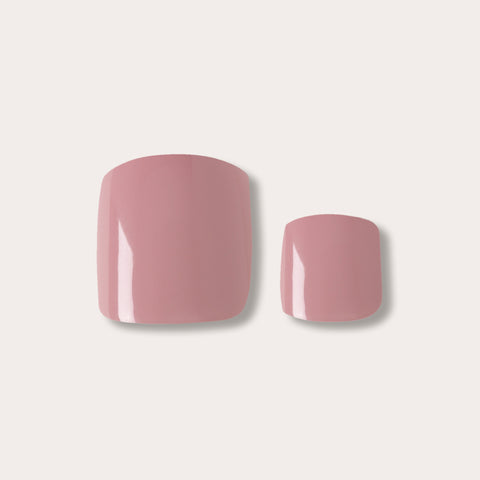
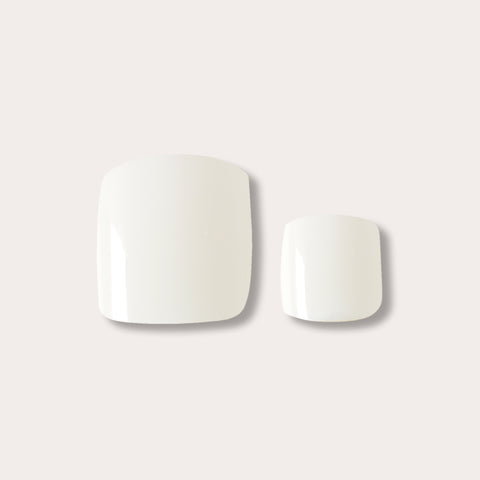
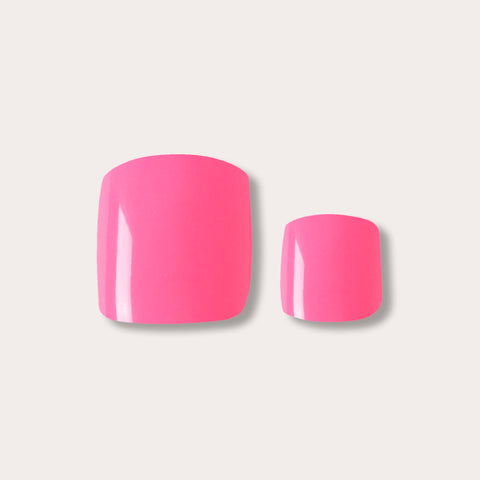
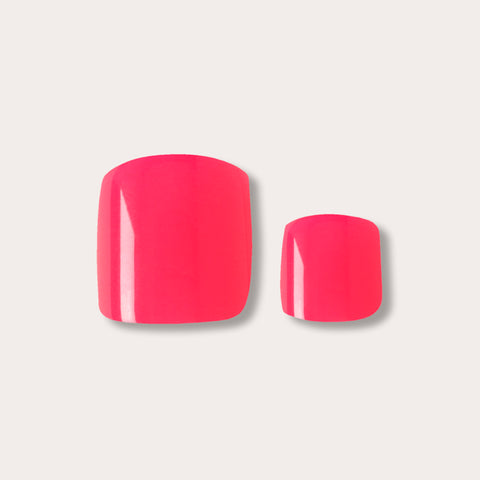
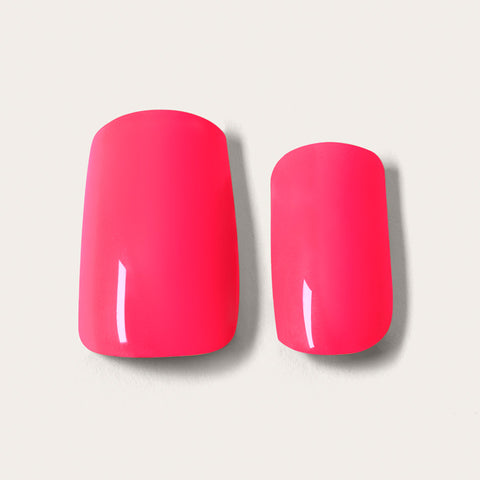
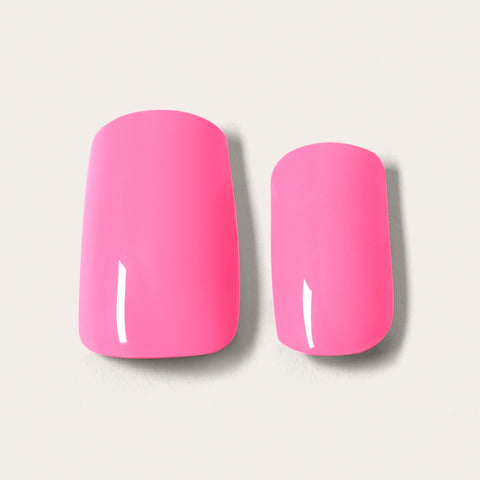
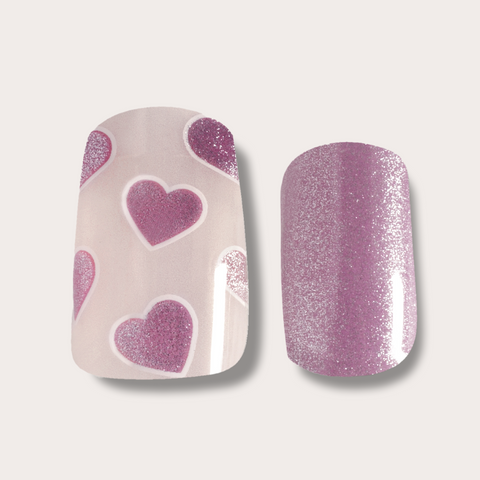
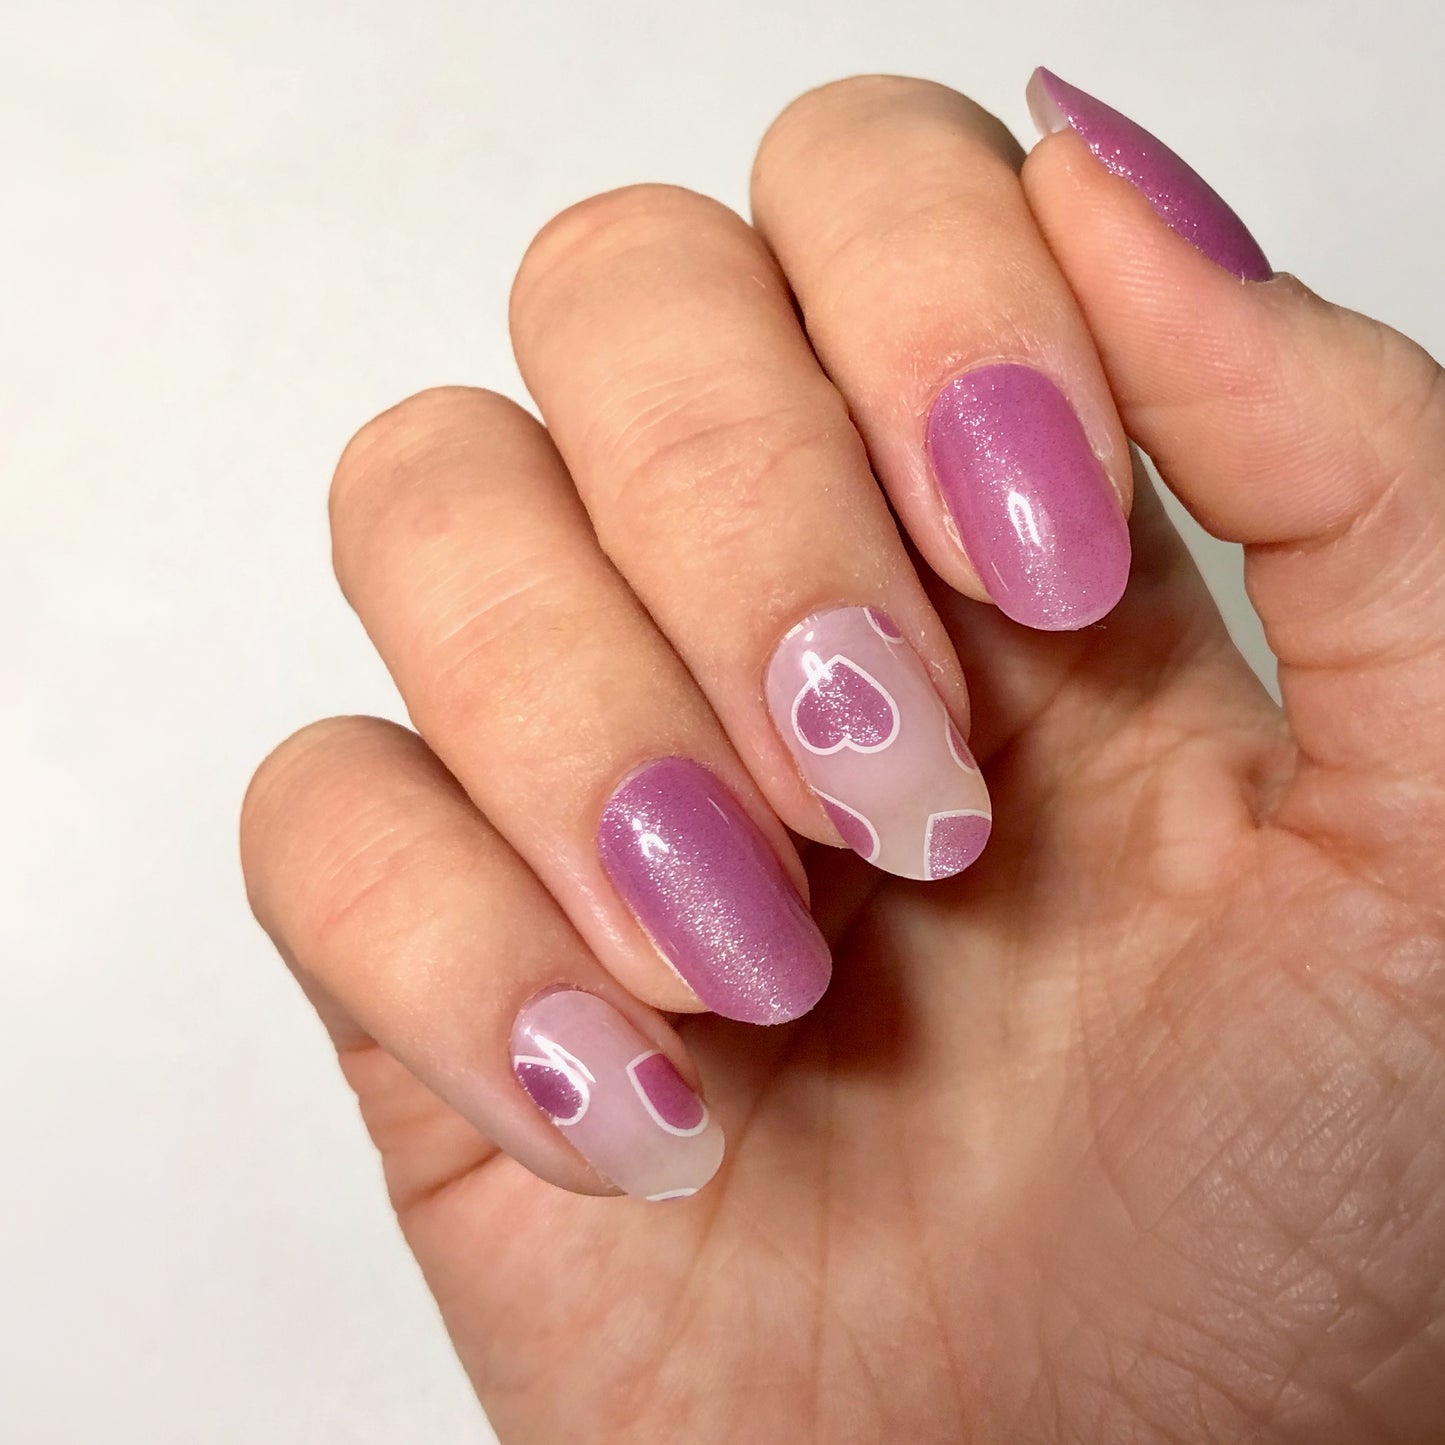
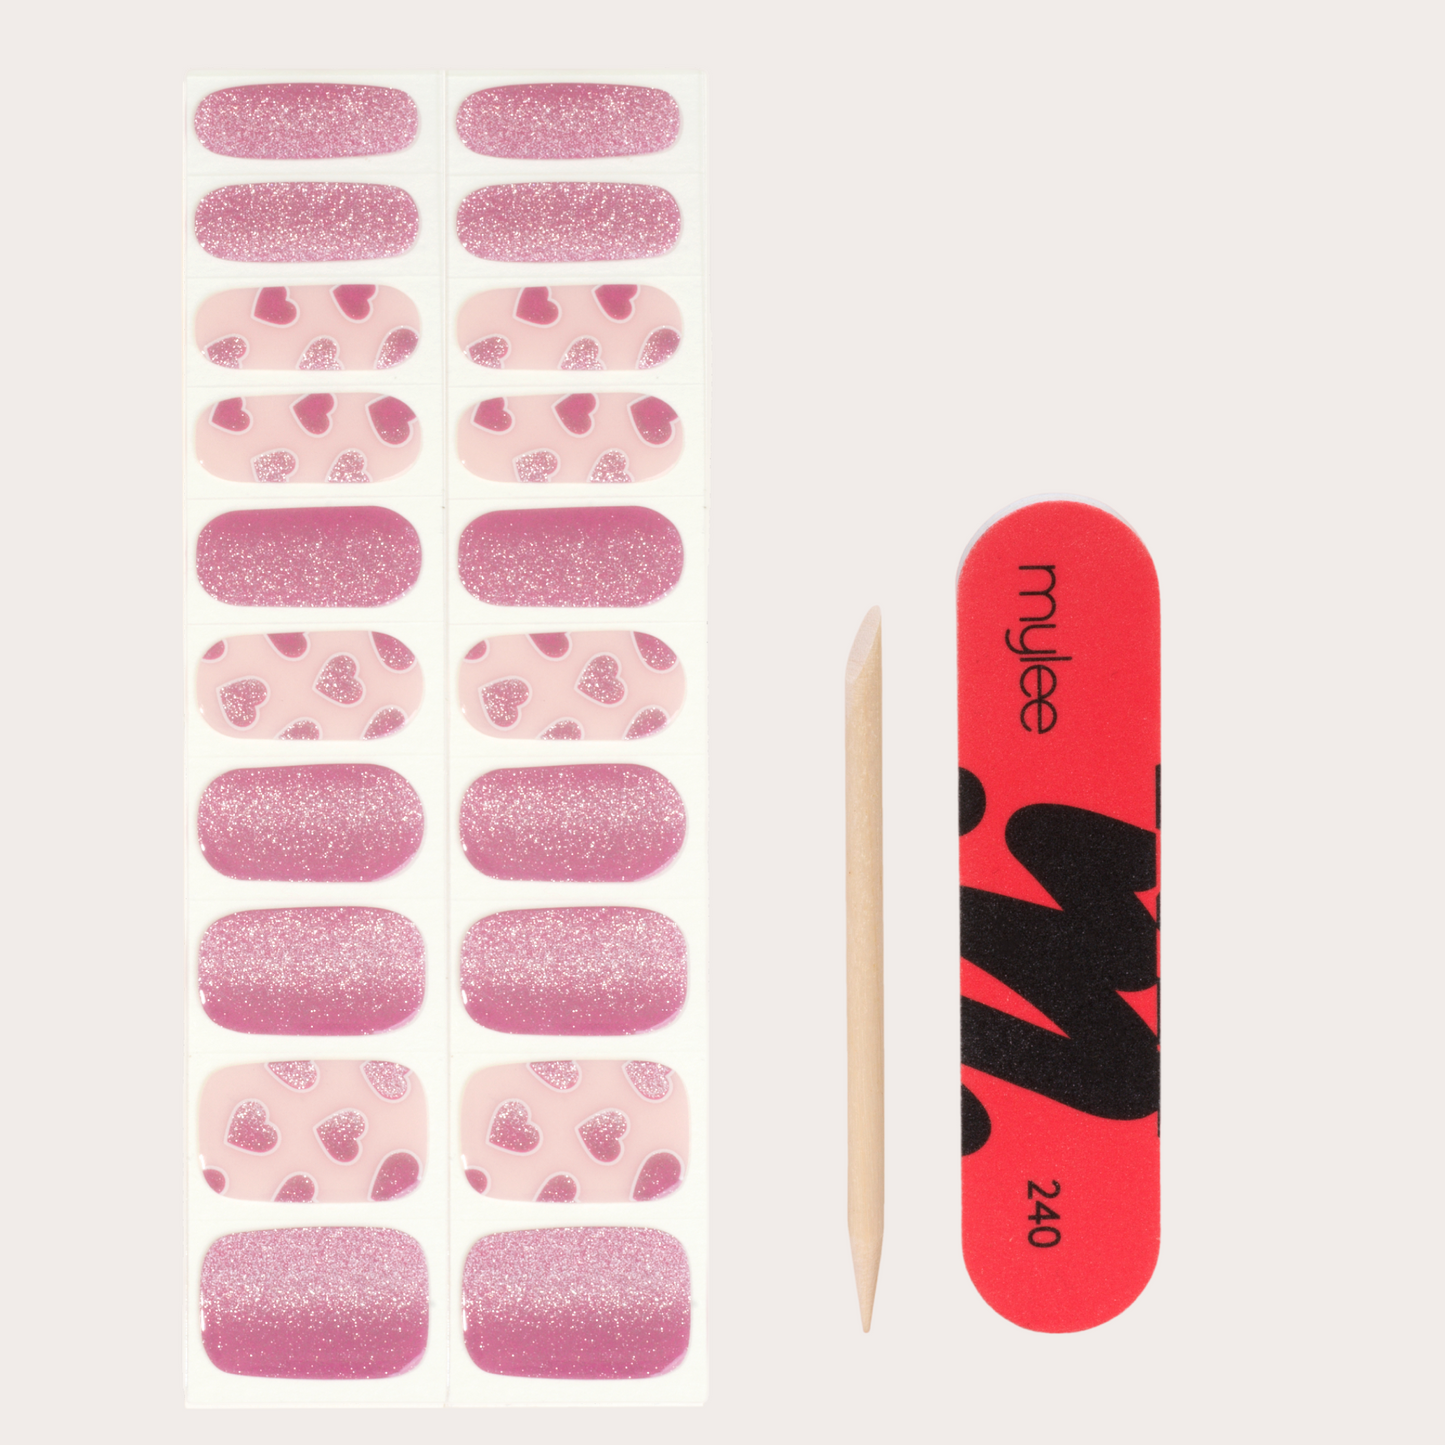
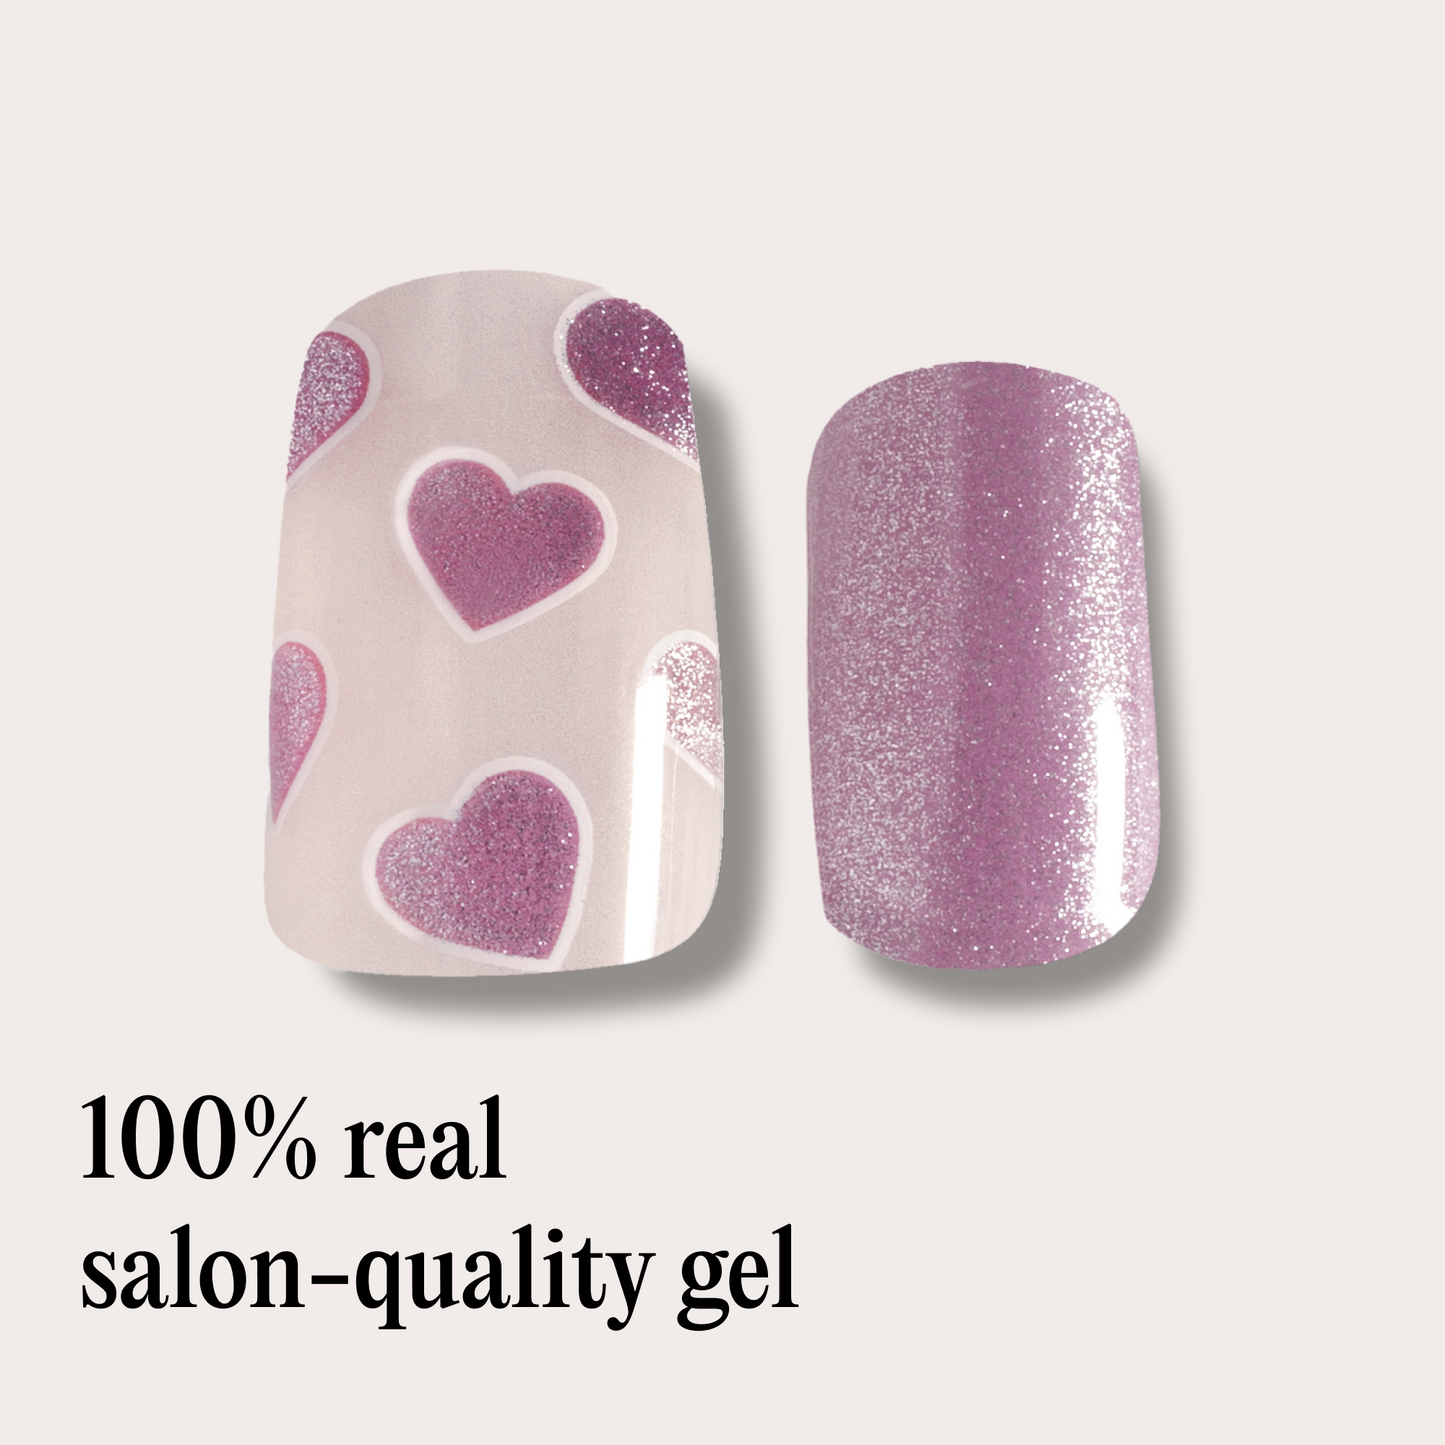
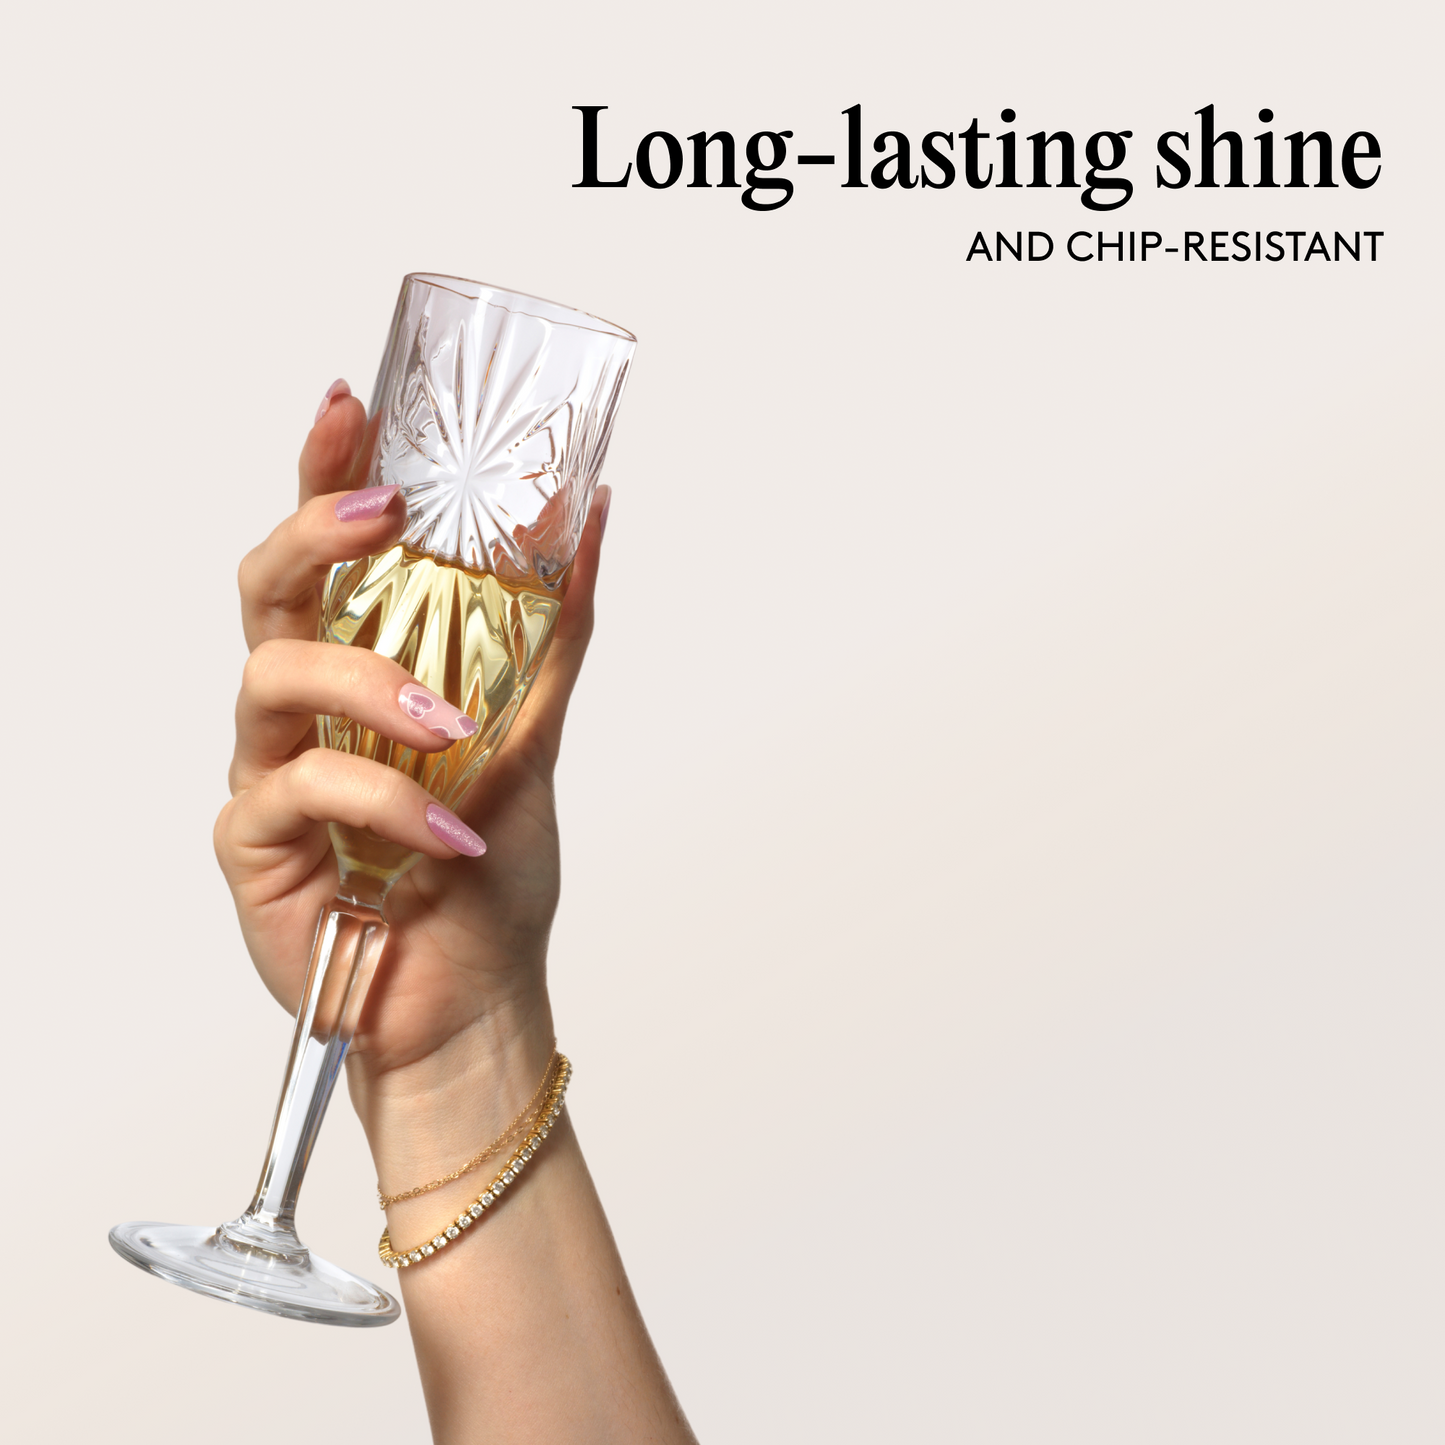
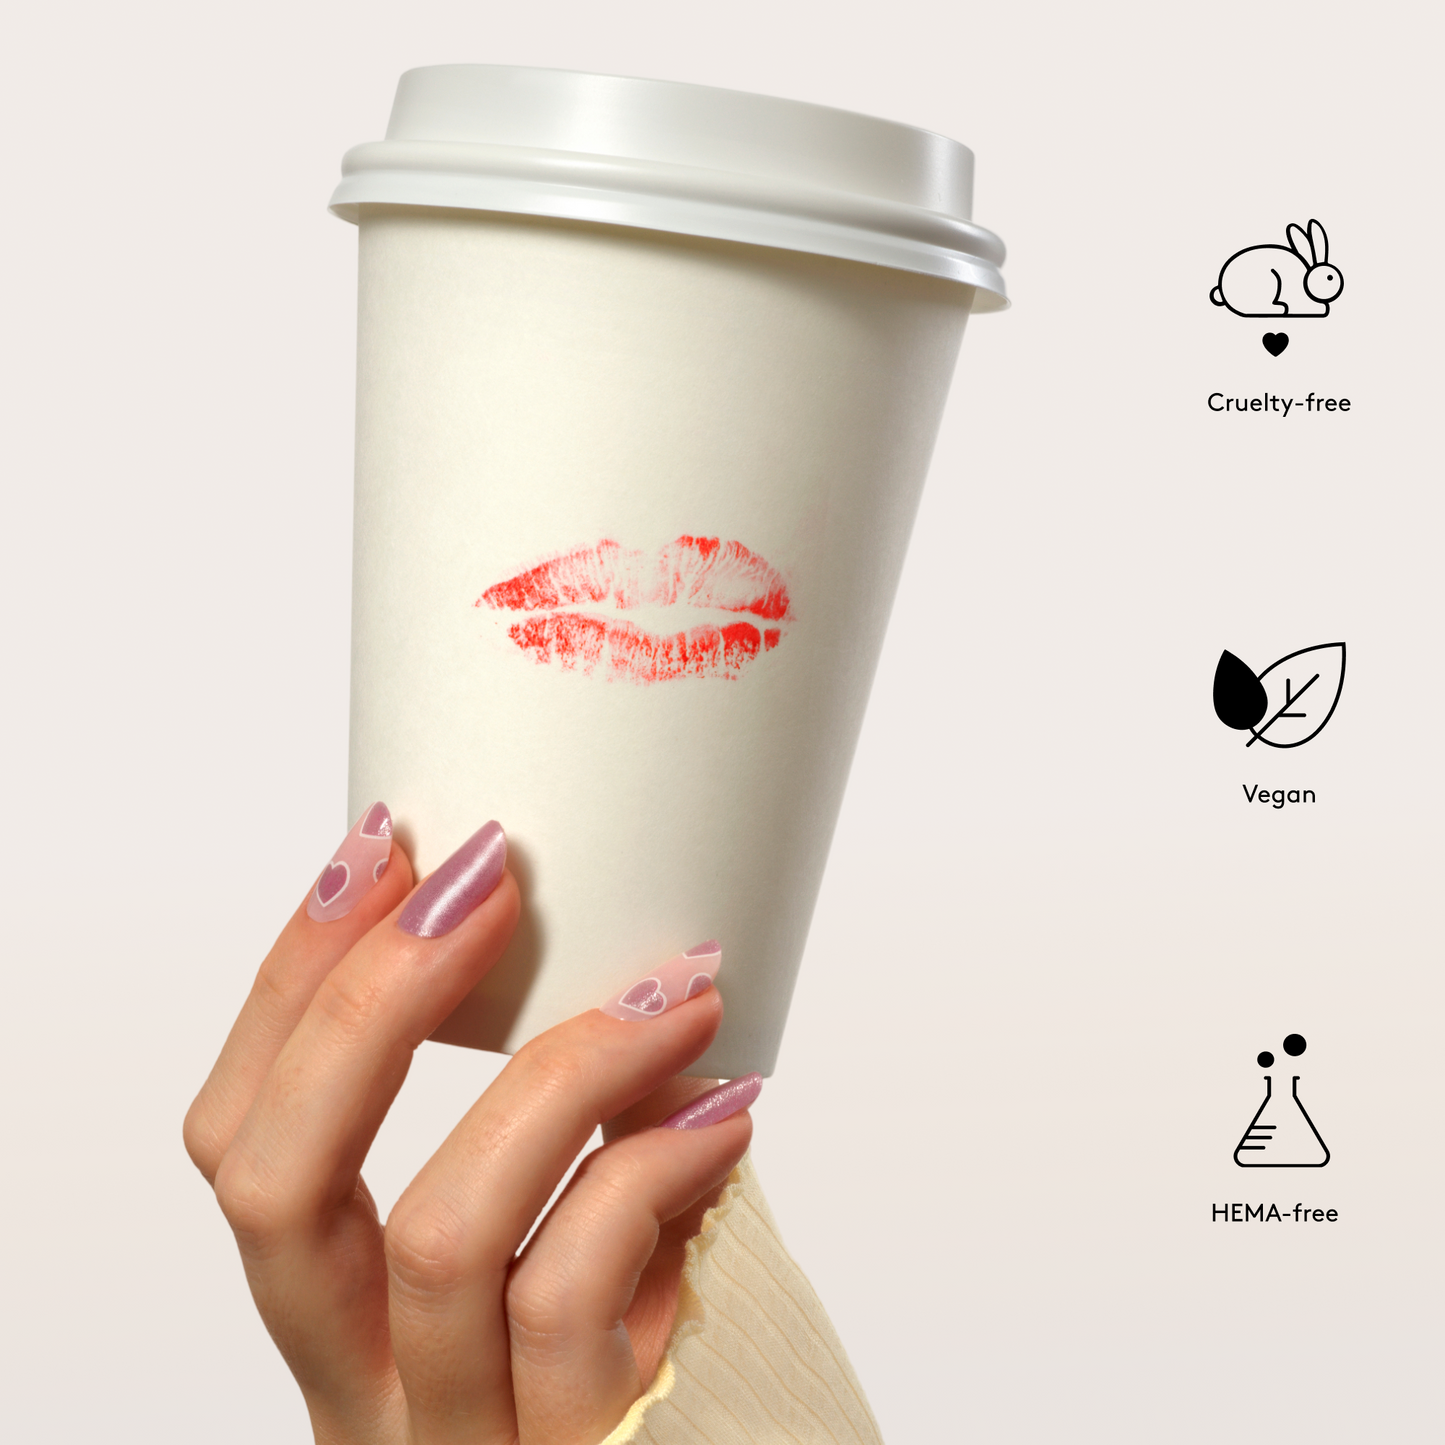
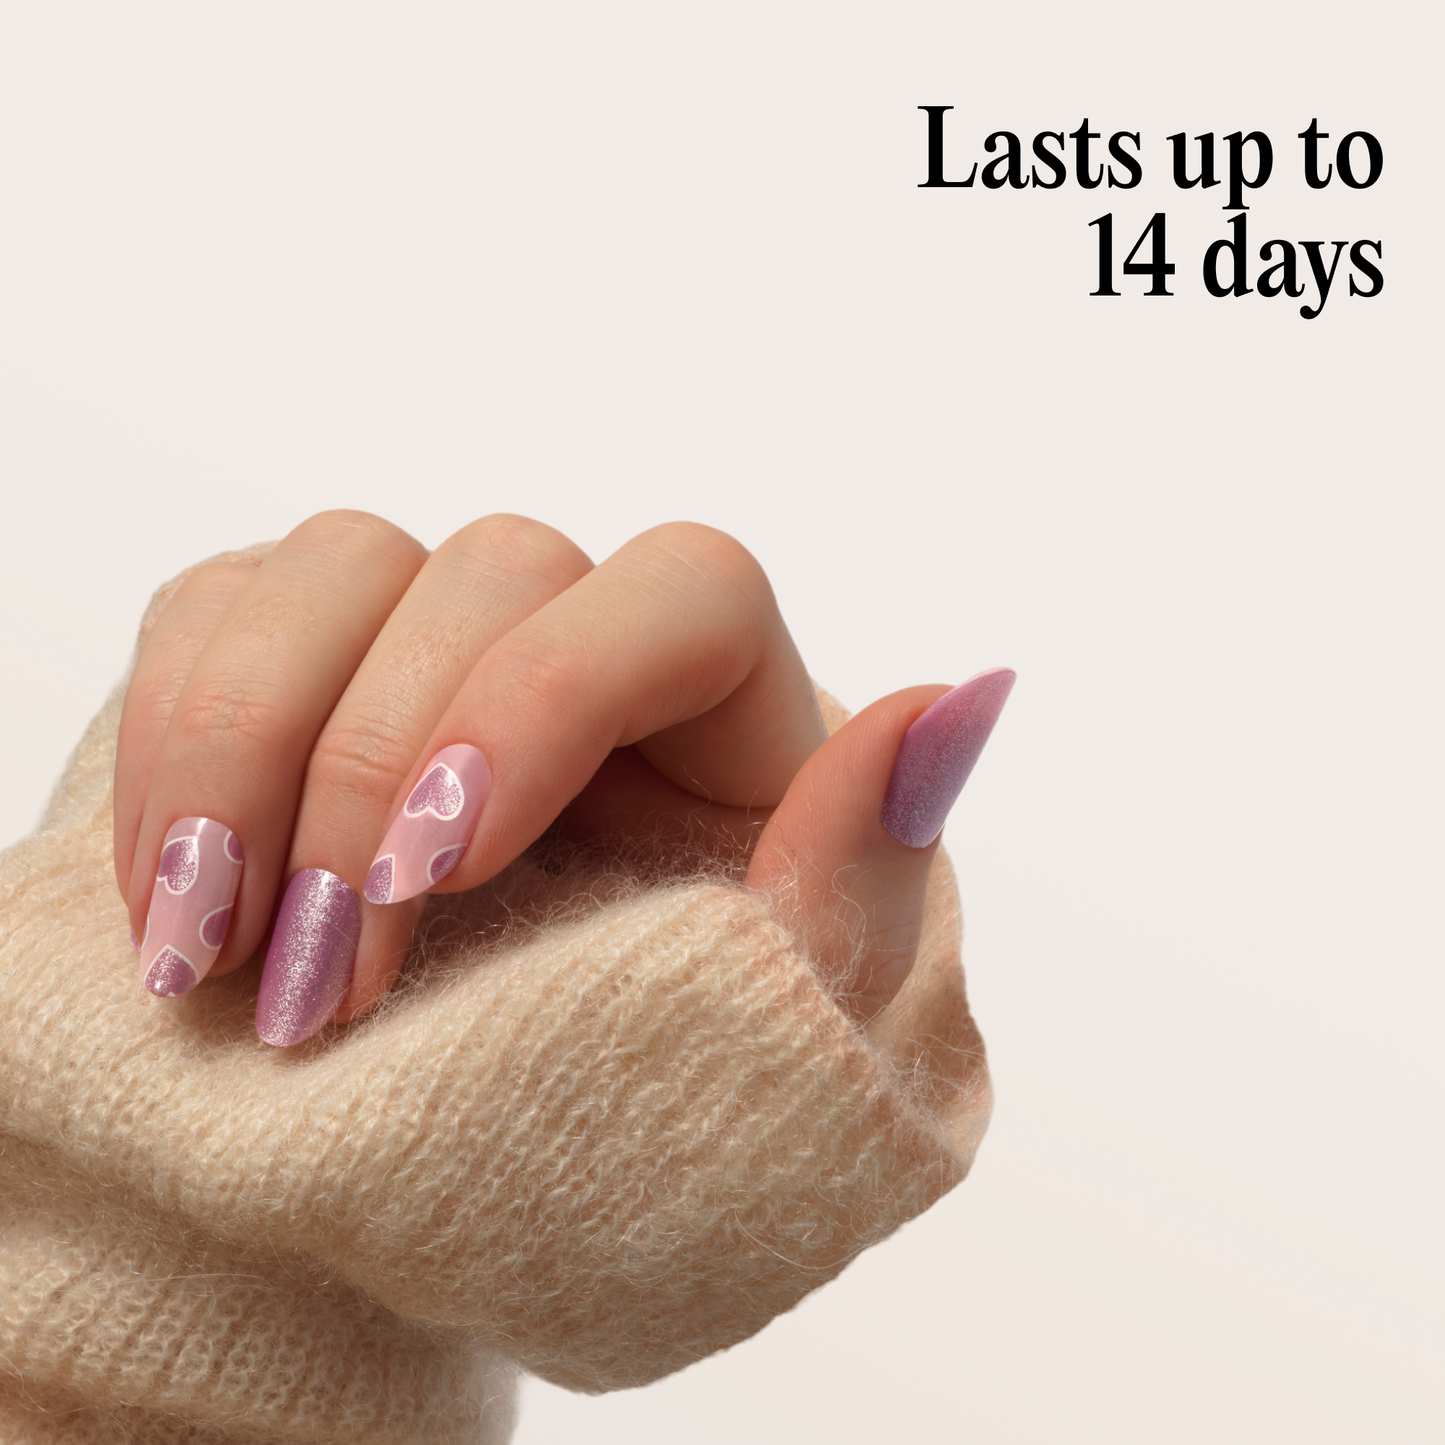
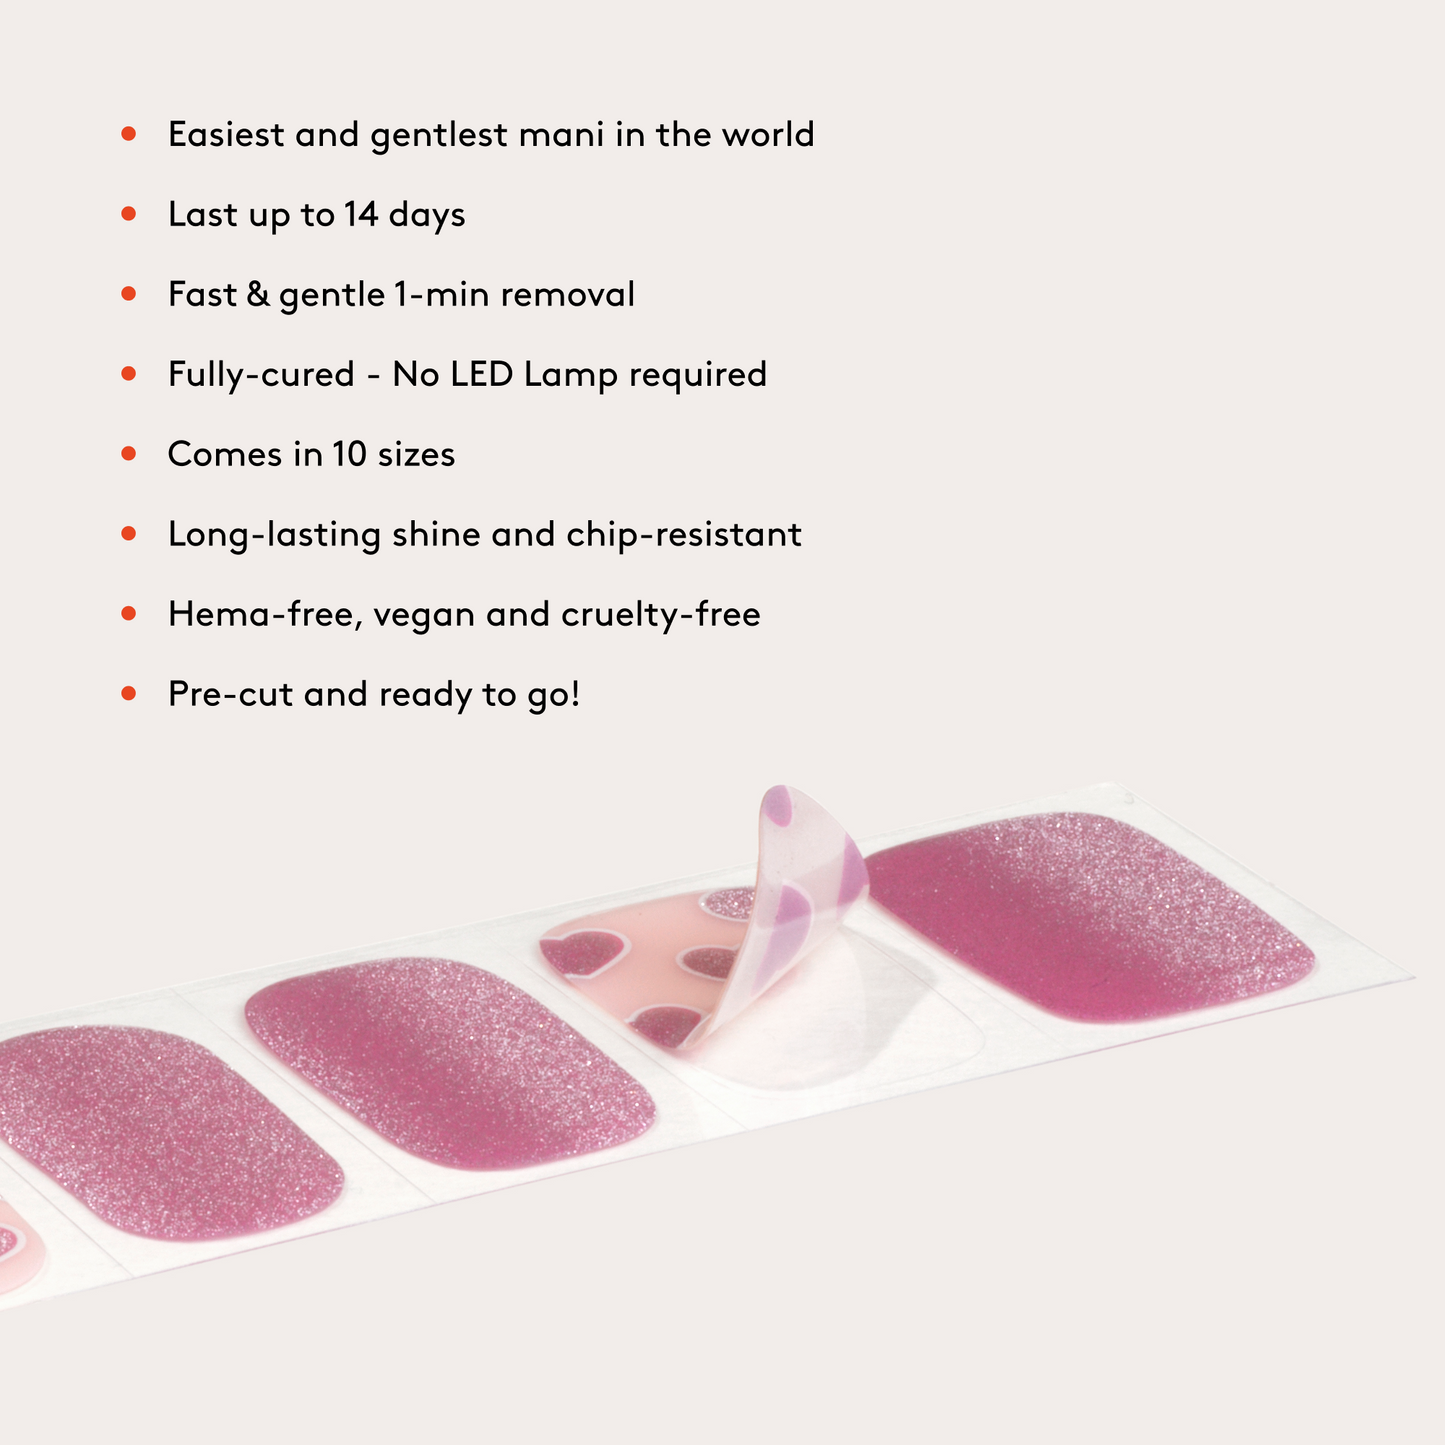
Seal it with a kiss (or a few). Our Pucker Up Gel Nail Wraps feature a soft chrome nude base stamped with 3D-effect matte lipstick kisses in every shade of pink - from bubblegum to berry. Sultry, playful, and totally snog-worthy. Just peel, stick, shape, and go - these wraps last up to 14 days with a salon-quality finish.
These fully cured wraps are crafted from 100% real gel, delivering a flawless, salon-quality mani with a quick and easy application - no UV lamp or polish needed. Just peel, press, and smooth for an instantly perfect finish with no drying time, smudging, or mistakes. Ready to switch? It only takes minutes!
Product Code: MYL-GNW-0071-T
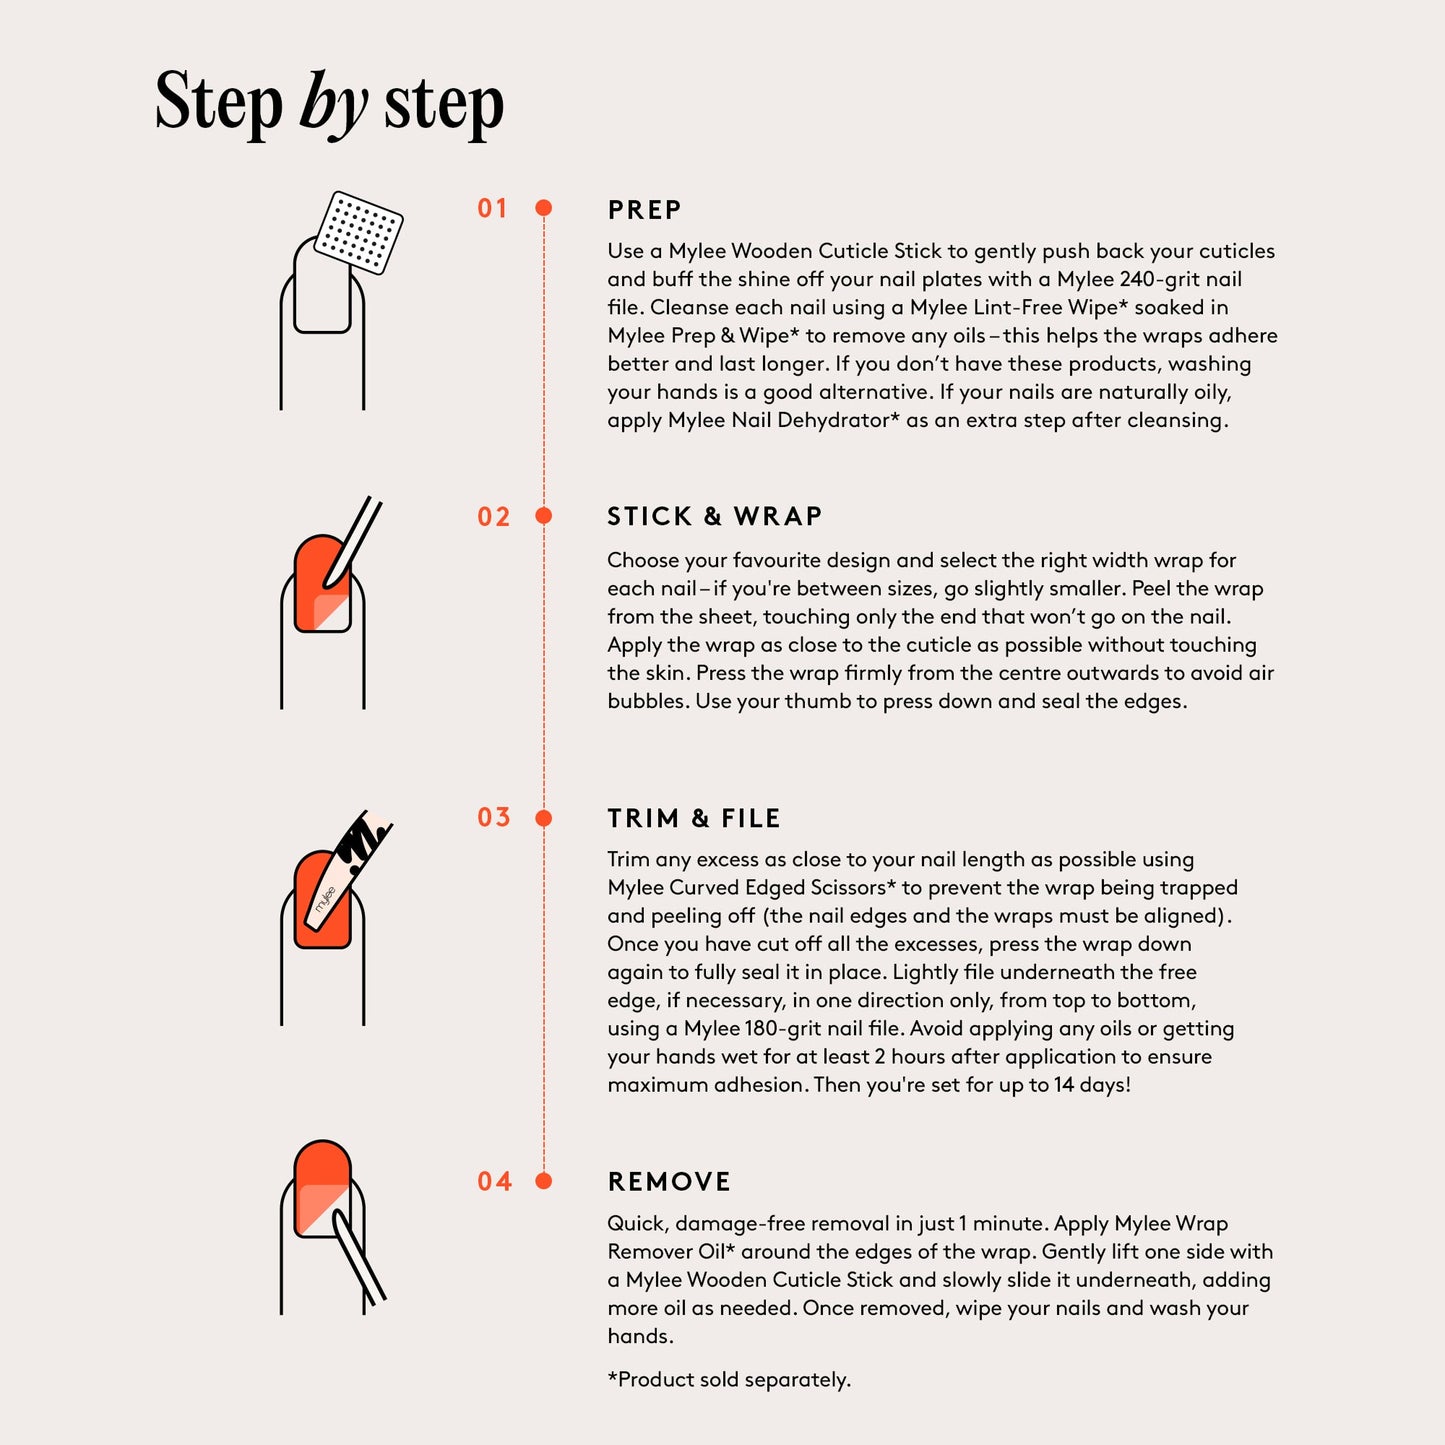
STEP 1: PREP
Start by making sure your hands are clean and completely dry before you begin. This helps remove any surface oils and creates the best base for application.
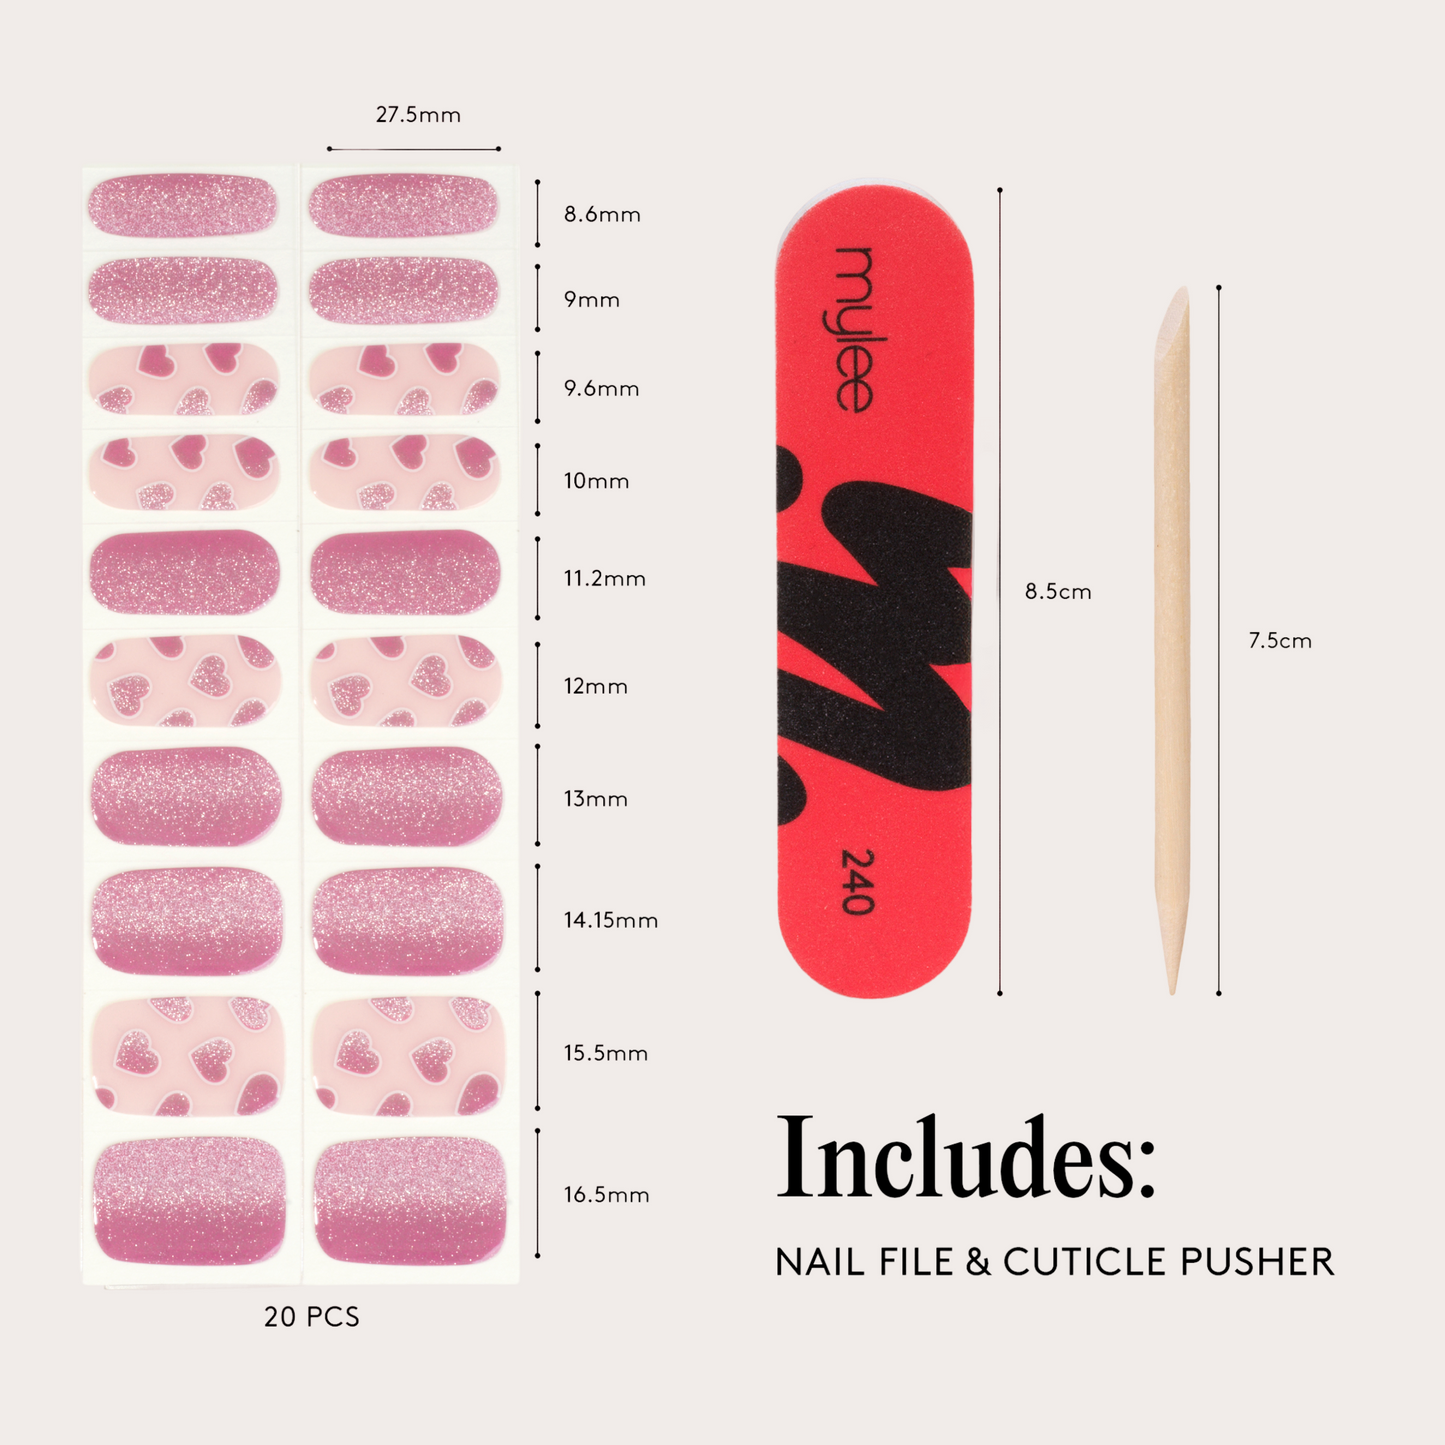
Begin by buffing your nails with the Mylee 240 Grit Nail File. File straight across and gently refine the edges to create a neat, even shape for the wraps to sit on.
Apply a small amount of Mylee Cuticle Remover* around the base of each nail, then gently push back the cuticles. Even small traces of cuticle can stop the wraps from adhering properly, so take your time with this step. If you have stubborn cuticles, we recommend using a Metal Cuticle Pusher* to help remove any excess skin from the nail plate and ensure a clean, smooth surface.
Cleanse each nail using a Mylee Lint-Free Wipe* soaked in Mylee Prep & Wipe* to remove any dust or oils. This helps the wraps adhere better and last longer. If you don’t have these products, wash your hands with warm, soapy water and make sure the nails are completely dry before continuing.
If your nails tend to be oily, apply Mylee Nail Dehydrator* after cleansing as an extra prep step to remove any remaining moisture.
STEP 2: STICK & WRAP
Choose your favourite design and select the right width wrap for each nail. If you’re between sizes, choose the slightly larger wrap and trim it to fit your nail. For small adjustments, you can gently stretch the wrap so it sits neatly along the sides of the nail.
Peel the wrap from the sheet, touching only the end that won’t go on the nail. Apply it as close to the cuticle as possible without touching the skin. Press the wrap firmly from the centre outwards to smooth it down and prevent air bubbles, then use your thumb to press and seal the edges. Take your time here to ensure the wrap sits flat and evenly on the nail.
STEP 3: TRIM & FILE
Trim any excess as close to your nail length as possible using Mylee Curved Edged Scissors* to prevent the wrap from being trapped and peeling off (the nail edges and the wraps must be aligned).
Lightly file underneath the free edge, if necessary, in one direction only, from top to bottom, using a Mylee 180-Grit Nail File. Finally, press down once more to fully seal the wrap. Avoid applying oils or getting your hands wet for at least 2 hours after application to ensure maximum adhesion. Once finished, you’re set for a long-lasting mani with up to 14 days of wear!
STEP 4: REMOVE
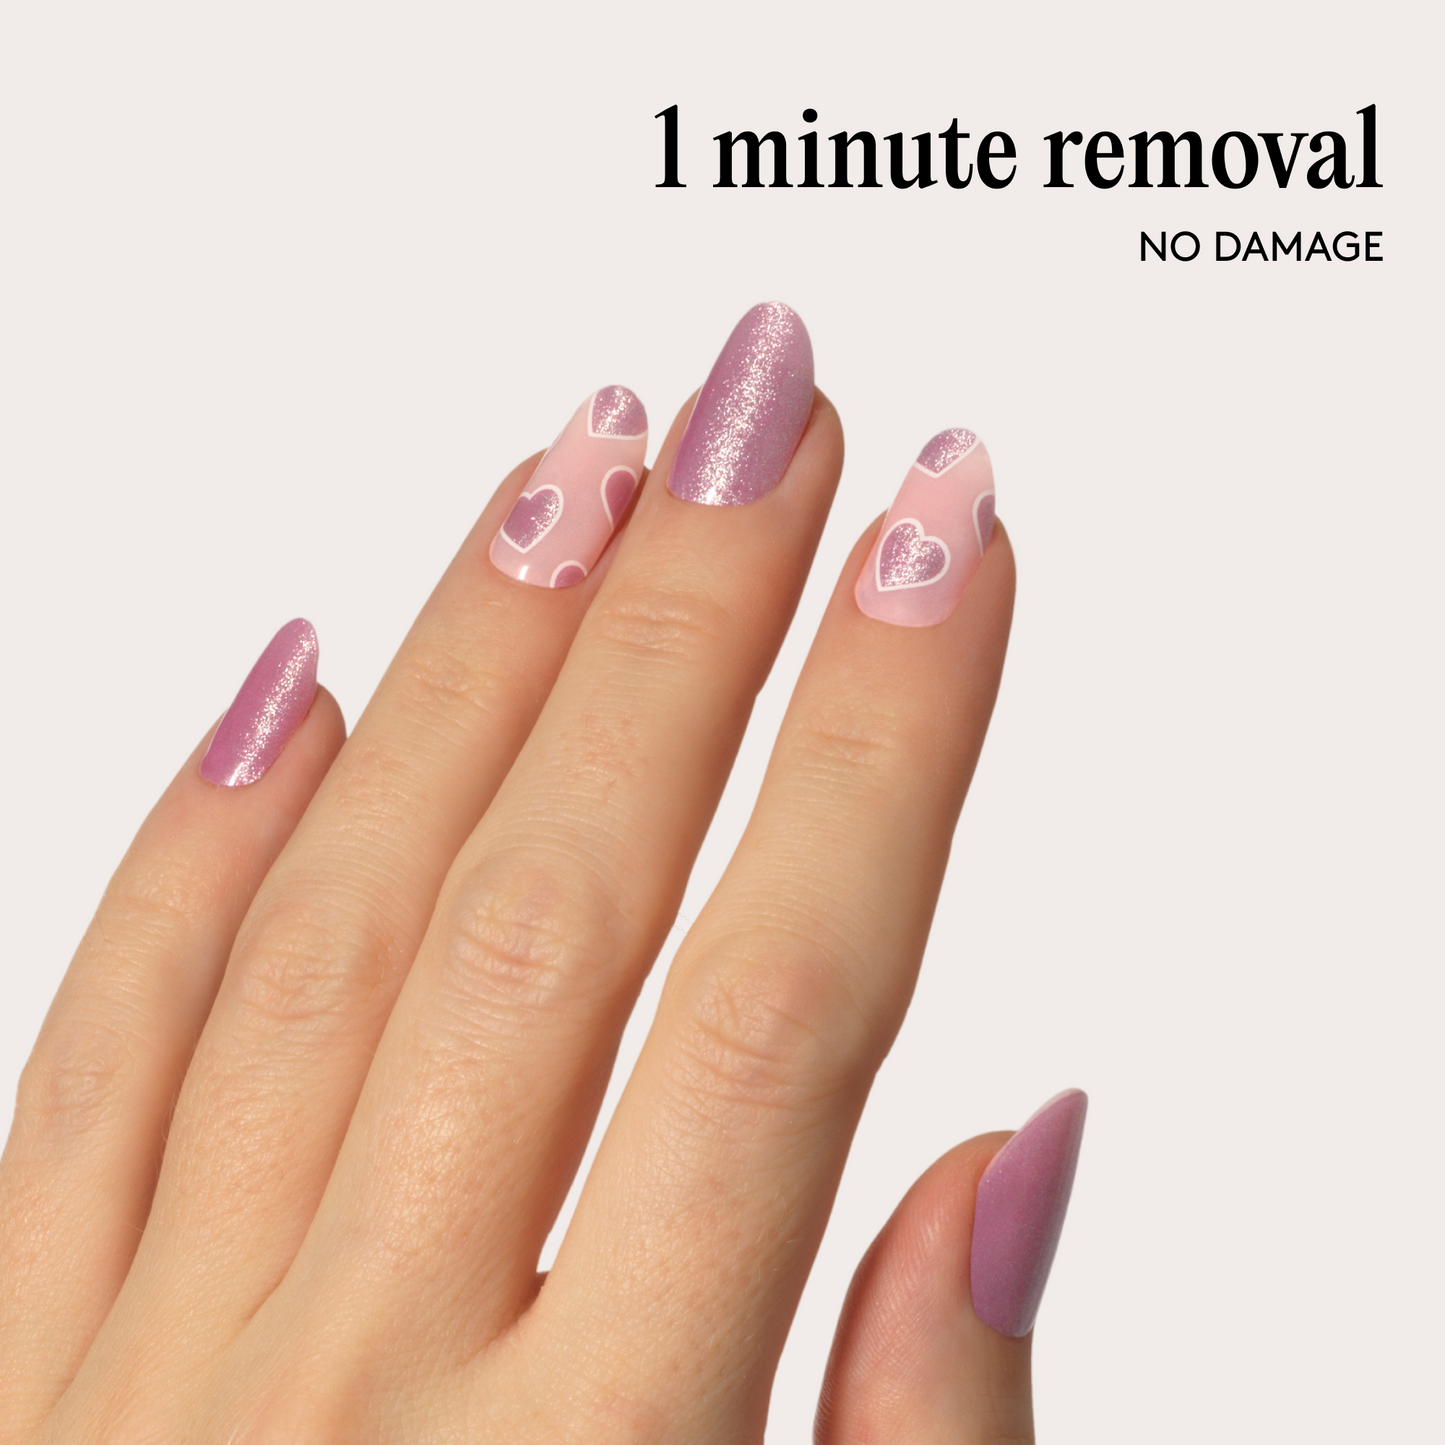
Enjoy quick, damage-free removal in just 1 minute. Apply Mylee Wrap Remover Oil* around the edges of the wrap. Gently lift one side with a Mylee Wooden Cuticle Stick and slowly slide it underneath, adding more oil as needed. Once removed, wipe your nails and wash your hands.
*Product sold separately.
Discover our tips and tricks to get the best results when applying your Gel Nail Wraps!
PREP:
APPLICATION:
FILING:
AFTER CARE:


Use a Wooden Cuticle Stick to push back your cuticles. Remove the shine from your nail plates using a 240 grit nail file. Cleanse each nail using a Lint Free Wipe* soaked in Prep & Wipe* to remove any oils or washing your hands is a good alternative. If your nails are naturally oily, apply Nail Dehydrator* as an extra step after cleansing.

Choose your favourite design and select the right width wrap for each nail. Peel the wrap from the sheet, touching only the end that won’t go on the nail. Apply the wrap as close to the cuticle as possible without touching the skin. Press the wrap firmly from the centre outwards to avoid air bubbles. Use your thumb to press down and seal the edges.

Trim any excess as close to your nail length as possible using Curved Edged Scissors* to prevent the wrap being trapped and peeling off (the nail edges and the wraps must be aligned). Once you have cut off all the excesses, press the wrap down again to fully seal it in place. Lightly file underneath the free edge if need be, in only one direction, from top to bottom, using a 180 grit nail file. Avoid applying any oils or getting your hands wet for at least 2 hours after application to ensure maximum adhesion. Then you're set for up to 14 days!

Quick, damage-free removal in just 1 minute. Apply Mylee Wrap Remover Oil around the edges of the wrap. Gently lift one side with a Wooden Cuticle Stick and slowly slide it underneath, adding more oil as needed. Once removed, wipe your nails and wash your hands.
Tag @mylee On Socials For Your Chance To Be Featured