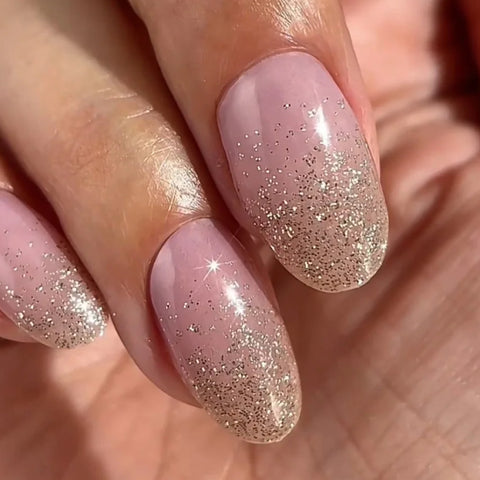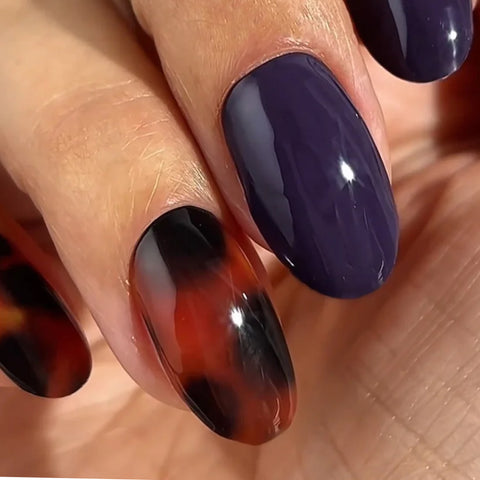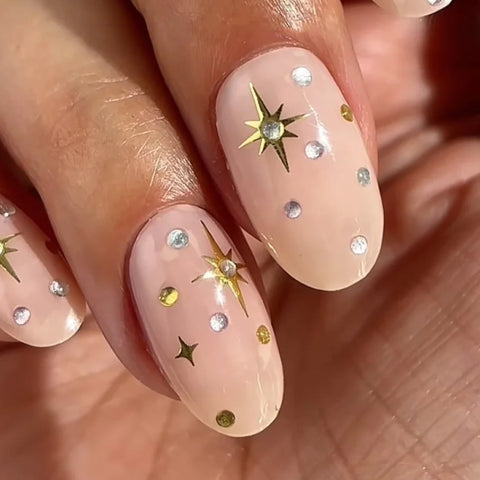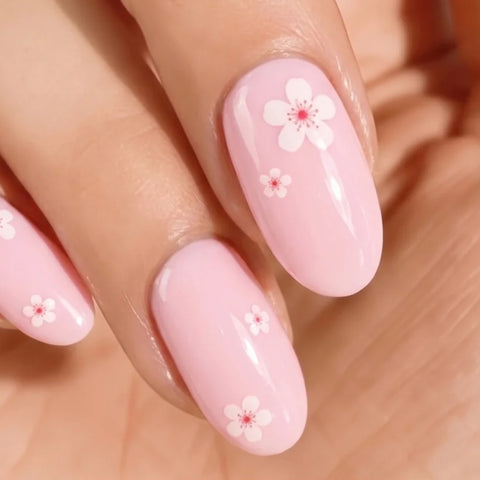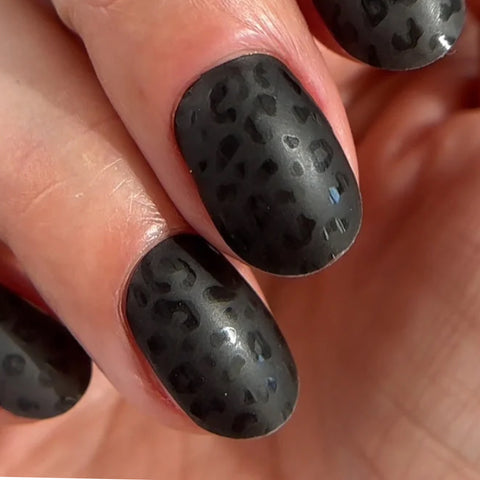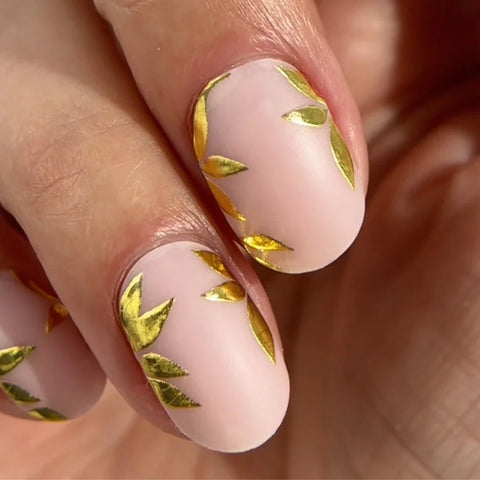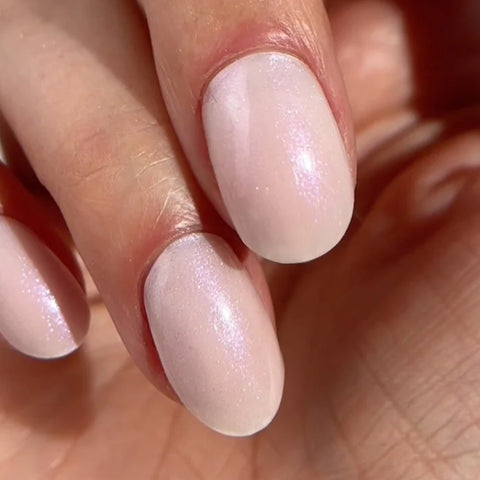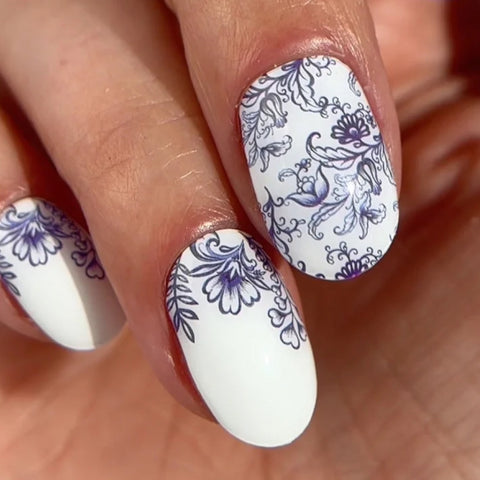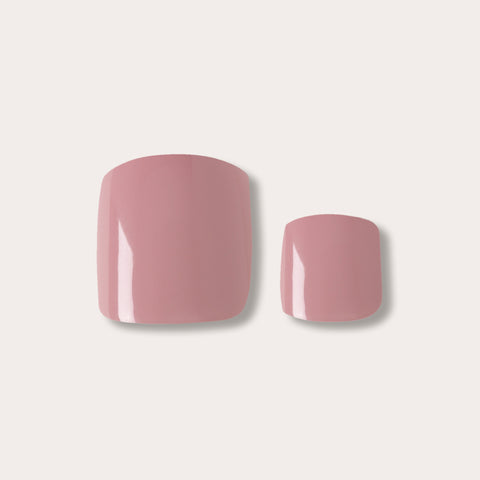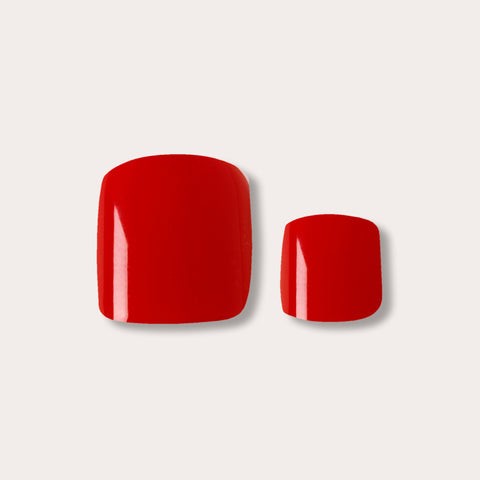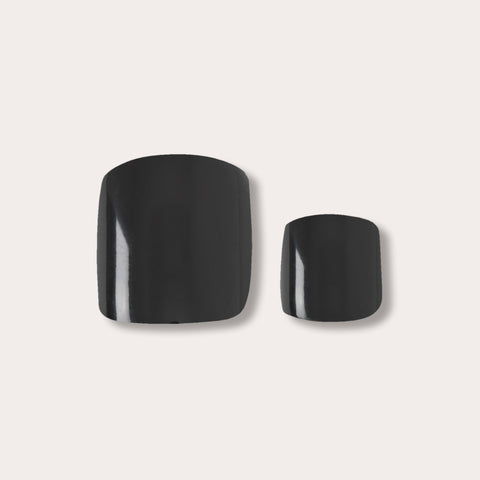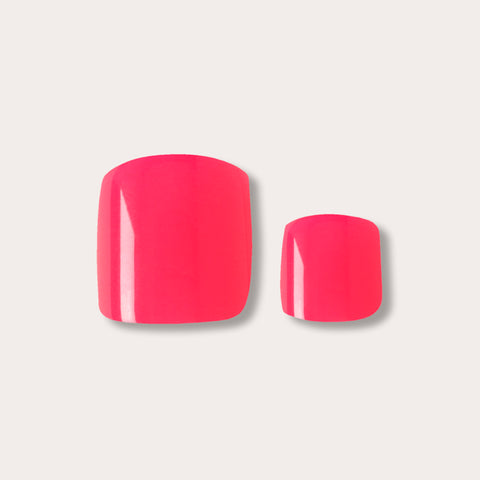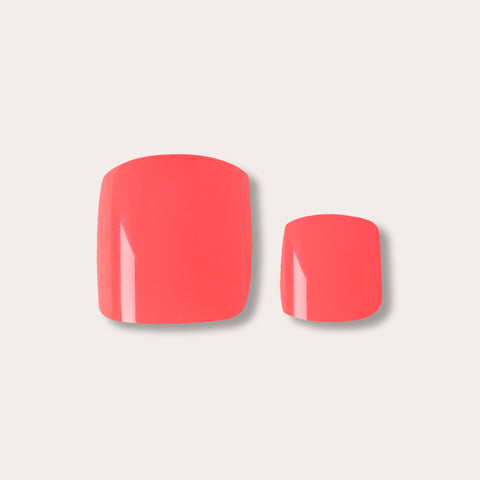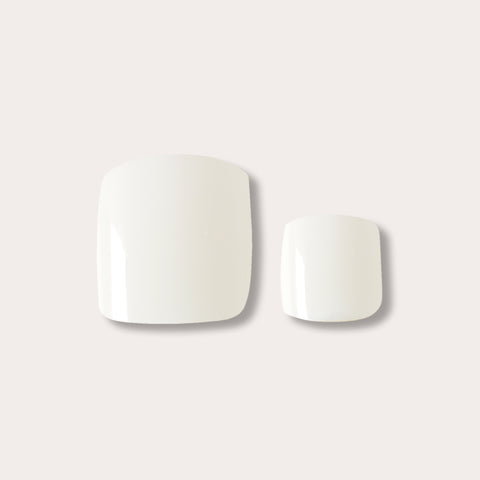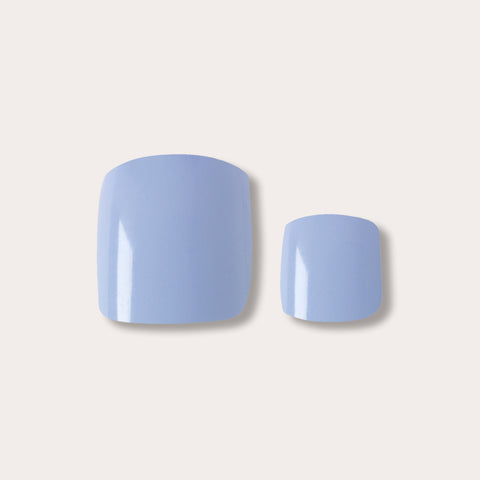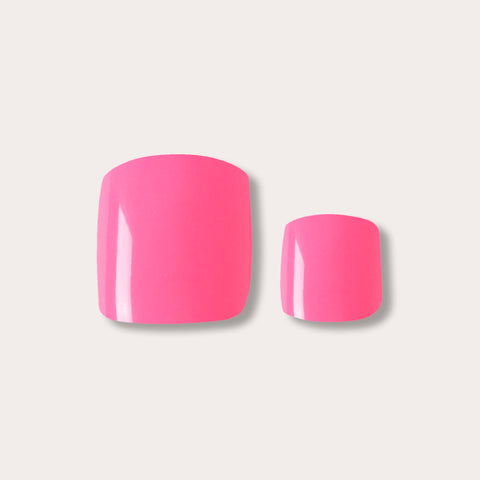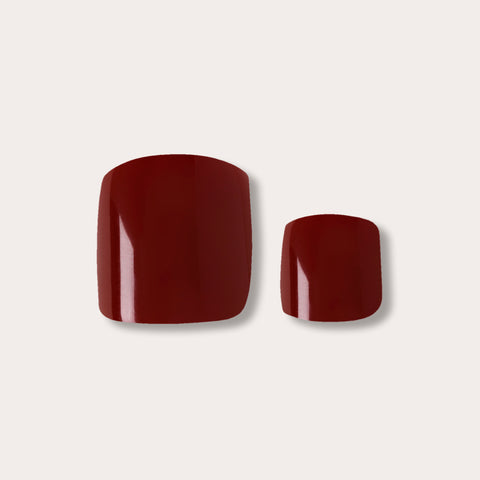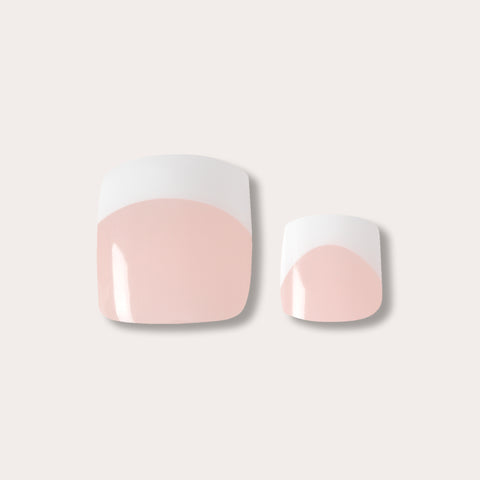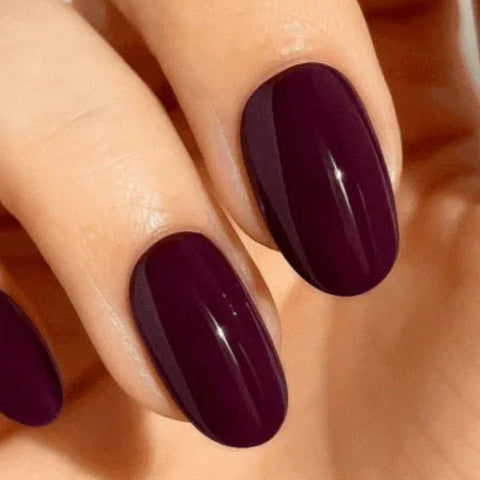
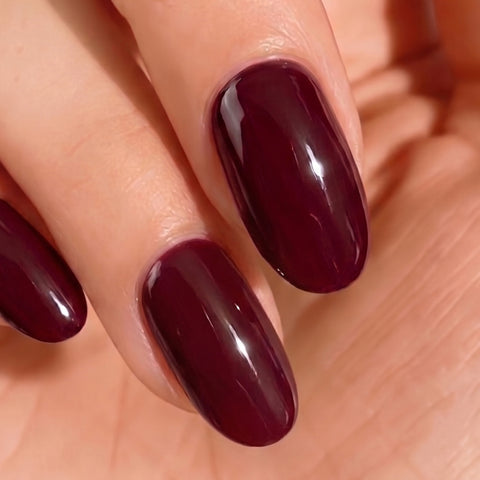
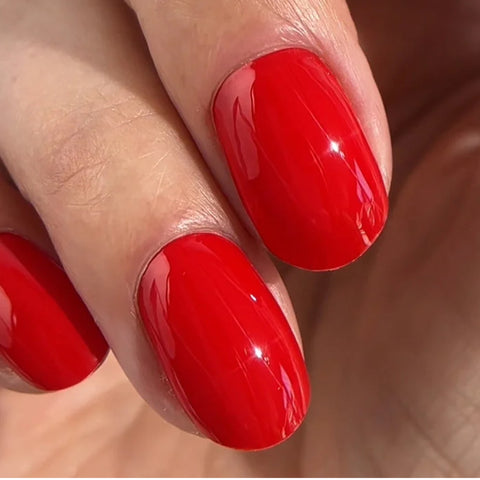
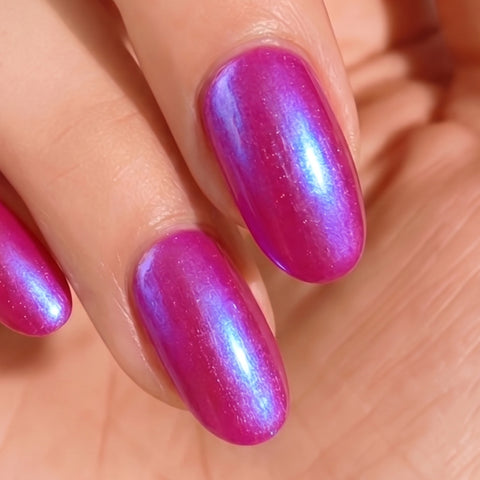
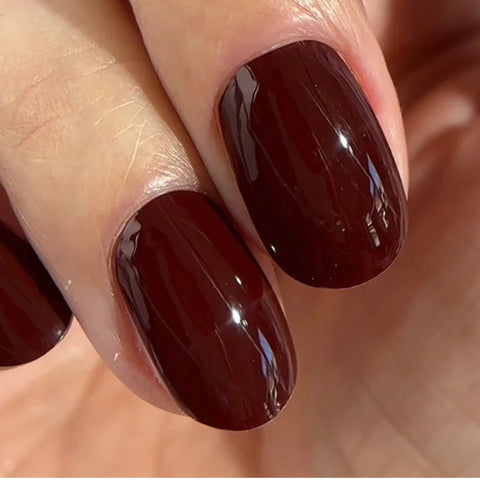
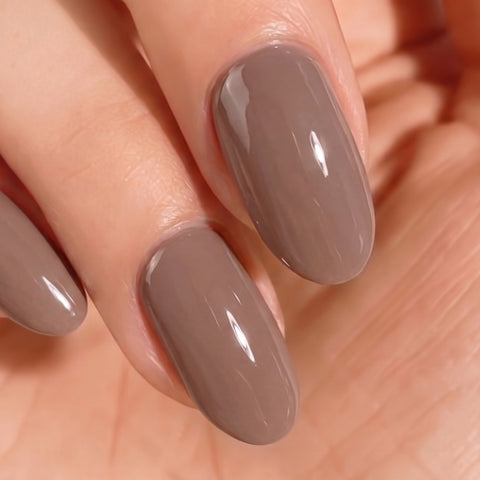
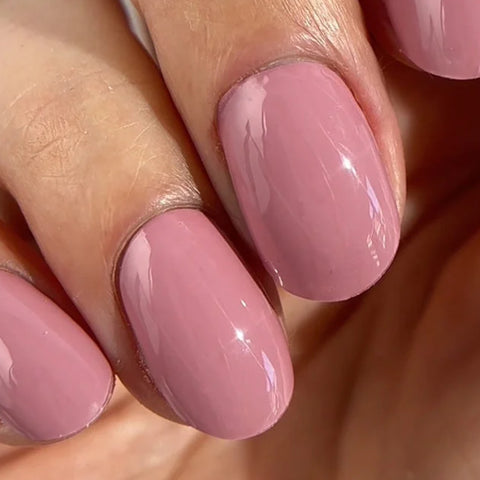
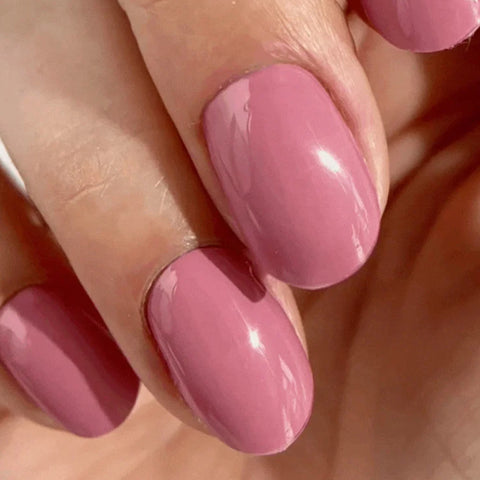
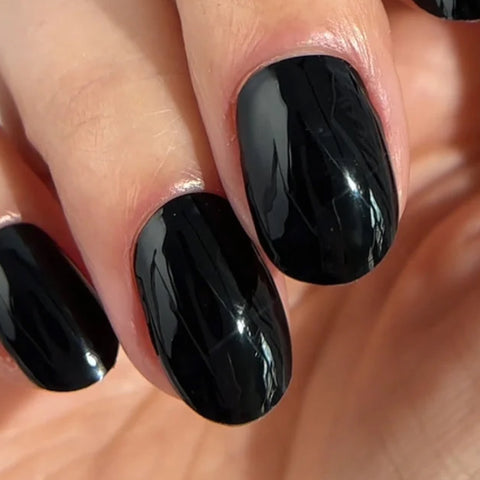
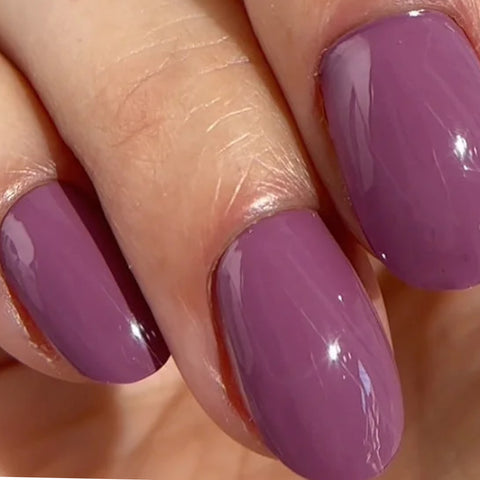
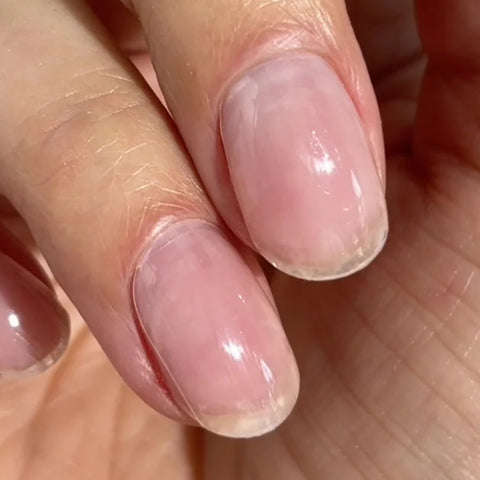
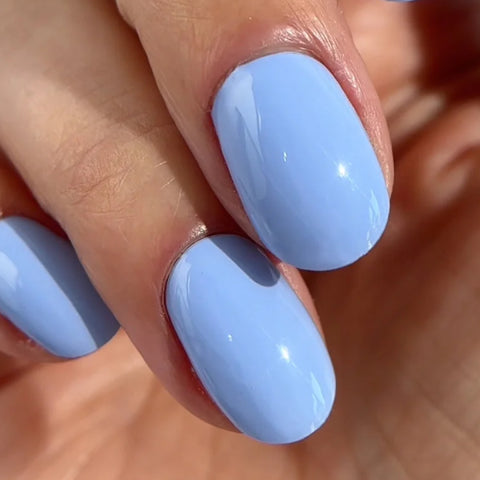
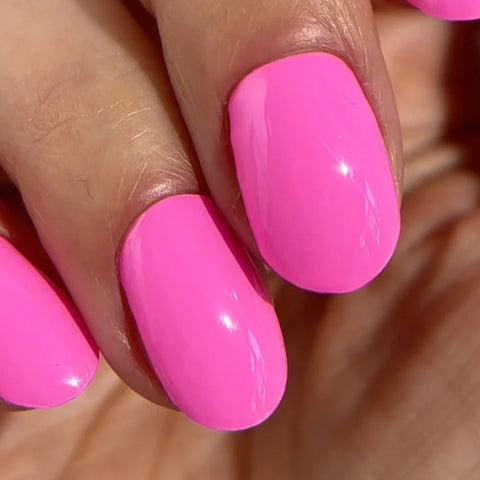
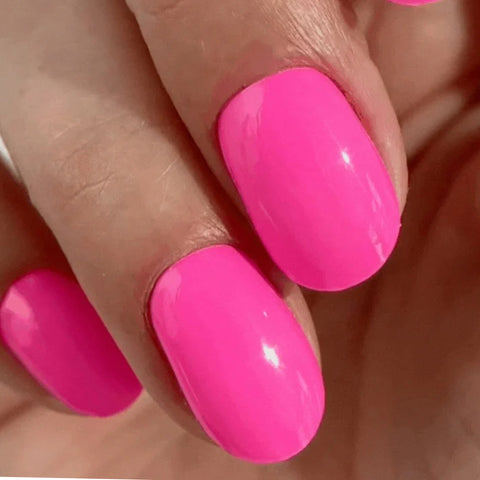
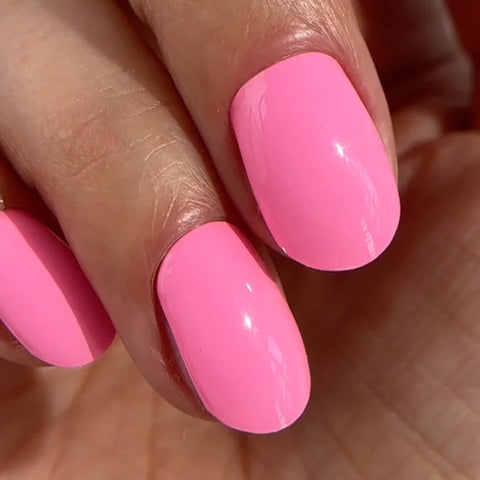
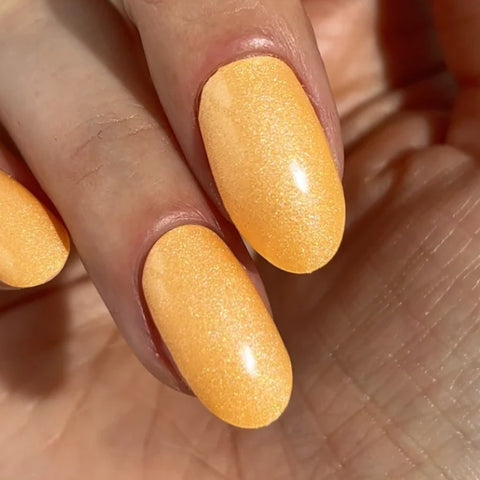


Add more colours to save:
Your first set is on us!
First time with Gel Nail Wraps? We know trying something new can take a little practice. That's why when you buy one set, we'll give you another one free to try.
Step 1: Add 2 Gel Nail Wraps to your bag.
Step 2: Enter the code FIRSTSET at checkout and get 1 pack free.
Step 3: Loved it? Great! If not, return the second unopened pack within 90 days for a full refund.
For the best results, take a look at our 4-step guide to applying and nailing it before you get started. Gel Nail Wraps only.
1 redemption per customer. T&Cs apply & Returns Policy.
Terms and conditions apply.
Free delivery over £35


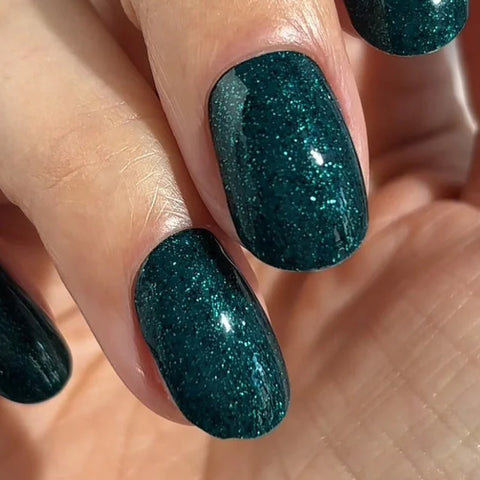
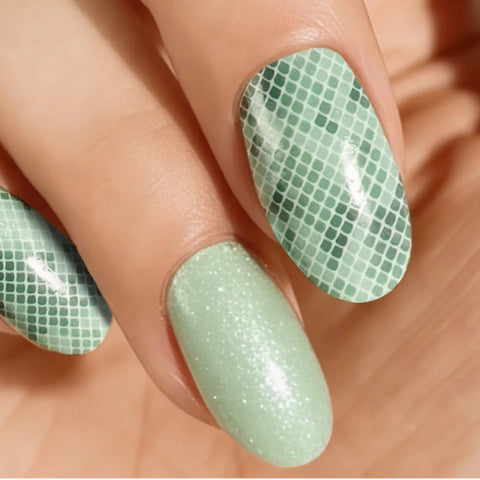
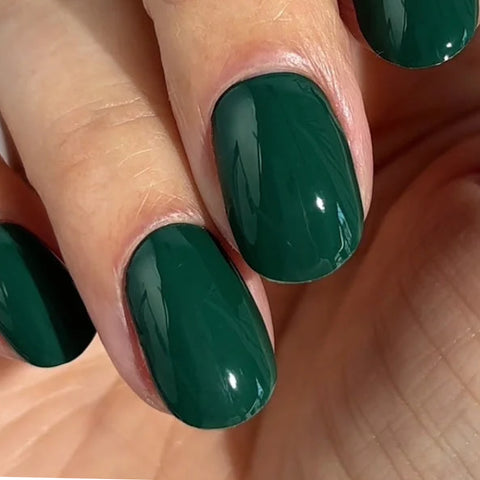
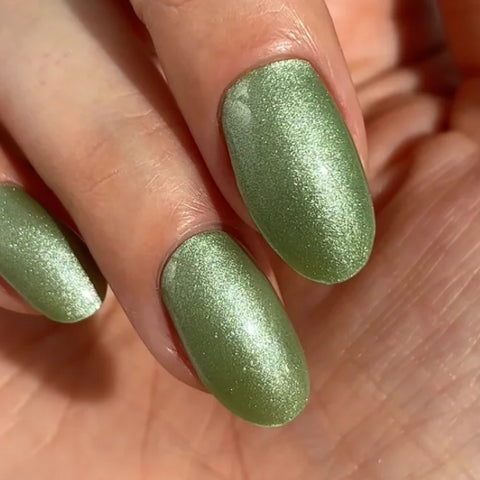
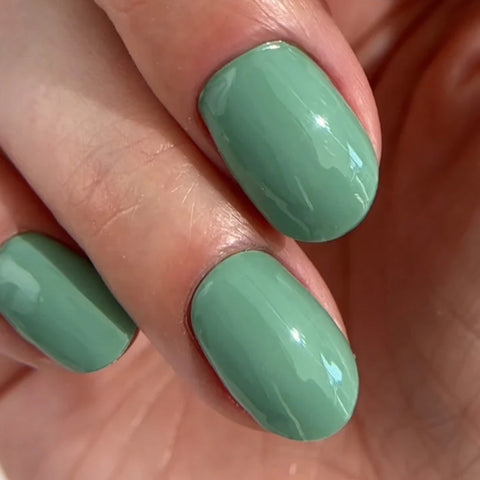
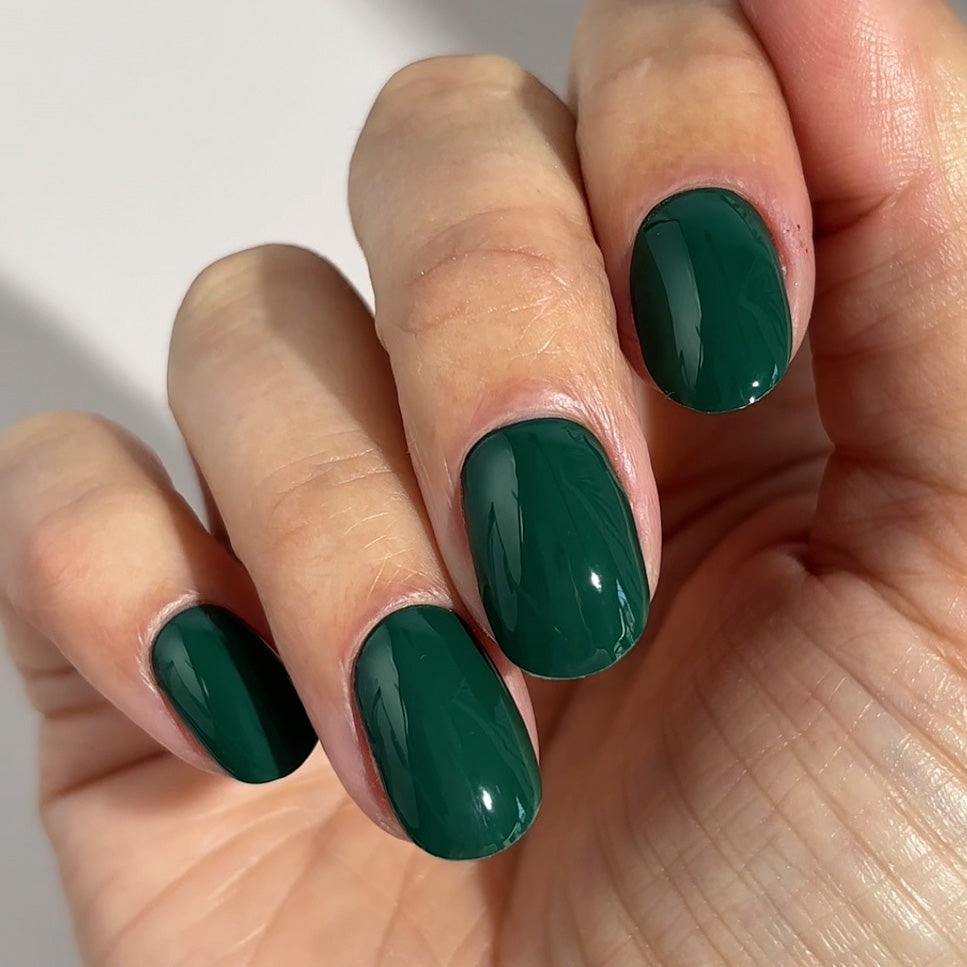
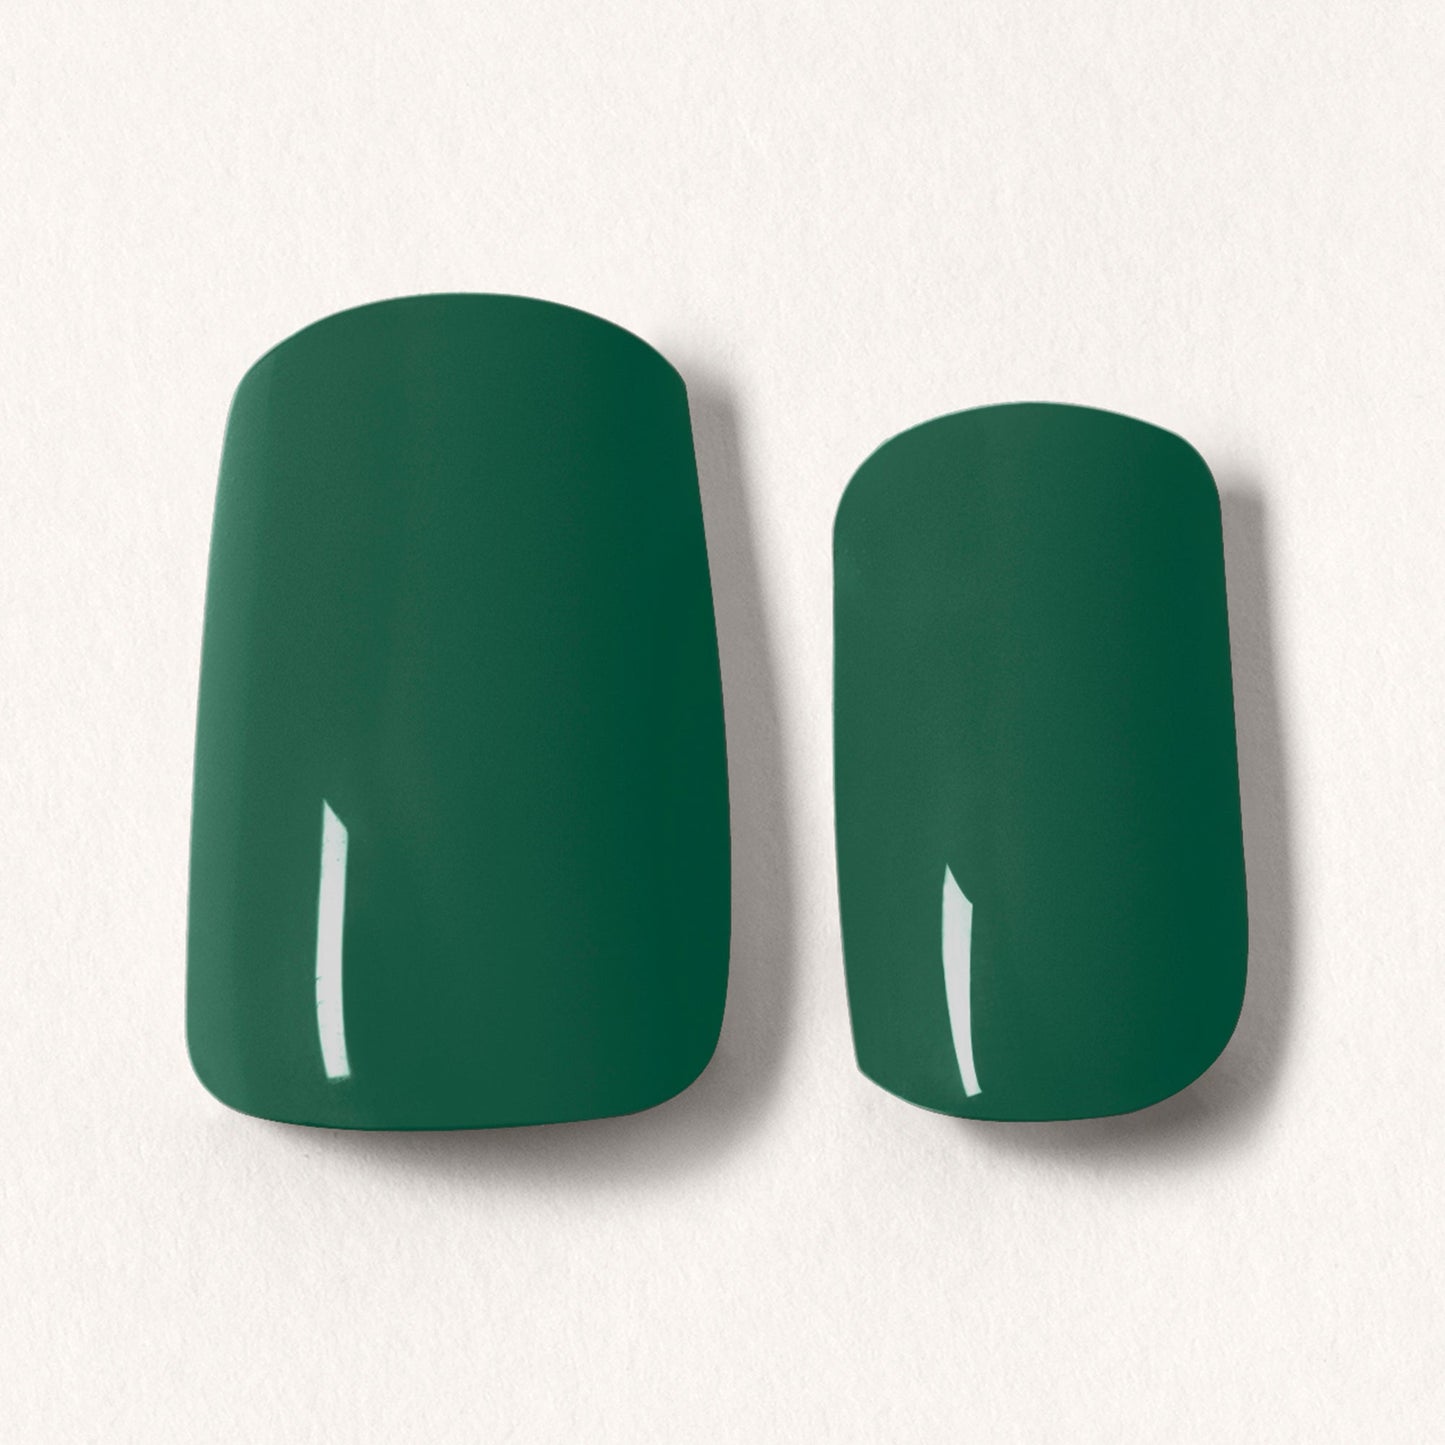
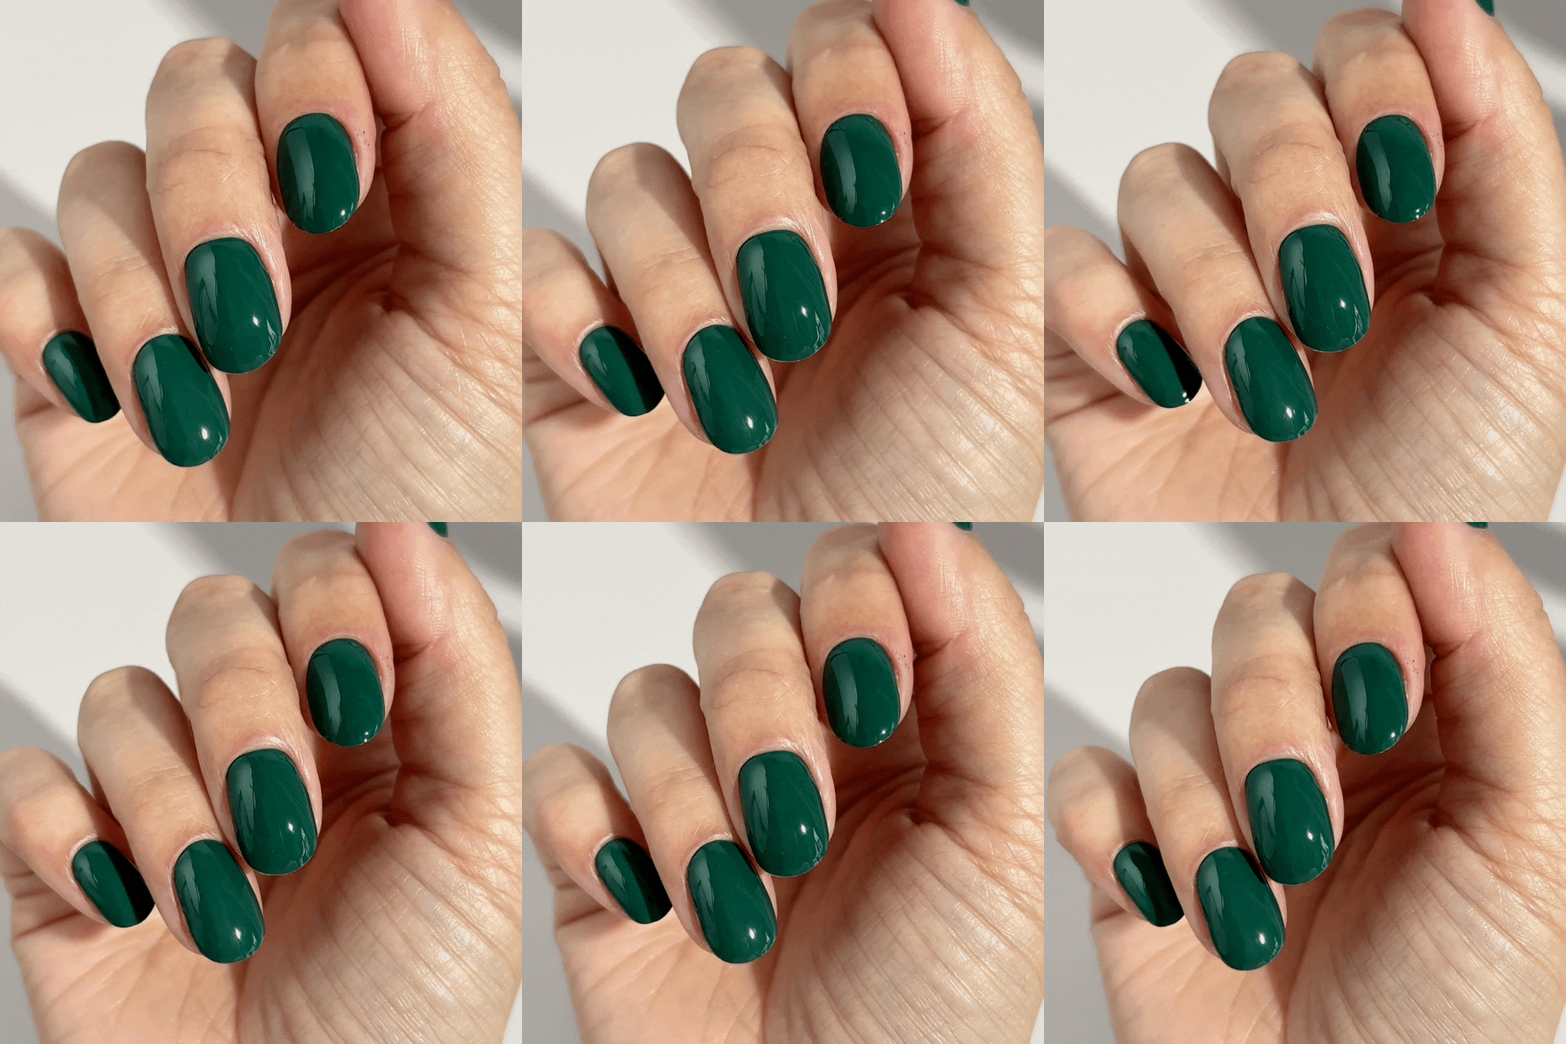
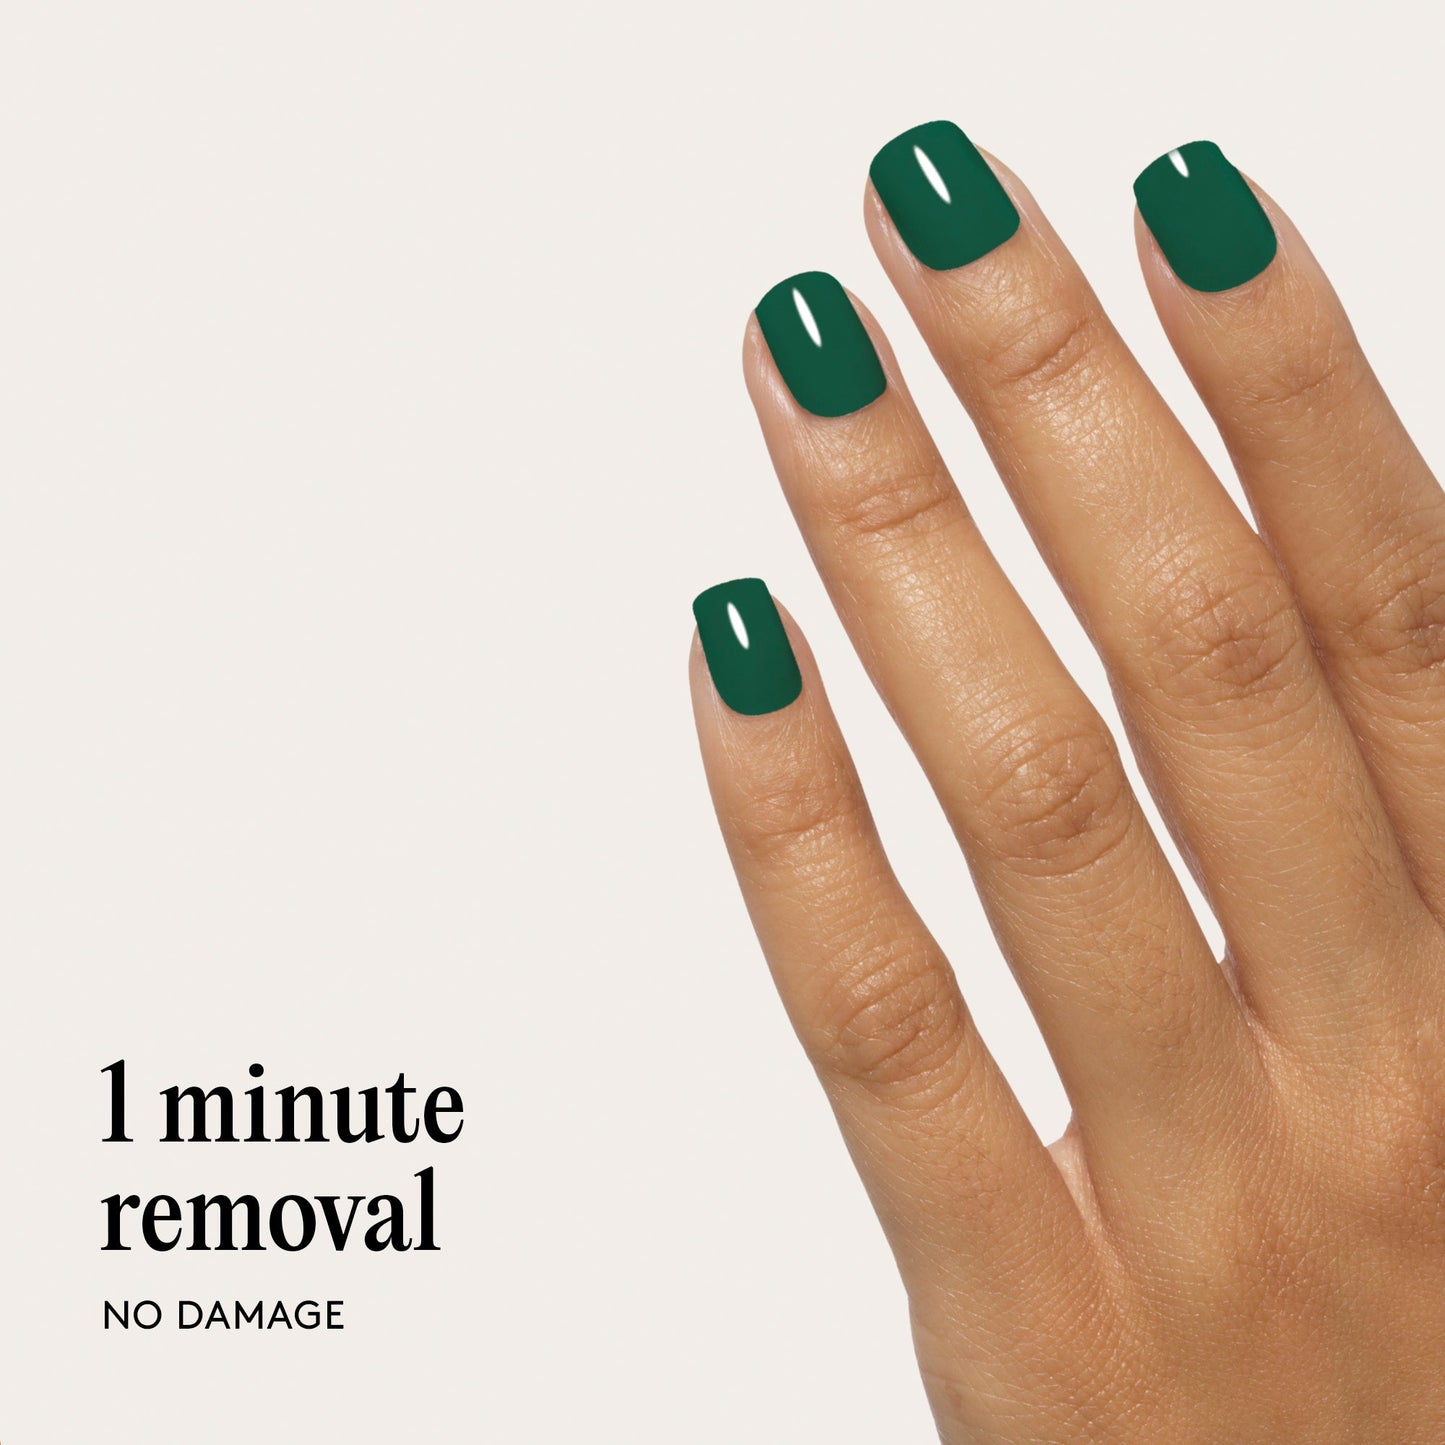
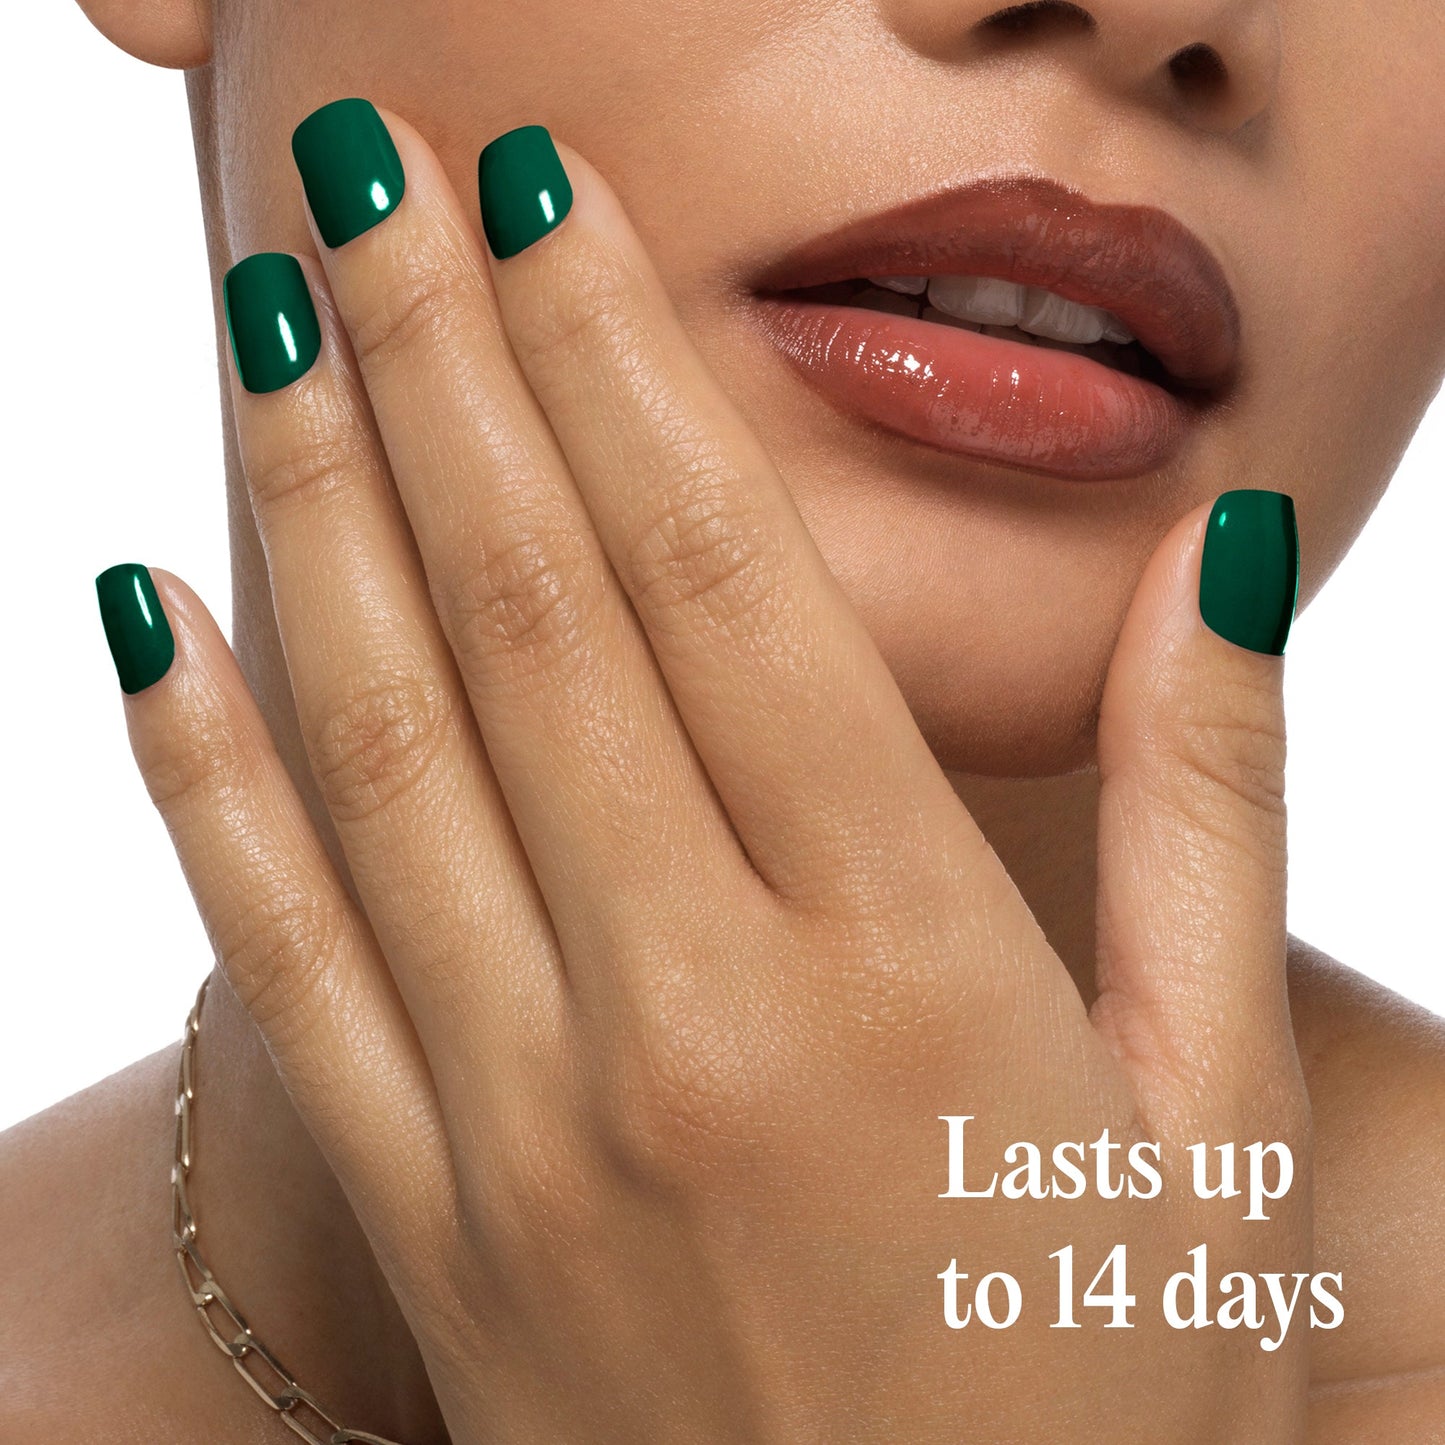
A lush, deep green finish with a velvety texture that screams sophistication. This shade oozes regal vibes, making it the ultimate envy-inducing look. Whether it’s a glamorous night out or everyday elegance, this design elevates any mani. Go ahead, indulge in luxury with Green Velvet.
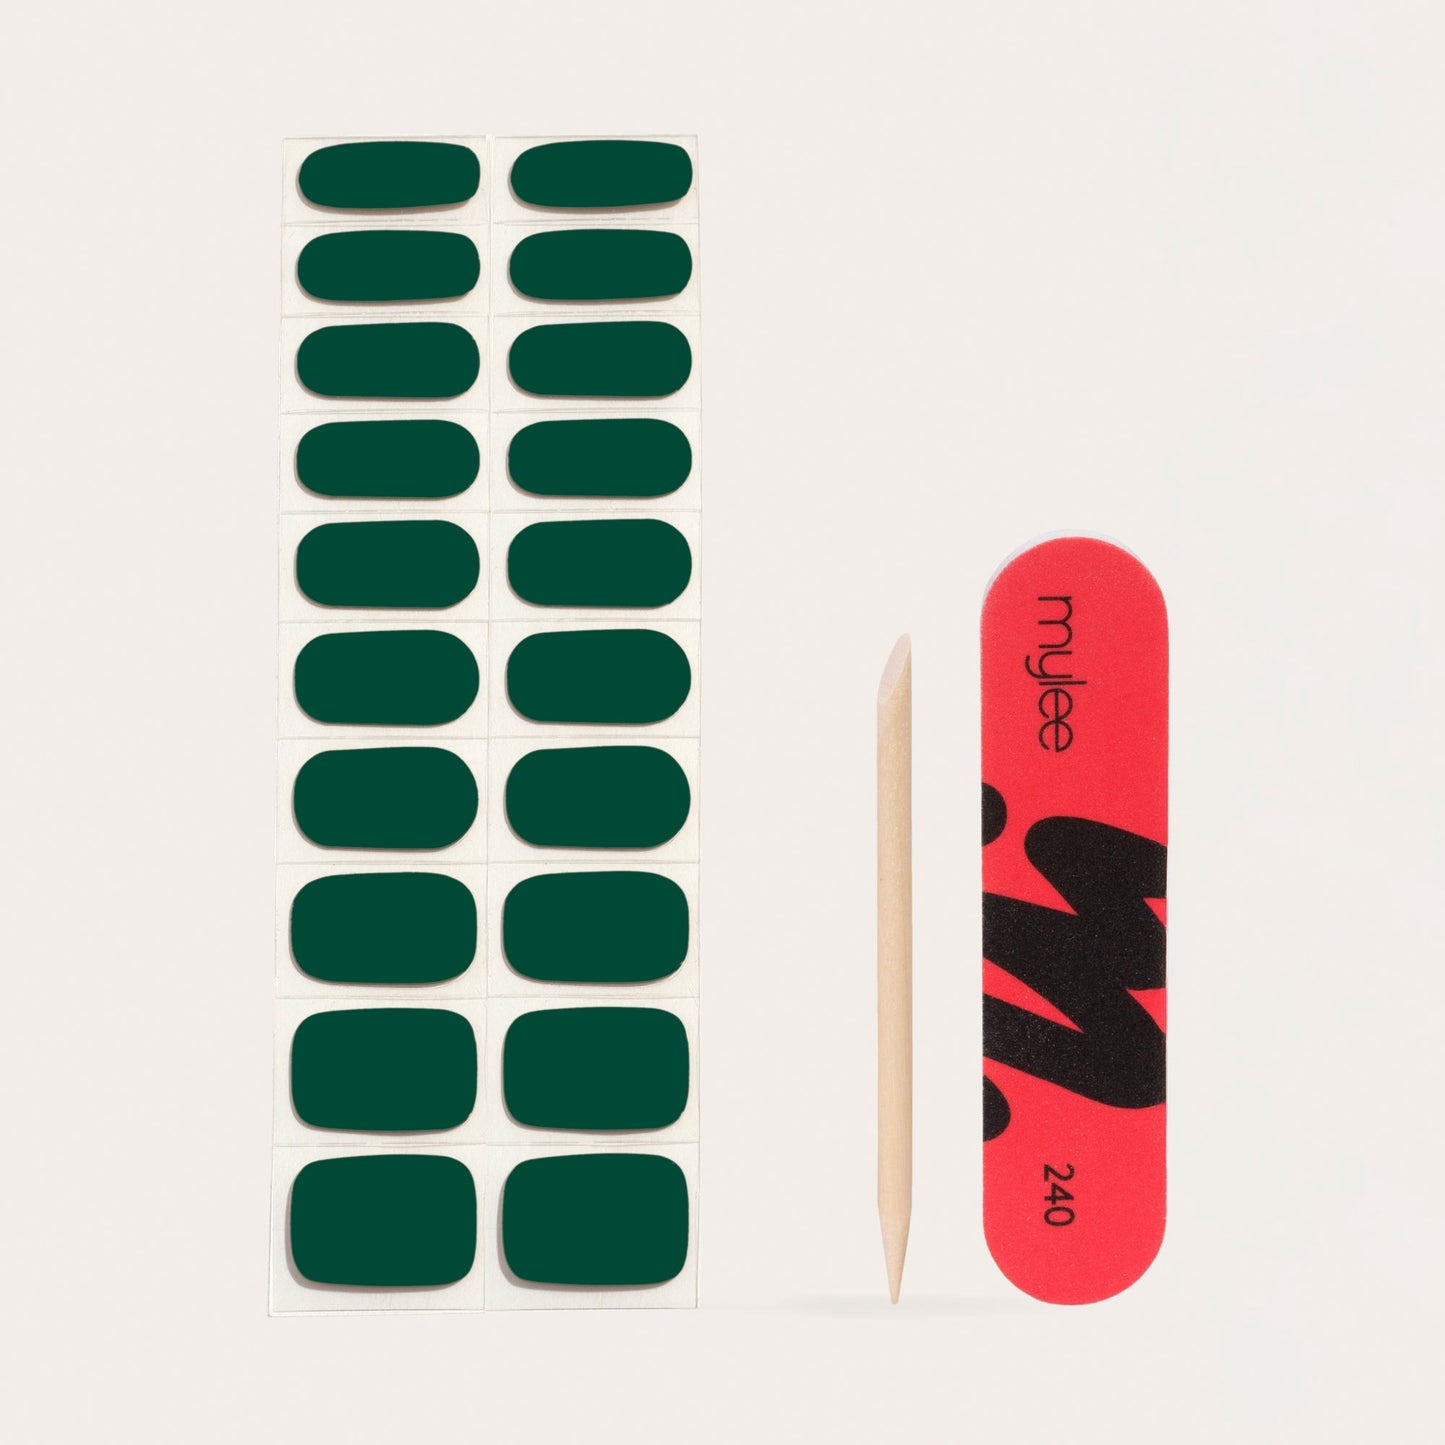
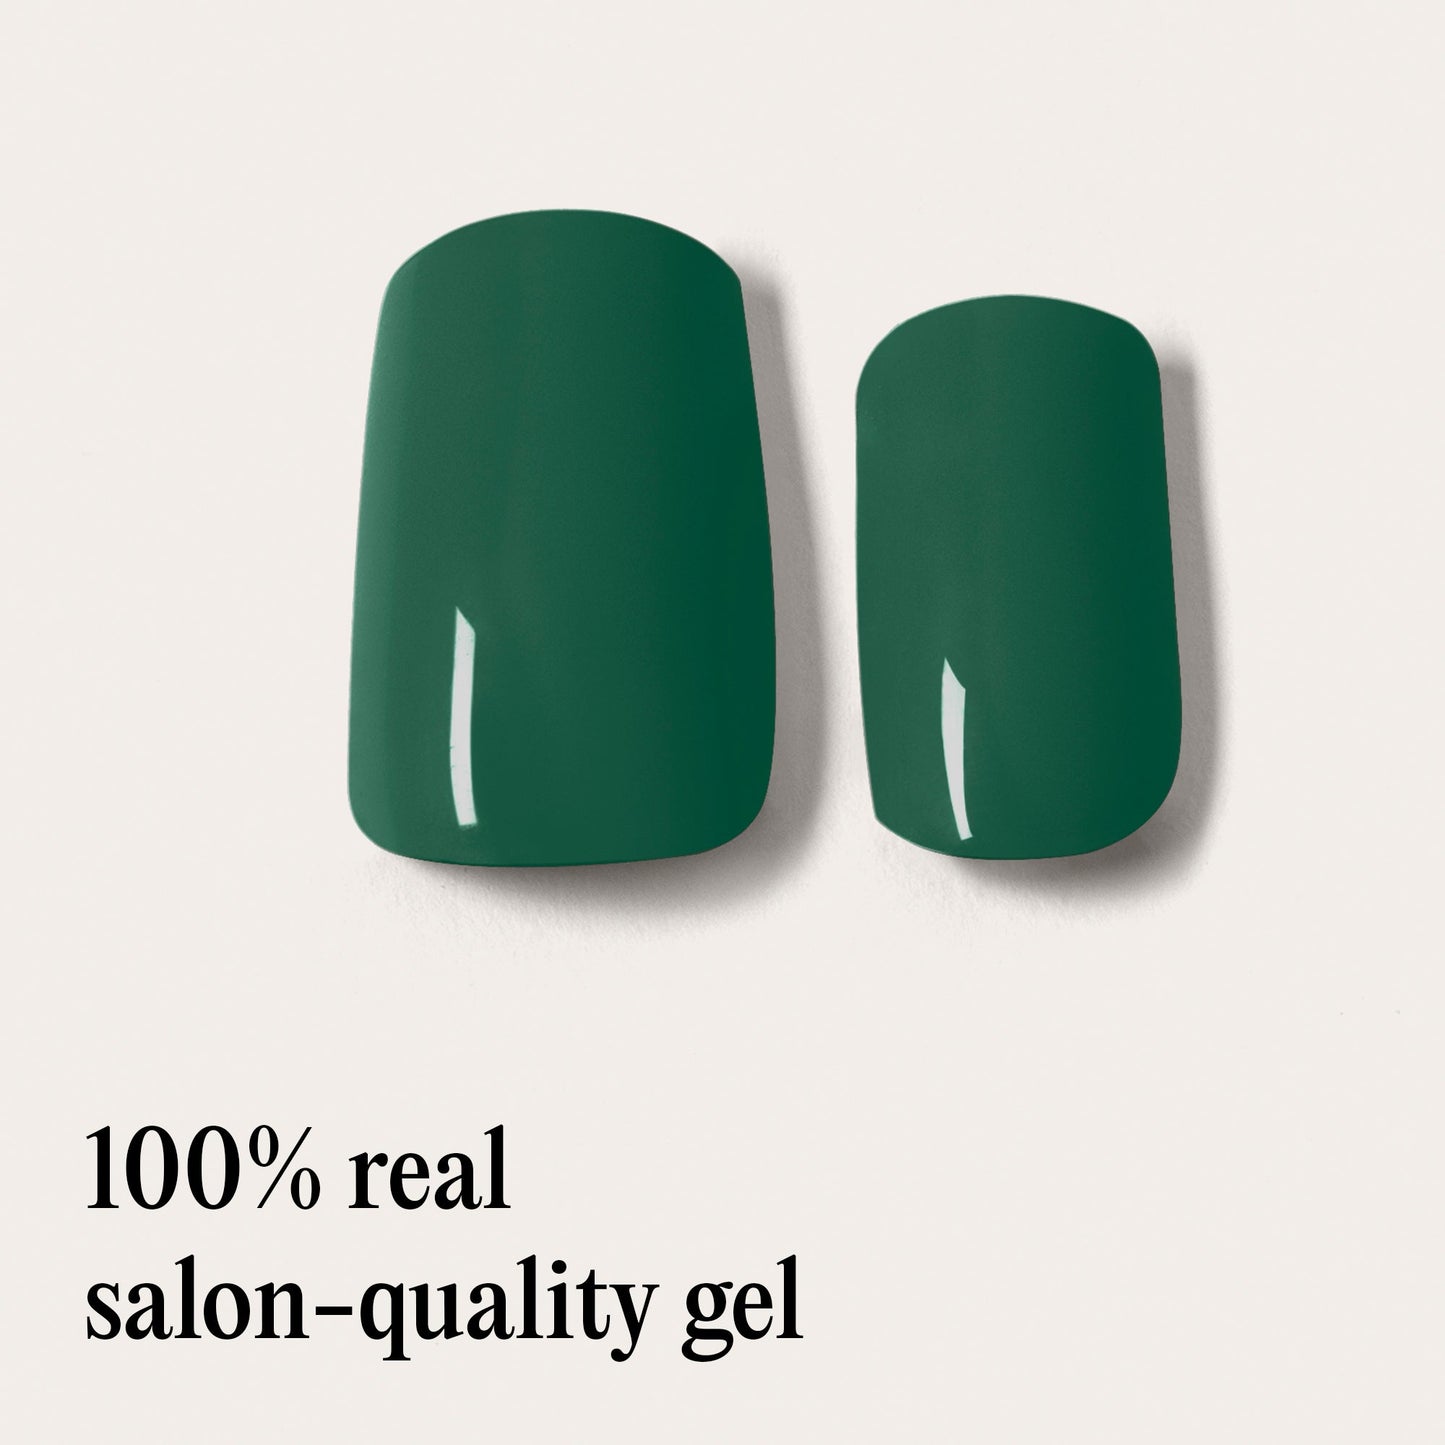
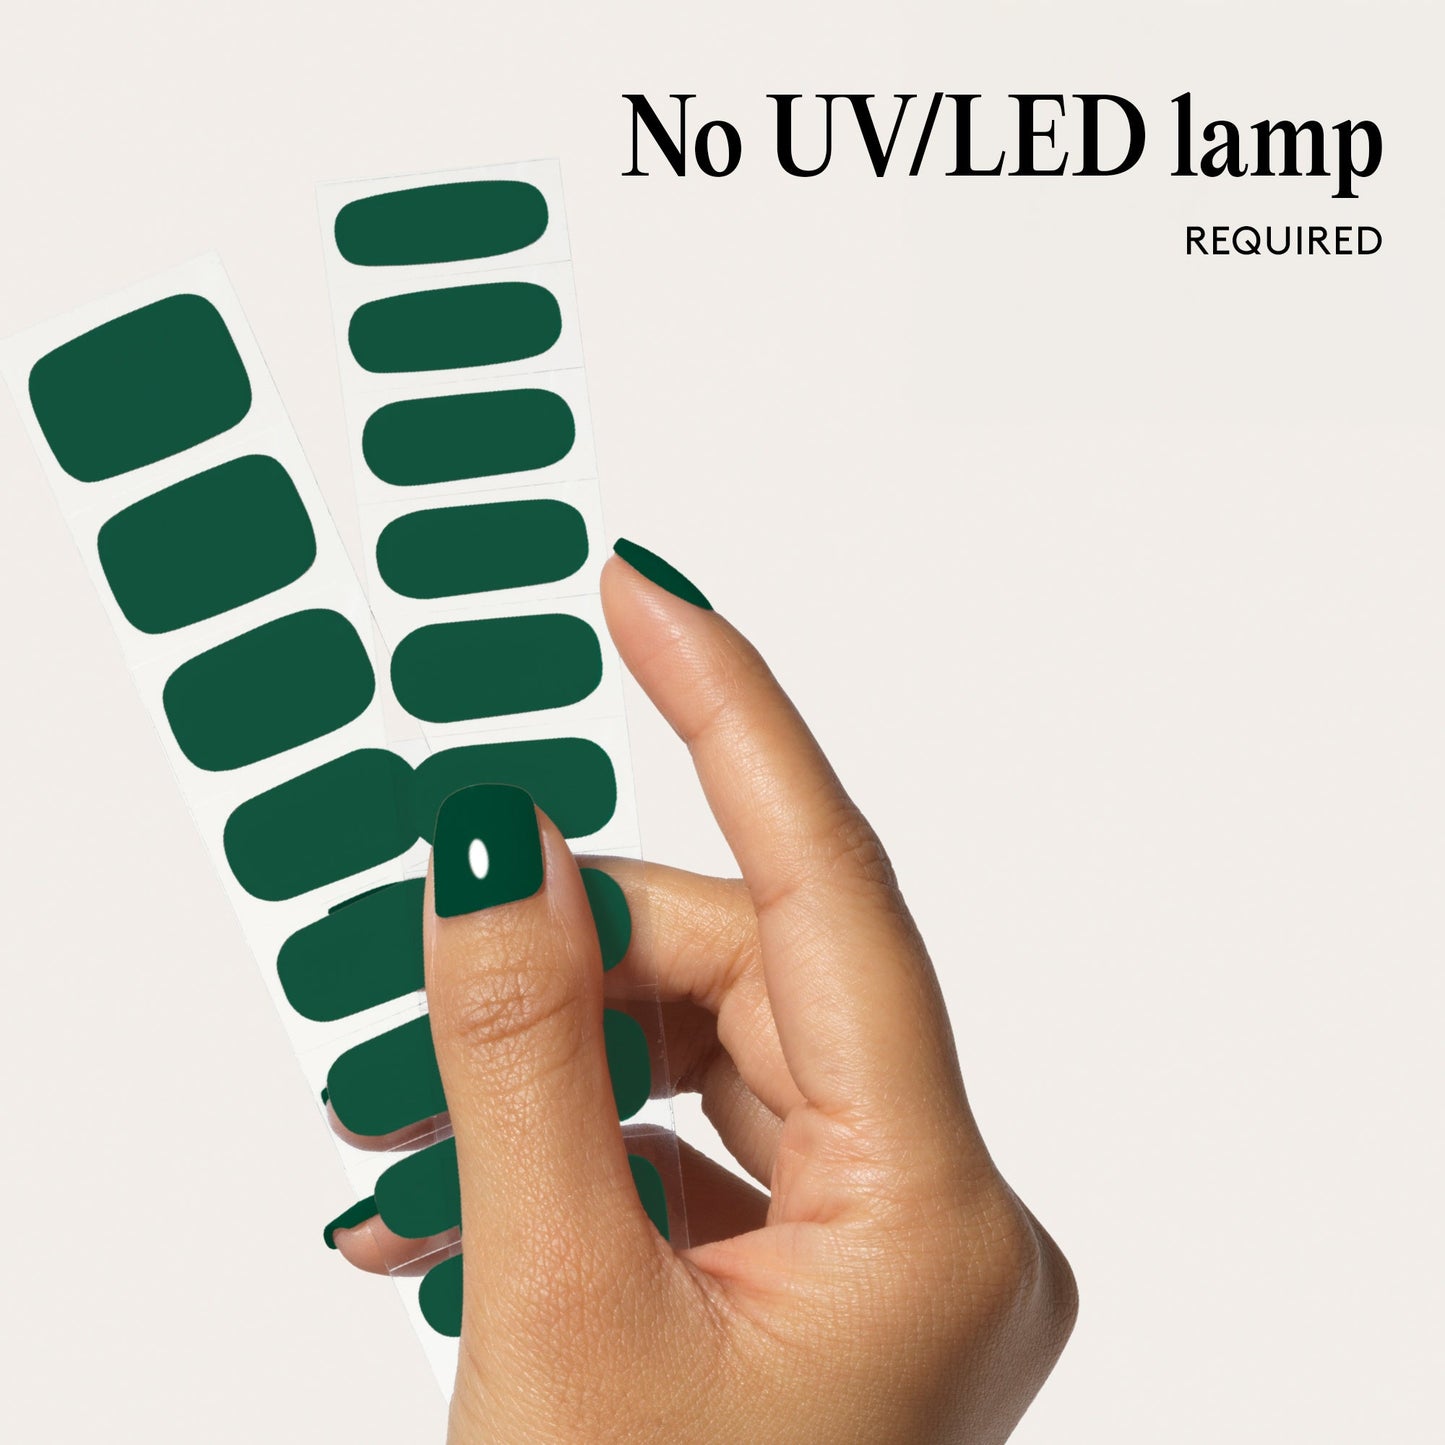
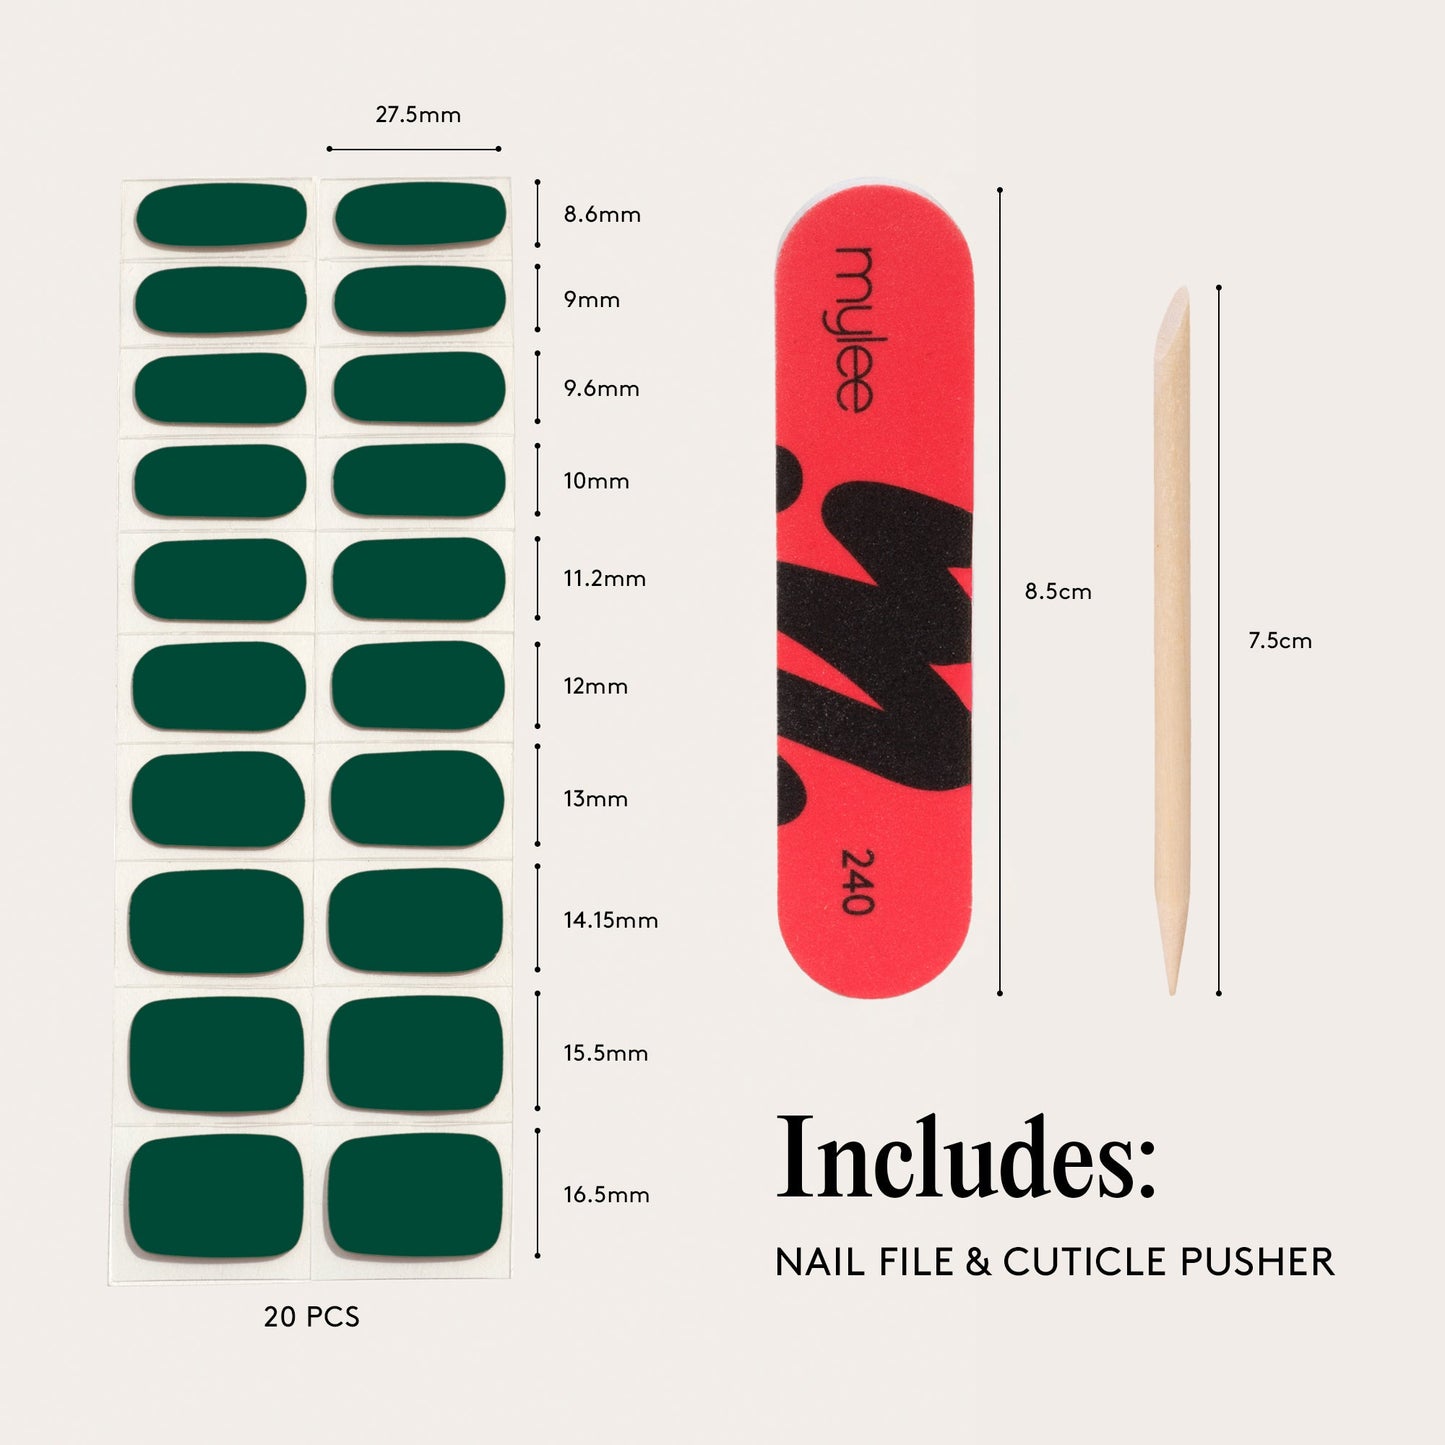
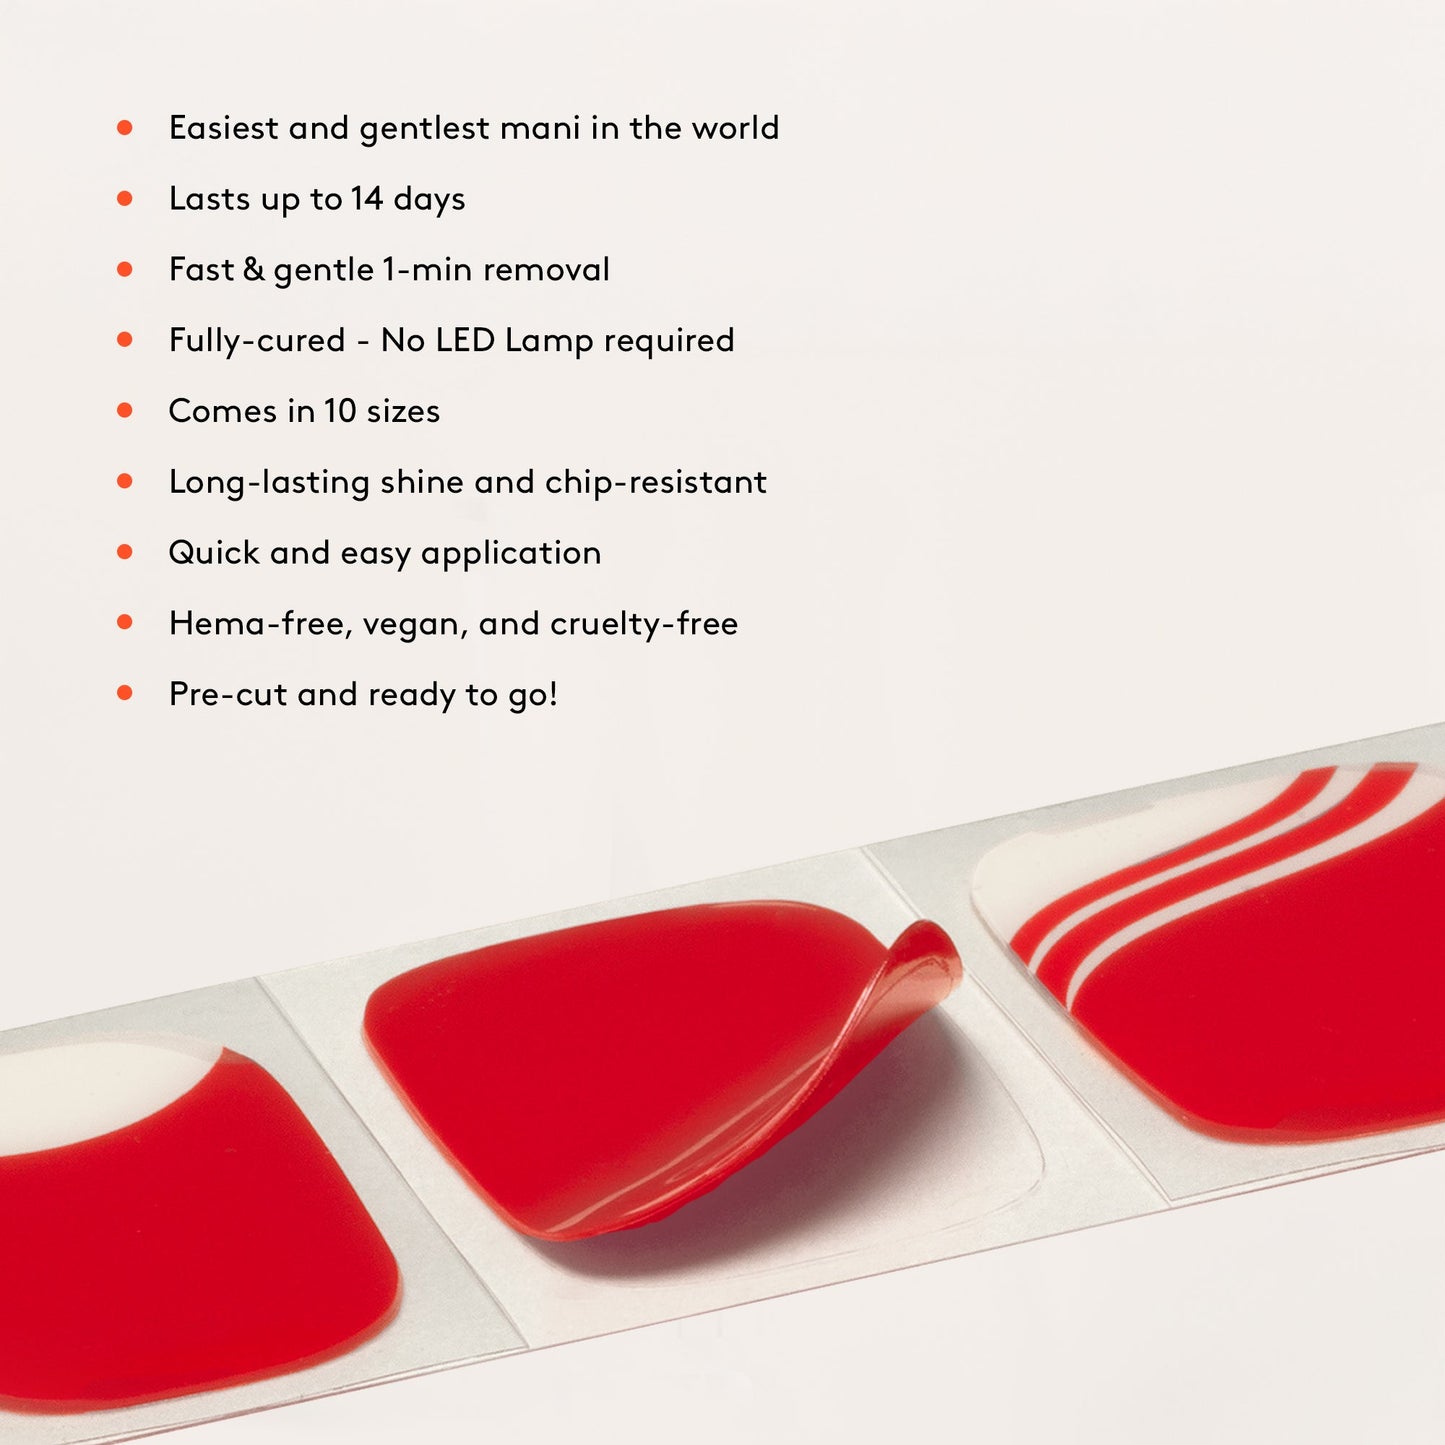
These fully cured wraps are crafted from 100% real gel, delivering a flawless, salon-quality mani with a quick and easy application - no UV lamp or polish needed. Just peel, press, and smooth for an instantly perfect finish with no drying time, smudging, or mistakes. Ready to switch? It only takes minutes!
Product Code: MYL-GNW-0020
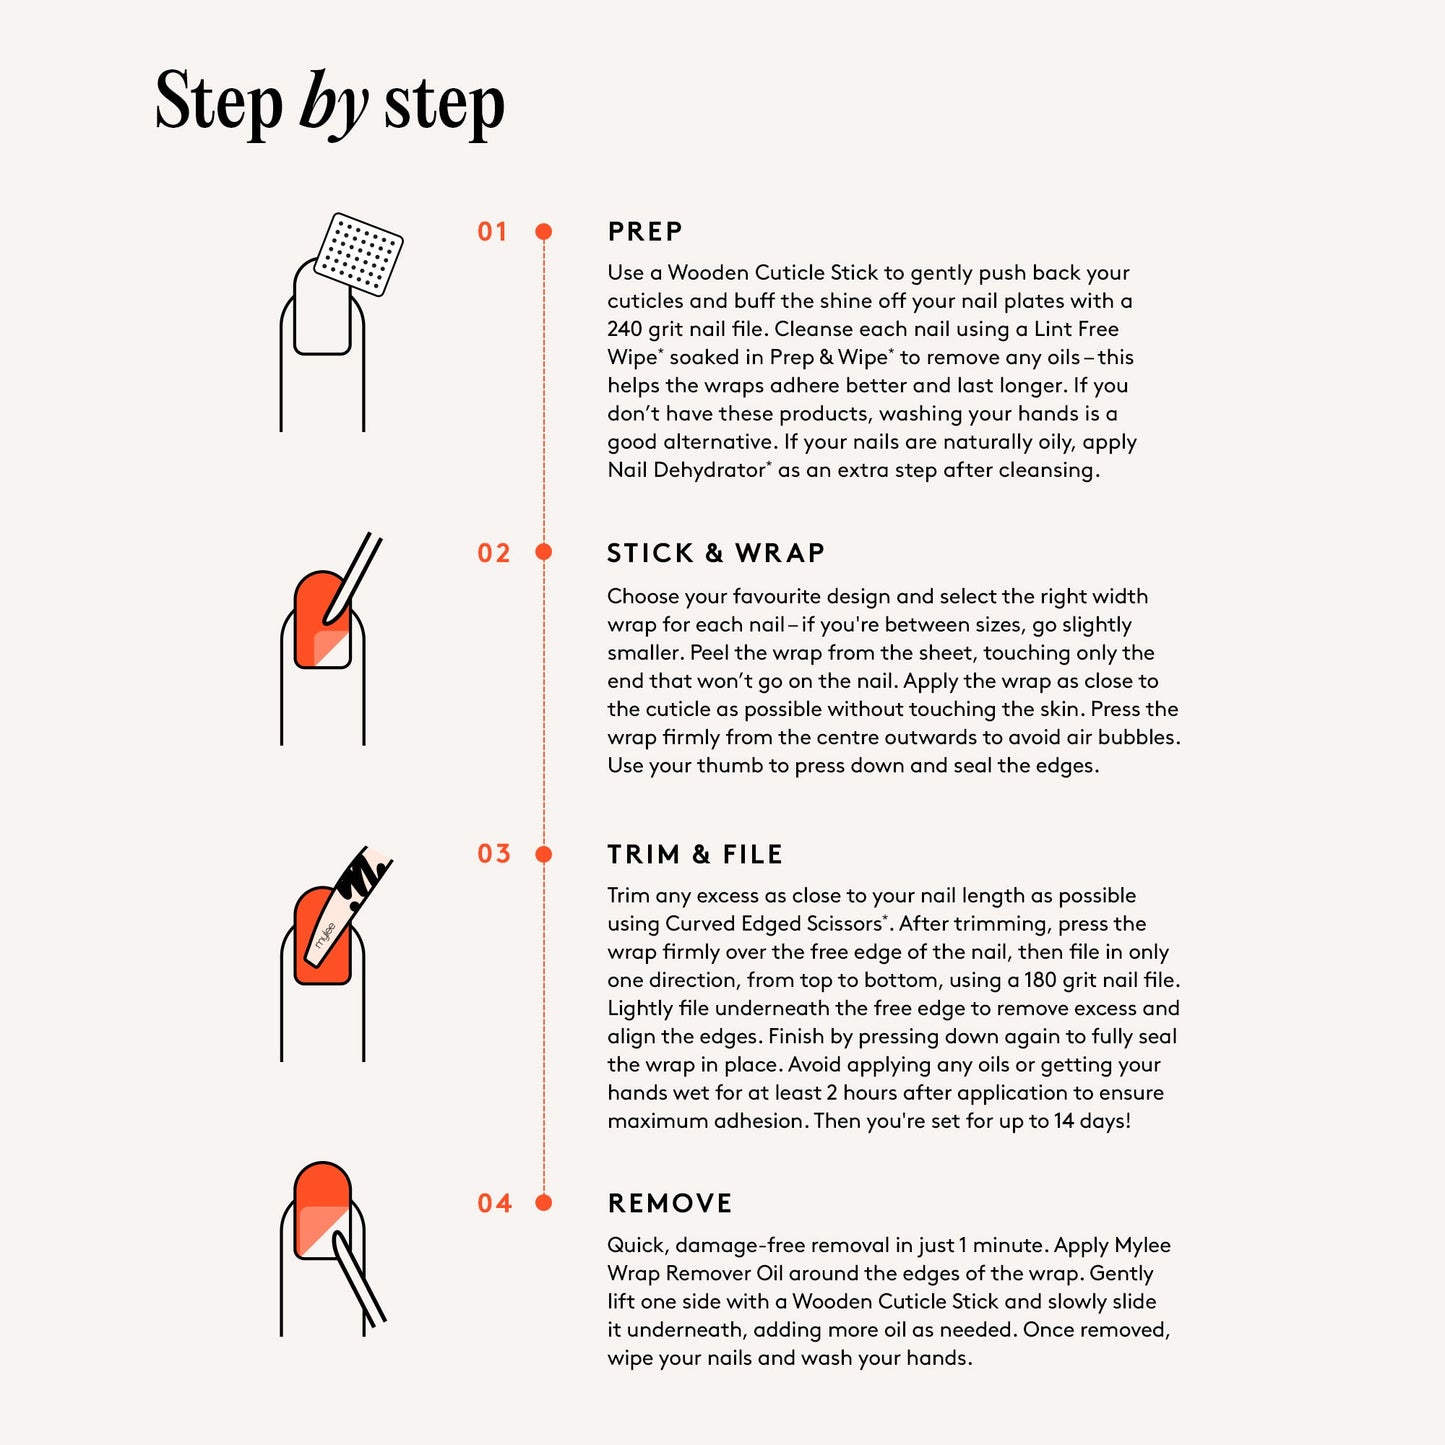
STEP 1: PUSH CUTICLES, BUFF & CLEANSE
Start by making sure your hands are clean and completely dry. File your nails straight across using the Mylee 240 Grit Nail File and gently refine the edges to create a neat, even shape for the wraps to sit on.
Apply a small amount of Mylee Cuticle Remover* around the base of each nail, then gently push back the cuticles. Even small traces of cuticle can stop the wraps from adhering properly, so take your time with this step. If needed, use a Mylee Metal Cuticle Pusher* to remove any excess skin from the nail plate and ensure a clean, smooth surface.
Buff the nail surface to remove natural shine and create a smooth base for application. Cleanse each nail using a Mylee Lint-Free Wipe* soaked in Mylee 2-in-1 Nail Prep & Wipe* to remove any dust or oils. If you don’t have these, wash your hands with warm, soapy water and dry thoroughly. If your nails tend to be oily, apply Mylee Nail Dehydrator* after cleansing to remove any remaining moisture.
STEP 2: APPLY & PRESS FIRMLY
Choose your favourite design and select the correct size wrap for each nail. If you’re between sizes, choose the slightly larger wrap and trim to fit. For small adjustments, you can gently stretch the wrap so it sits neatly along the sides of the nail.
Peel the wrap from the sheet, touching only the end that won’t go on the nail. Apply it as close to the cuticle as possible without touching the skin.
Press the wrap firmly from the centre outwards to smooth it down and prevent air bubbles. Then use your thumb to press along the sides and edges, ensuring the wrap sits flat and evenly across the nail.
STEP 3: TRIM & ALIGN PRECISELY
Trim any excess wrap as close to your natural nail length as possible using Mylee Curved Edged Scissors*. Ensuring the wrap aligns perfectly with the edge of your nail is key to preventing lifting.
Check that the wrap sits flush with the tip of the nail and isn’t overhanging. If needed, lightly file underneath the free edge using a Mylee 180 Grit Nail File*, working in one direction only (top to bottom) to remove any remaining excess and refine the finish.
STEP 4: PRESS TO SEAL
Press firmly across the entire nail, focusing on the edges and tip to fully seal the wrap in place. This final press helps smooth the finish and secure the edges. Avoid applying oils or getting your hands wet for at least 2 hours after application to ensure maximum adhesion. Once set, enjoy a long-lasting mani with up to 14 days of wear.
*Products sold separately.
Discover our tips and tricks to get the best results when applying your Gel Nail Wraps!
PREP:
APPLICATION:
FILING:
AFTER CARE:
WRAP GLUE INGREDIENTS: Polymethyl Methacrylate.
*Ingredients are subject to change due to regulatory/formulation changes. For the most complete and up-to-date list of ingredients, please refer to the product packaging.


Ensure hands are clean and dry, then shape your nails straight across using a 240-grit file. Apply Cuticle Remover* and gently push back cuticles to ensure a clean nail plate, removing any excess skin. Gently buff away natural shine, then cleanse away dust and oils using a lint-free wipe* soaked in Nail Prep & Wipe* or dry fully after washing.

Select the correct size wrap for each nail, picking the slightly larger size and trimming or stretching gently to fit if needed. Peel the wrap without touching the adhesive side that contacts the nail plate. Place it close to the cuticle without overlapping skin. Press firmly from the center outward, then use your thumb to smooth down the edges without bubbles.

Trim the excess wrap close to your natural nail tip using curved-edge scissors*. Double-check that the wrap aligns flush with your nail's edge to prevent lifting. If any overhang remains, file underneath the free edge in a single downward direction using a 180-grit file to cleanly remove the extra wrap and refine the final shape of your manicure cleanly.

Give the entire nail a final, firm press, paying extra attention to the free edge and sides to seal the wrap securely. This smooths out any remaining imperfections and ensures a tight bond. Avoid getting your hands wet or applying cuticle oils for at least two hours after application to maximize adhesion and enjoy up to 14 days of wear.
*Product sold separately.

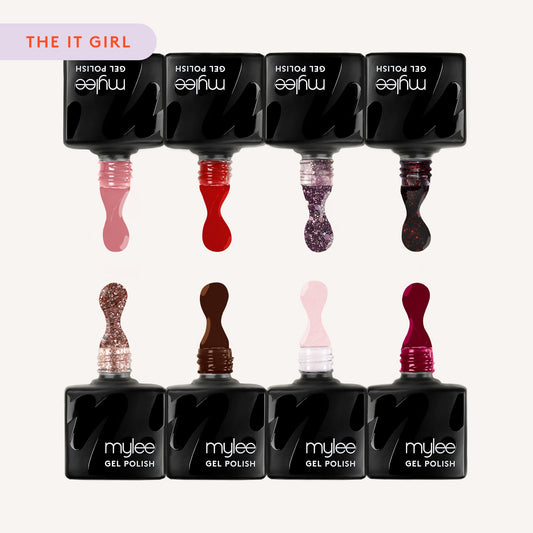


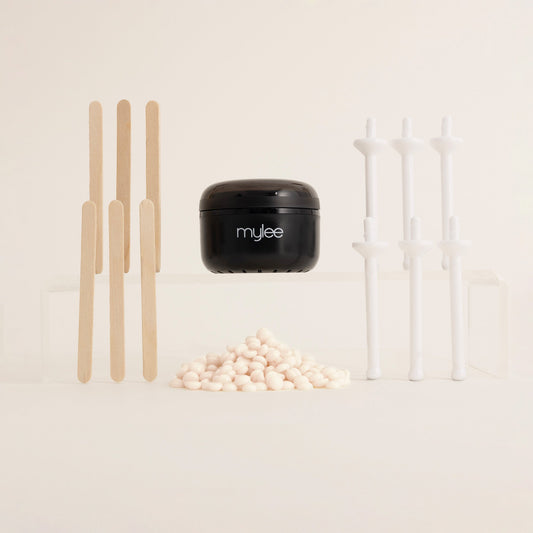


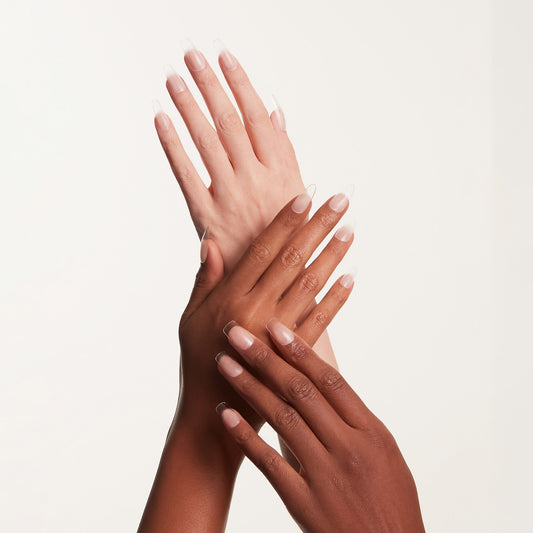


Tag @mylee On Socials For Your Chance To Be Featured