How To Magic Extender Gel

Pro tip:





STEP 1. PREP & PRIME
File your nails to shape and use a Mylee Buffing Block* to gently remove shine from the nail plate. This creates the ideal surface for better adhesion. Push back cuticles for a clean edge, then cleanse nails with Mylee 2-in-1 Nail Prep & Wipe* on a Lint-Free Wipe* to remove oils and residue. If you’re prone to lifting, apply the Mylee Dehydrator* followed by the Mylee Acid-Free Primer*. Apply a thin layer of your chosen Mylee Base Coat* and cure for 60 seconds using a Mylee LED Lamp*.
STEP 2. APPLY
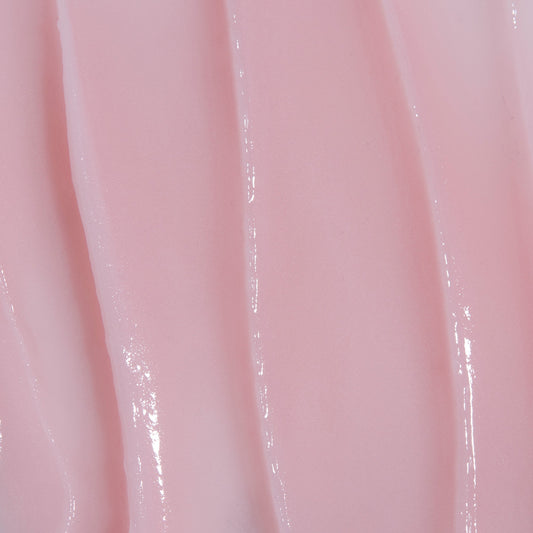
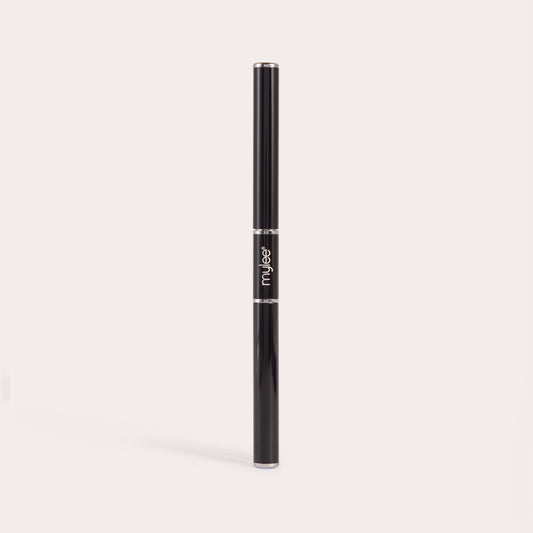
Squeeze a small amount of Mylee Magic Extender Gel out of the tube and slice using the Myleel Dual-Ended Tool*. Roll the gel onto the nail.
STEP 3. SHAPE & BUILD
Using the brush end of the Mylee Dual-Ended Tool* and a small amount of Mylee Slip Solution*, gently pat and press the gel into place. Start at the cuticle and work towards the tip, smoothing and shaping as you go. Once all nails on one hand are complete, cure for 60 seconds using a Mylee LED Lamp*.
STEP 4. REFINE & FINISH
Lightly refine the surface using a Mylee Nail File (180 grit), then cleanse with a Mylee 2-in-1 Nail Prep & Wipe on a Lint-Free Wipe*. Seal with a Mylee Top Coat* and cure for 60 seconds, or continue with your favourite Mylee Gel Polish* for a colour finish.

STEP 1. PREP & PRIME
File your nails to shape and use a Mylee Buffing Block* to gently remove shine from the nail plate. This creates the ideal surface for better adhesion. Push back cuticles for a clean edge, then cleanse nails with Mylee 2-in-1 Nail Prep & Wipe* on a Lint-Free Wipe* to remove oils and residue. If you’re prone to lifting, apply the Mylee Dehydrator* followed by the Mylee Acid-Free Primer*. Apply a thin layer of your chosen Mylee Base Coat* and cure for 60 seconds using a Mylee LED Lamp*.
STEP 2. FORM & APPLY
Fit a Paper Form* snugly under the free edge, aligning it with the centre of your nail. Secure the form tightly to create a smooth curve, making sure there are no gaps. Squeeze a small amount of Mylee Magic Extender Gel out of the tube, slice using the
Mylee Dual-Ended Tool*, and roll onto the nail and form.
STEP 3. SHAPE & BUILD
Using the brush end of the Mylee Magic Extender Gel Dual-Ended Tool* and a small amount of Mylee Slip Solution*, gently pat and shape the gel into place. Extend the product along the form to your desired length. Build a slight apex by adding more product to the centre of the nail (the stress area) for added strength. Once all nails on one hand are complete, cure for 60 seconds using a Mylee LED Lamp*, then remove the forms.
STEP 4. REFINE & FINISH
Lightly refine the shape using a Mylee Nail File (180 grit), then cleanse with a Mylee 2-in-1 Nail Prep & Wipe on a Lint-Free Wipe*. Seal with a Mylee Top Coat* and cure for 60 seconds, or continue with your favourite Mylee Gel Polish* for a colour finish.
*Products sold separately.

STEP 1. PREP & PRIME
File your nails to shape and use a Mylee Buffing Block* to gently remove shine from the nail plate. This creates the ideal surface for better adhesion. Push back cuticles for a clean edge, then cleanse nails with Mylee 2-in-1 Nail Prep & Wipe* on a Lint-Free Wipe* to remove oils and residue. If you’re prone to lifting, apply the Mylee Dehydrator* followed by the Mylee Acid-Free Primer*. Apply a thin layer of your chosen Mylee Base Coat* and cure for 60 seconds using a Mylee LED Lamp*.
STEP 2. SIZE & APPLY
Select the correct size Dual Form* for each nail, ensuring it fits comfortably from sidewall to sidewall. Squeeze a small amount of Mylee Magic Extender Gel into the form, slice using the Mylee Gel Dual-Ended Tool*, then use the brush end with a small amount of Mylee Slip Solution* to spread the gel evenly inside the form.
STEP 3. PRESS & BUILD
Press the Dual Form onto the nail, starting at the cuticle and gently lowering it into place. Hold for a few seconds to secure, then clean away any excess product around the edges using the brush and Slip Solution*. Turn your hand over and smooth the underside of the nail for a clean, even finish. Cure for 60 seconds using a Mylee LED Lamp*, then gently squeeze the form to release.
STEP 4. REFINE & FINISH
Lightly refine the shape using a Mylee Nail File (180 grit), then cleanse with a Mylee 2-in-1 Nail Prep & Wipe on a Lint-Free Wipe*. Seal with a Mylee Top Coat* and cure for 60 seconds, or continue with your favourite Mylee Gel Polish* for a colour finish.
*Products sold separately.


