The Complete Guide to Nail Art Foils
|
|
Time to read 9 min
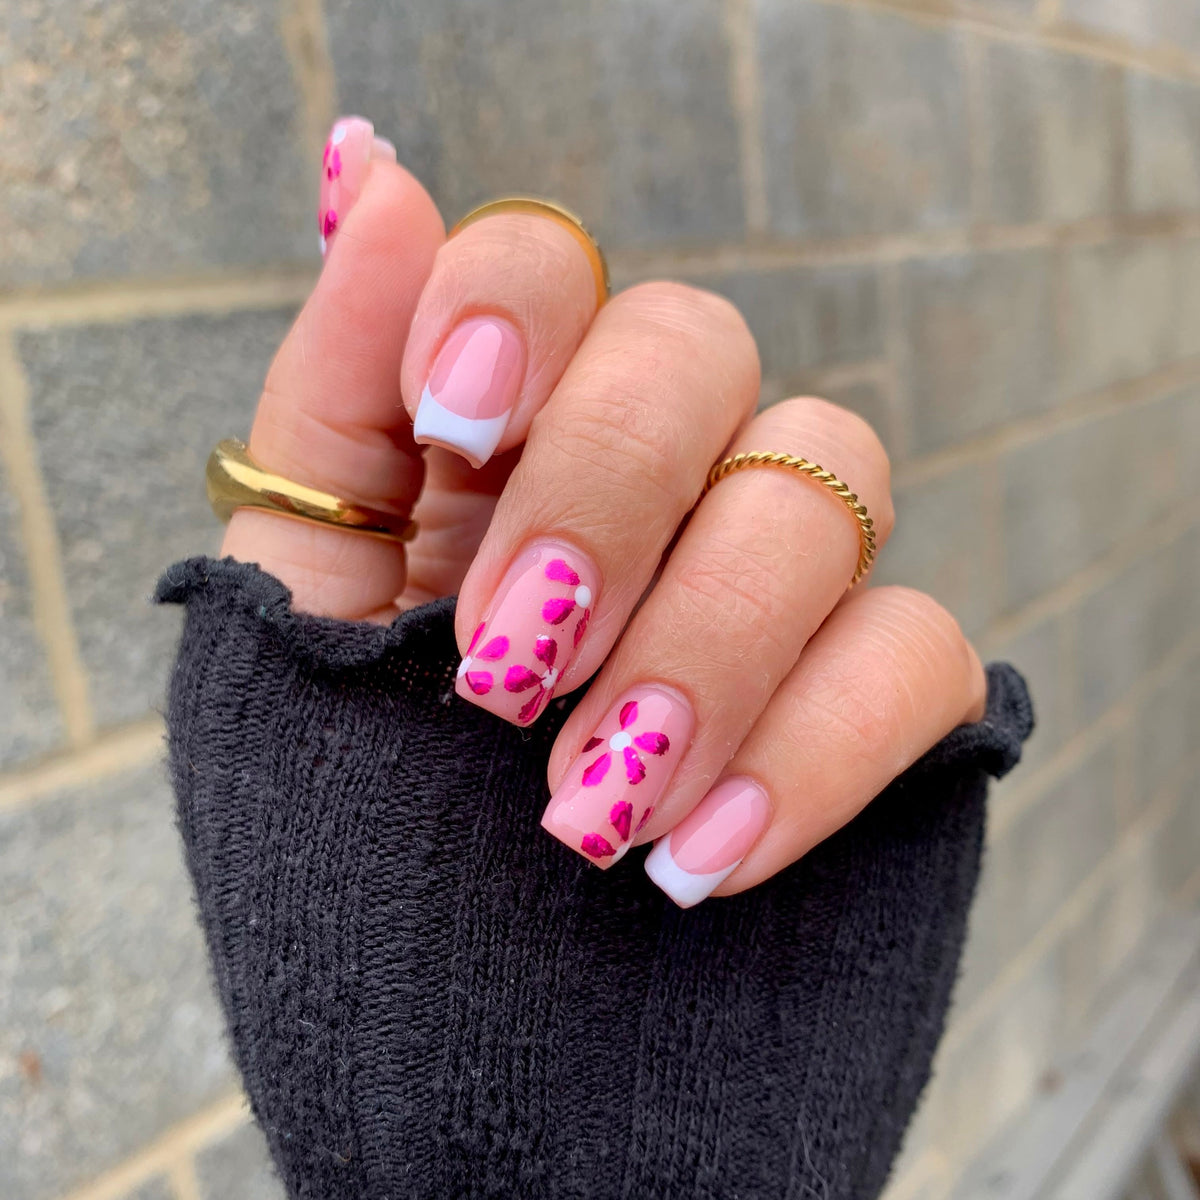
From Beyoncé with her high-voltage, metallic nails to Rihanna's on-trend tips – bling nails continue to be a seriously big hit with the A-listers.
Plus, from designers like Preen to Mary Katrantzou, the red carpet and the runway have both been dazzled by this eye-catching nail art design.
Unique and multi-dimensional, available in a range of colours, patterns and metallic shades, nail foils have become an easy alternative to the precious, hand-drawn and sometimes impossibly intricate nail art that dominated the early 2000s.
The ease of use and element of surprise in the final effect is a sure reason why this trend is so popular. Whether you press different colour nail foils over and around each other to look like camouflage or cut them into strips, then press on to create a stripe effect; depending on how you apply it, it can leave all sorts of abstract patterns.
The fun of foils is in the experimenting. There are no limits!
And what's more, nail art foils can be easily applied at home! It’s worth remembering when buying your ingredients for the perfect mani, that Mylee foil gel won't work with ordinary/regular nail polish as it needs to be cured in a LED/UV lamp.
Our in-depth guide on how to use, apply and transfer foil will teach you everything you need to know about this trend so you can recreate a multitude of looks at home.
What You Need to Know About Nail Art Foil
Nail art foils are ultra-thin, often measuring just 0.1mm in thickness and can be cut or torn into small pieces or strips.
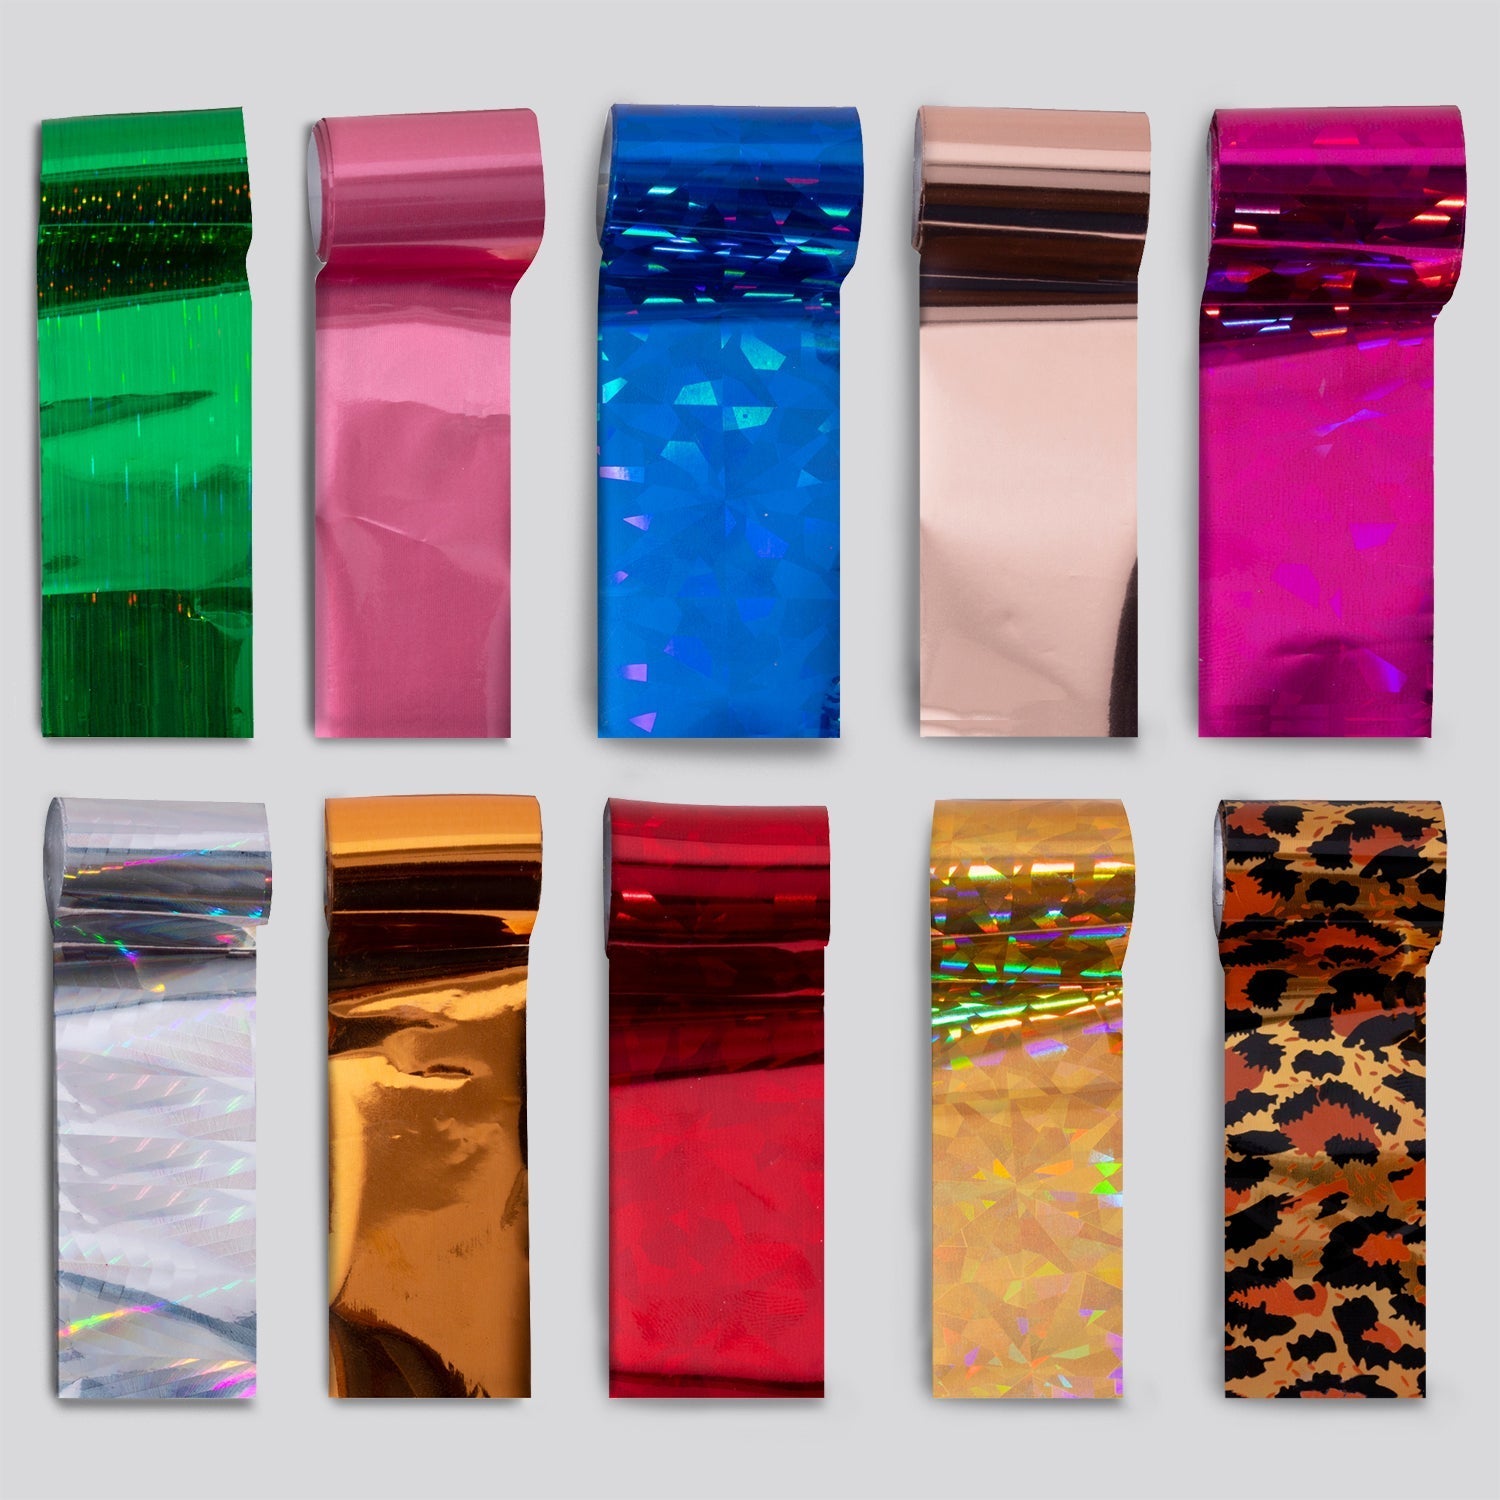
Foils come in an incredible array of colours, from classic metallics like rose gold and silver to holographic and brightly coloured options.
Foil transfers are available in various finishes, including chrome, shimmery or glitter.
There are two types of nail foils. The first is scrunched-up foils, such as gold leaf.
These come scrunched up or as flakes and can be placed over the nail with tweezers. After placing them onto the sticky layer of polish, encapsulate the foil with Builder Gel.
There are also transfer foils which transfer onto the nails when a special foil gel is used. You apply your foil transfer gel, cure it, and then place your foil design (facing upwards), rub it down onto the nail for the foil to transfer, and then lift off.
What You Need to Create Nail Foil Art at Home
Before you start, make sure you have everything you need to hand, such as:
Base Coat
The first thing you need to create nail foil art at home is a good base coat like Mylee Base Coat Gel.
Applying a good base coat ensures that your manicure will last and your nails are protected.
Mylee sells a clear base coat that you can use before applying your coloured gel polish over the top.
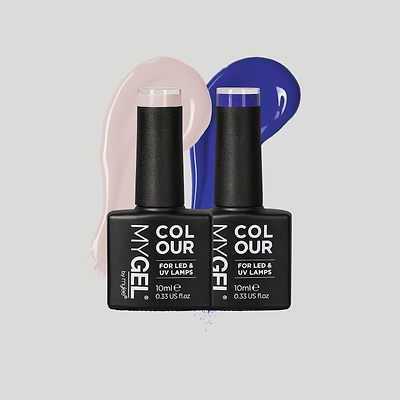
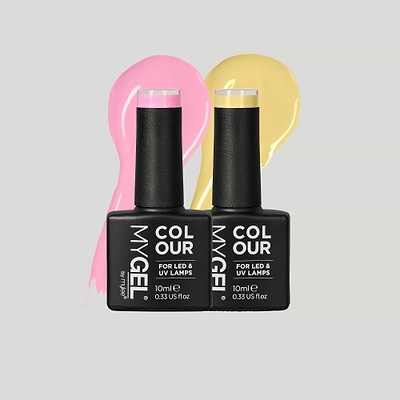
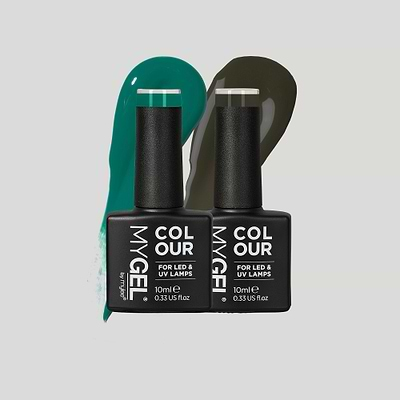
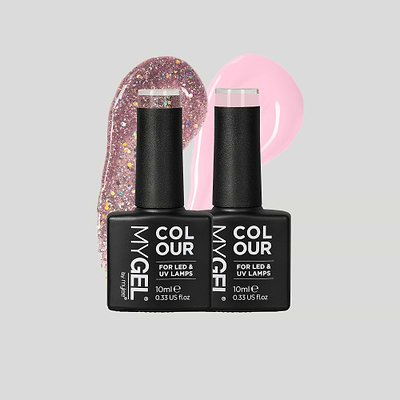
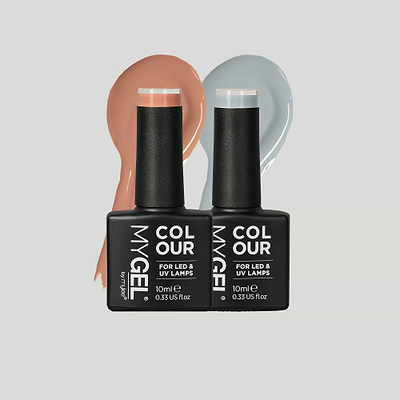
Coloured Gel Polish
After your base coat it’s time to add a coloured gel polish. This will form the base or background to your design.
We recommend black (Stalker) underneath if you want your foils to pop - but you can pick any MyGel colour you like.
Foil Gel
The next piece of equipment you need is something to adhere the foils to your nails.
Depending on the method you use, this could simply be the freshly cured base of your manicure, or you might need to invest in some foil gel.
Again, think about where your capabilities lie and what you already have in your arsenal.
Foil Sheets
Obviously, you cannot achieve a foil manicure without the foil sheets.
Mylee has a set of assorted foils with 10 different colours/finishes to choose from.
The types of designs you can create are truly endless when it comes to foil sheets. It provides you with the chance to get creative.
Top Coat
In order to ensure that the manicure lasts as long as possible and is robust enough to withstand damage, you need a top coat.
You need to make sure you have chosen a good top coat like Mylee Top Coat Gel Polish, as this will be the last step to seal the design in.
Paper Forms
This last item on the equipment list is not necessary for achieving the perfect foil nail manicure.
However, if you would like to take your foil manicure to the next level, then you can use paper forms to lengthen your nails.
Longer nails are very en vogue right now, and a lot of celebs can be seen sporting long stiletto or coffin-shaped nails.
How To Apply Nail Foils
Here is our step-by-step guide on how to use nail foils:
Step One: Nail Preparation
Prep your nails as normal by pushing back cuticles, trimming off any dead cuticle and hangnails, and then going in with your buffing block.
When using your nail buffing block, gently buff the nail surface to remove any shine – you’re aiming to prime the surface of your nails by removing shine and creating a surface that gel nail polish will grip onto.
Using Mylee Prep & Wipe on a Lint Free Wipe to dehydrate the nails and remove any dust or oils from the surface. This will help with longevity of your mani. Then apply one coat of MyGel Base Coat, then cure for 30 seconds.
You should then get ready with your favourite MyGel colour, which can be ANY shade. Choose from your everyday nude, a classic red, gold nail foils or something to coordinate or clash with your outfit, perhaps a holographic nail foil to dazzle – the choice is yours!
Apply the first coat, then cure for 30 seconds with a UV or LED lamp and repeat with the second layer to build up opacity.
Step Two: Nail Foil Gel
Once cured, you have two options.
Method 1 - You can apply your foil gel over the whole nail and cure it for 30 seconds.
Method 2 - if you want to do some nail art - wipe the tacky layer off your colour and go in to just apply the foil gel where you want the foil to stick onto your nails in whatever pattern you want.
Then apply the foil gel with a nail art brush in your desired pattern and cure for 30 seconds. You can also use foil gel to create a design on your nails. For example, you could create a pattern with the foil gel using nail tools or stencils to really make the design pop.
You need to ensure that the foil is going to adhere to your nails properly; otherwise, you aren't going to achieve your desired effect.
Step Three: Apply Nail Foil Transfer Sheets
Next, take the foil transfer sheet and press it down onto the nail. It may be easier to cut the foil to the size of your nail to apply.
Be sure to place the silver side down onto your nail, so your foil effect or pattern is facing upwards where it will be seen.
Rub the foil sheet onto your nail for the transfer to take place, and gently peel away for your foil to be revealed!
Why not play around with only applying the foil gel to tips for a fun twist on a traditional French nail or just apply foil gel onto one fingernail instead of all five?
Step Four: Seal with A Top Coat
Now seal in your foil design by applying a MyGel Top Coat. Make sure you cap the free edge – this means sweeping the top coat brush along the edge of the nail tip to create a seal to avoid chips. Cure for 30 seconds.
Remove the tacky layer with the Prep & Shine Wipes or some Prep & Wipe on a Lint-Free Wipe to finish up your stunning foil mani!
A top coat is an integral part of any manicure. It helps to seal everything in to make your manicure more robust. They also give you a chance to take the design to the next level. For example, you can use a glossy top coat to give your manicure a shine and make it stand out, or you could use a matte top coat to change the look entirely.
Step Five: Nail Foil Finish
Finish off with some cuticle oil, and you're good to go!
If you want to make your manicure last, then there are several things that you can do. First and foremost, as mentioned above, you need to keep your nails hydrated, which means regular applications of cuticle oil and hand cream.
You can also make your manicures last by wearing gloves to avoid chips or chemical damage when you work with your hands.
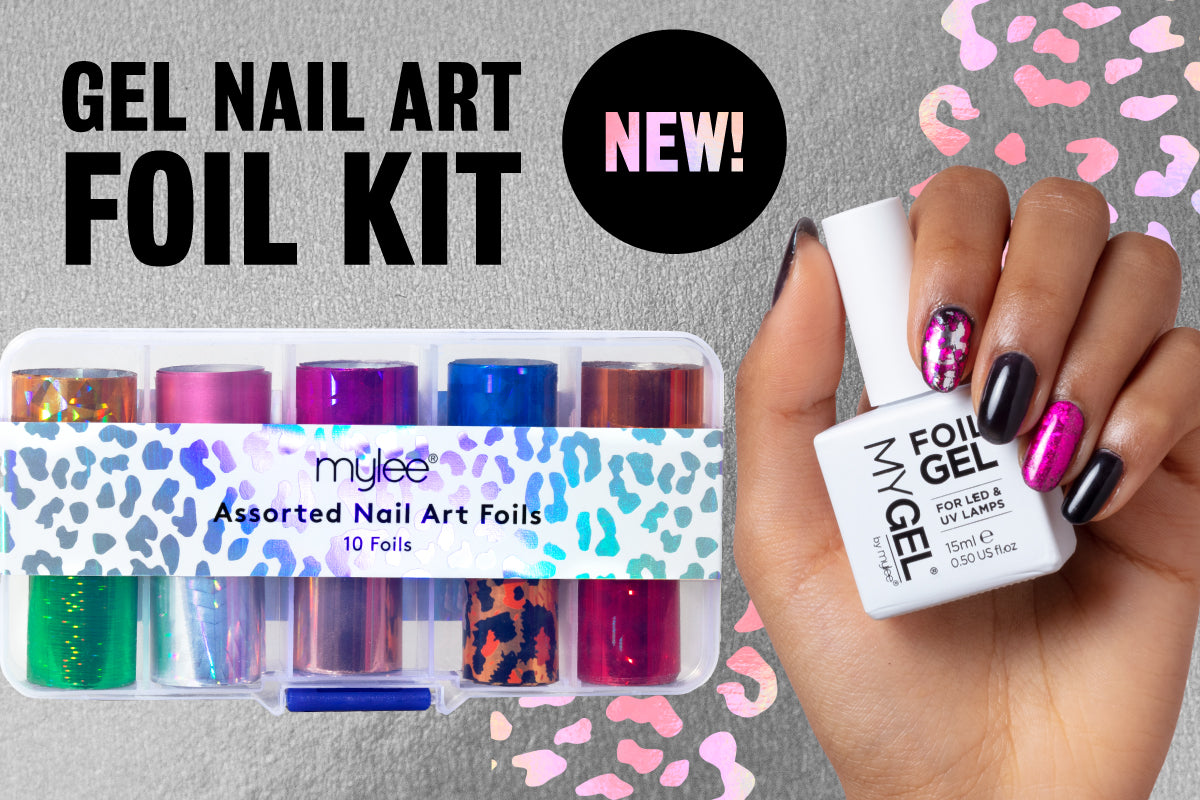
Recommended Nail Art Foil Kits
We'd like to introduce the Mylee Assorted Nail Art Foils Kit and our special MyGel 'Foil Gel'!

Mylee Assorted Nail Art Foils
Words fail us when it comes to describing how stunning this foil kit is!
There are unlimited ways to use these foils with ten killer chrome, heavenly holographic, and mind-blowing metallic colours and patterns.
Whether you want to cover the entire nail, gently dust for a distressed effect, or outline a tiny shape, you can create a host of unique looks fit for a queen.
So, arise, Your Foil Highness and design your look – your way!
Simply apply foils over your fave MyGel shade and cure with a UV or Led nail lamp. Then press the foil onto the nail, design side up, and give it a rub to transfer and lift off.
Finally, apply a top coat to seal it in, and voila!
Mylee Foil Gel
There are so many unique ways you can use this foil gel alongside transfer foils to create some amazing nail art!

For customised chromes, heavenly holographics, and mind-blowing metallics,
Mylee's Foil Gel is your nails' new BFF. So get creative and experiment with it to create unique lit looks – the only limit is your imagination.
To use, simply apply the foil gel over a MyGel shade and cure. Then press the foil (sold separately) onto the nail, design side up, and rub it. Then lift off. Next, apply a top coat to seal it in, and voila!
Get Crazy with Nail Art Foils
Nail art foils are a great opportunity to create a look that provides maximum impact with a minimum amount of work. There are so many different colour options and designs you can truly let your imagination run wild.
For example, you can apply different colour base coats to give a different effect, or you can use stencils to create designs with the foils on your nails. It is the perfect medium to explore your creativity.
FAQs
Why won't my nail foils stick?
When using nail foil with gel polish, be sure to use a specific foil gel. This is best for adhesion. Foils won't always adhere to the natural tacky layer of gel polish.
How to use nail foil with gel?
Simply add some foil gel over your regular gel mani and cure to adhere to your foils. Then, you can either apply it over the whole nail or do some intricate designs by applying the foil gel with a nail art brush.
How to use nail transfer foil without glue?
If you don't have transfer gel, we can't guarantee your foil will fully adhere to your nail. Once cured, you can try to transfer the foil into the tacky layer of your gel polish, but it may come off patchy. If this is the look you're going for, then great!
Can you use nail foils on natural nails?
You can use nail foils on your natural nails; your nail length will not affect the application of the nail foils at all. This is because the application relies almost exclusively on the base underneath it. As long as you are using the right products underneath the foils, then it doesn't matter.

Ellie Simmons
Ellie is the Brand Manager at Mylee, where she immerses herself in all things gel nails.
Alongside being a skilled and certified nail technician, Ellie's expertise extends to gel manicures and nail extensions. Her heart and soul are devoted to all things nail-related, and she loves flaunting her own long, natural nails with captivating nail art.
Ellie's ultimate favourites are iridescent and sparkly designs!